


Heres Some Camping Tips & Tricks at Your Fingertips
Our Kiefer Campground Blog is the information you need to make your next camping trip even more enjoyable. From RV and camping tips and tricks, to amazing campfire recipes, to advice on planning your next trip... the information below is here to help you. And please, feel free to comment and share your experiences, knowledge and favorite recipes. At Kiefer Campground, we are a family and all here to help each other enjoy the great outdoors to the fullest!
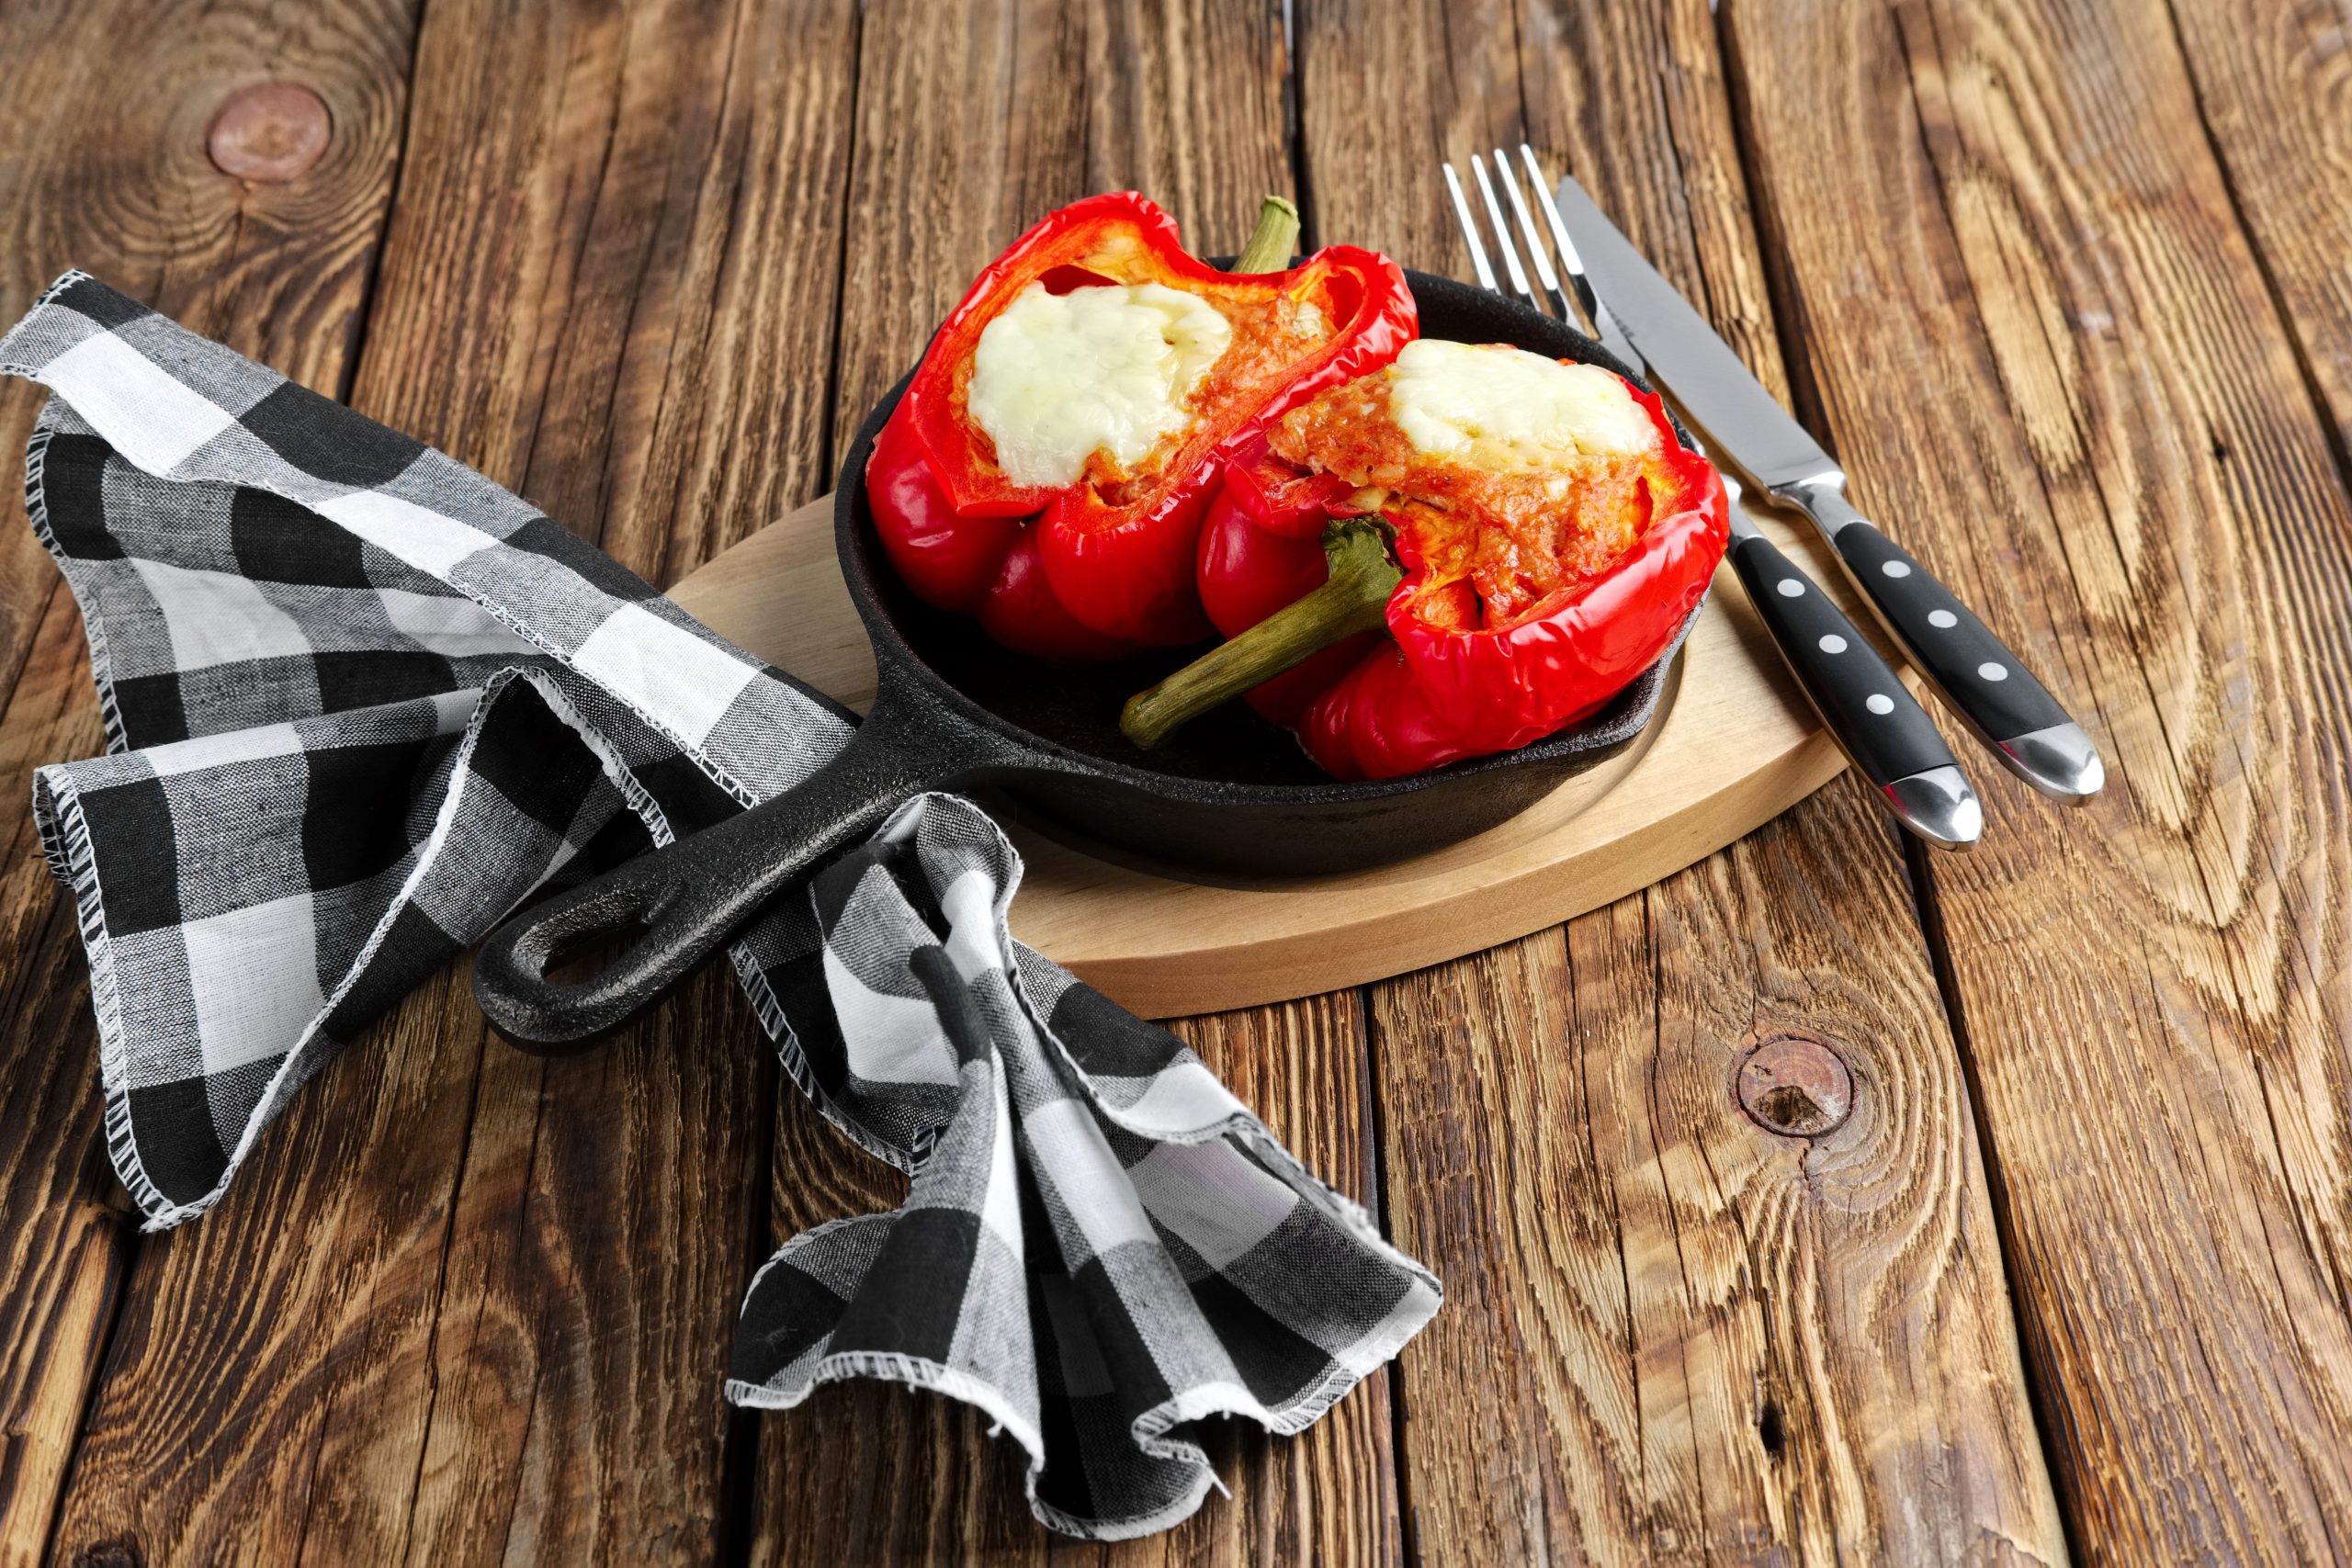
Campfire Stuffed Peppers
Campfire stuffed peppers sound like a delicious and adventurous twist on a classic dish! Here’s a simple recipe you could try:
Ingredients:
- 4 large bell peppers (any color)
- 1 pound ground beef or turkey
- 1 cup cooked rice
- 1 cup canned diced tomatoes
- 1 cup shredded cheese (cheddar or your favorite)
- 1 small onion, diced
- 2 cloves garlic, minced
- Salt and pepper to taste
- Optional: chopped fresh herbs like parsley or cilantro for garnish
Instructions:
- Prepare the Peppers: Cut the tops off the peppers and remove the seeds and membranes. You want the peppers to stand upright, so you may need to slice a small amount off the bottom if they’re uneven. Set aside.
- Prepare the Filling: In a skillet over medium heat, cook the ground beef (or turkey) until it’s browned. Add the diced onion and minced garlic, cooking until softened and fragrant.
- Combine Ingredients: In a large bowl, mix together the cooked beef mixture, cooked rice, diced tomatoes, and half of the shredded cheese. Season with salt and pepper to taste.
- Stuff the Peppers: Fill each pepper with the mixture, packing it down gently. Top each pepper with the remaining shredded cheese.
- Cooking over Campfire: If you’re cooking over a campfire, you can wrap each stuffed pepper individually in aluminum foil. Place the wrapped peppers on a grill grate over the fire and cook for about 20-25 minutes, or until the peppers are tender and the filling is heated through.
- Serve: Carefully unwrap the foil from each pepper and transfer them to plates. Garnish with chopped fresh herbs if desired. Enjoy your campfire stuffed peppers!
This recipe is versatile, so feel free to customize it with your favorite ingredients or spices to suit your taste. And of course, cooking them over a campfire adds that extra element of outdoor adventure!
Try this amazing recipe for Campfire Stuffed Peppers on your next camping trip to Kiefer Campgrounds.
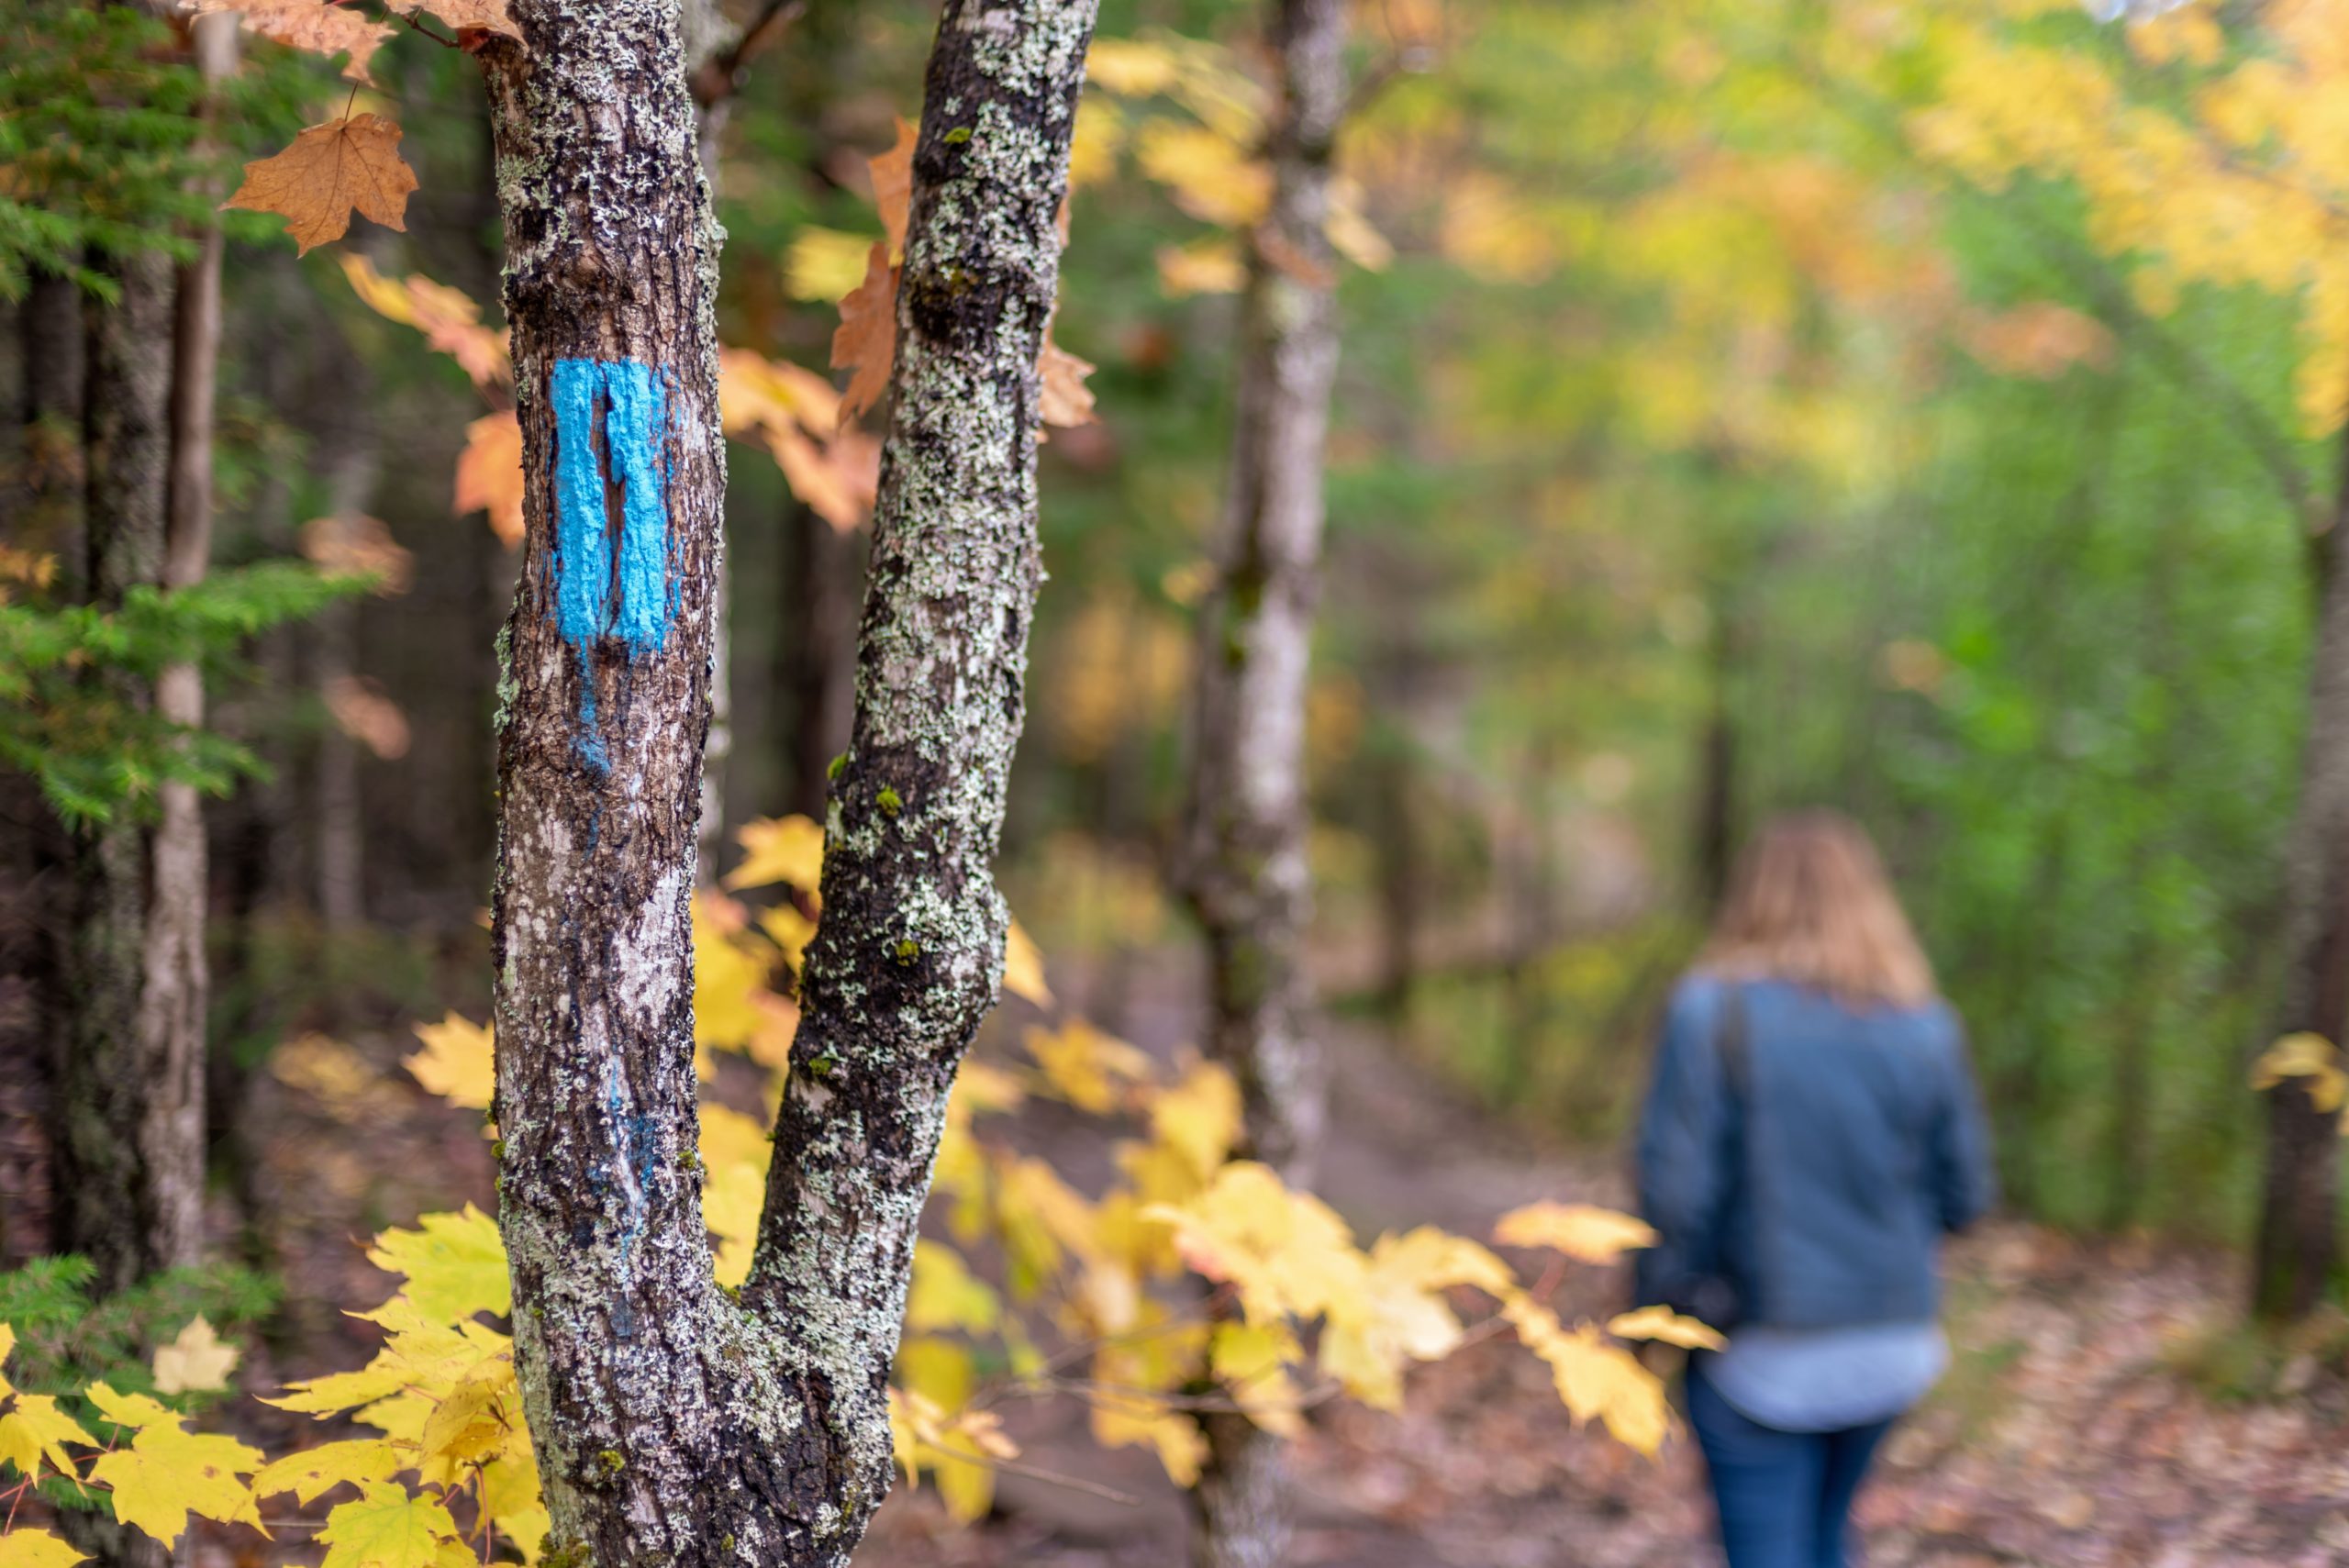
How To Mark A Trail When Hiking
Marking a trail is essential for hikers, adventurers, and outdoor enthusiasts to navigate safely and enjoyably. Here’s a step-by-step guide on how to mark a trail:
- Choose Your Markers: Decide on the type of markers you’ll use. Common options include colored ribbons, trail blazes (painted marks on trees or rocks), cairns (stacked rocks), or signs.
- Understand Regulations: Before marking a trail, make sure you understand any regulations or permissions required. Some areas may have restrictions on trail marking to preserve the natural environment.
- Plan Your Route: Walk the trail to familiarize yourself with it. Note any key landmarks, intersections, or areas where markers are needed for guidance.
- Select Strategic Locations: Determine where to place markers. They should be visible from the previous marker and lead the way to the next one, especially at trail junctions or areas where the trail might be unclear.
- Use Consistent Markings: Choose a consistent pattern or color scheme for your markers to avoid confusion. For example, use orange ribbons or blue blazes consistently throughout the trail.
- Placement: Place markers at eye level, ensuring they’re easily visible to hikers. Avoid placing markers too high or too low, as they may be overlooked or obscured.
- Consider Environmental Impact: Be mindful of the environment when placing markers. Avoid damaging trees or vegetation, and use biodegradable markers whenever possible.
- Provide Clear Direction: Markers should clearly indicate the direction of the trail. Use arrows or directional symbols if necessary, especially at intersections or forks in the trail.
- Maintain Markers: Regularly inspect and maintain the trail markers to ensure they remain visible and intact. Replace any damaged or missing markers promptly.
- Document and Share: Document the trail marking process with photos or maps, and share this information with local hiking groups or authorities. This can help others navigate the trail safely.
- Respect Nature: Remember to leave no trace. When marking a trail, strive to minimize your impact on the natural environment and leave it as you found it.
By following these steps, you can effectively mark a trail to help others navigate and enjoy the outdoor experience safely.
At Kiefer Campgrounds, we ask to be safe and take caution when hiking. It’s always best to know the area beforehand.
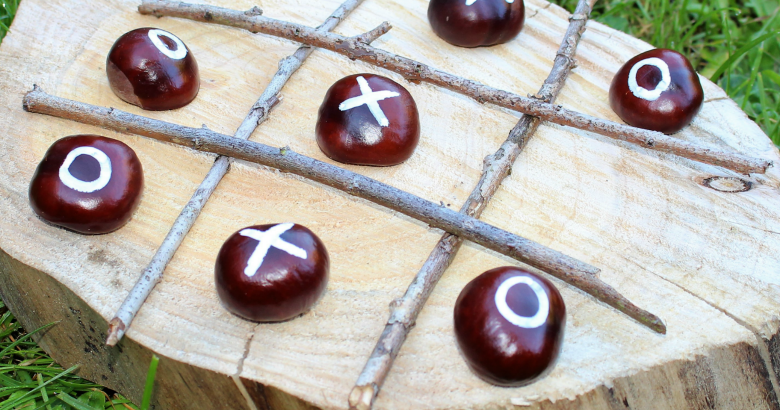
DIY Camping Tic-Tac-Toe
Creating a DIY tic-tac-toe game for camping can be a fun and engaging activity. Here’s a simple guide to making one:
Materials Needed:
- Flat Stones or Wood Slices: You’ll need nine identical flat stones or wood slices. These will serve as the playing pieces.
- Marker or Paint: Use a waterproof marker or paint to draw the X’s and O’s on the stones or wood.
- Canvas Bag or Pouch: To store the game pieces when not in use.
- Sturdy Fabric or Tarp: For the game board.
- Rope or Twine: To create the grid on the game board.
- Stakes or Heavy Objects: To secure the corners of the game board to the ground.
Instructions:
- Prepare the Game Board:
- Lay out your fabric or tarp on a flat surface. Make sure it’s large enough to accommodate a 3×3 grid.
- Use rope or twine to create the grid on the fabric. Tie knots at the intersections to mark the spaces.
- Decorate the Playing Pieces:
- Use your marker or paint to draw X’s and O’s on the flat stones or wood slices. Make sure they’re clearly distinguishable from each other.
- Set Up the Game:
- Place the game board on a flat area of ground at your campsite.
- Use stakes or heavy objects to secure the corners of the game board to the ground so it doesn’t blow away in the wind.
- Play:
- Decide who will be X’s and who will be O’s.
- Players take turns placing their X’s or O’s on the grid, trying to form a row of three horizontally, vertically, or diagonally.
- The first player to get three of their symbols in a row wins the game.
- Store the Pieces:
- When you’re finished playing, gather up the playing pieces and store them in a canvas bag or pouch for safekeeping.
Additional Tips:
- For a more durable game board, you can use a heavy-duty fabric like canvas or vinyl.
- If you’re camping near a beach, you can use sticks to create the grid in the sand instead of using fabric and rope.
- To make the game more challenging, you can increase the size of the grid to 4×4 or 5×5.
- Consider laminating the game board for added durability and weather resistance.
Creating a DIY tic-tac-toe game is a great way to add some entertainment to your camping trip while also fostering friendly competition among campers!
Try DIY Tic-Tac-Toe on your next camping trip to any of our Kiefer Campgrounds!
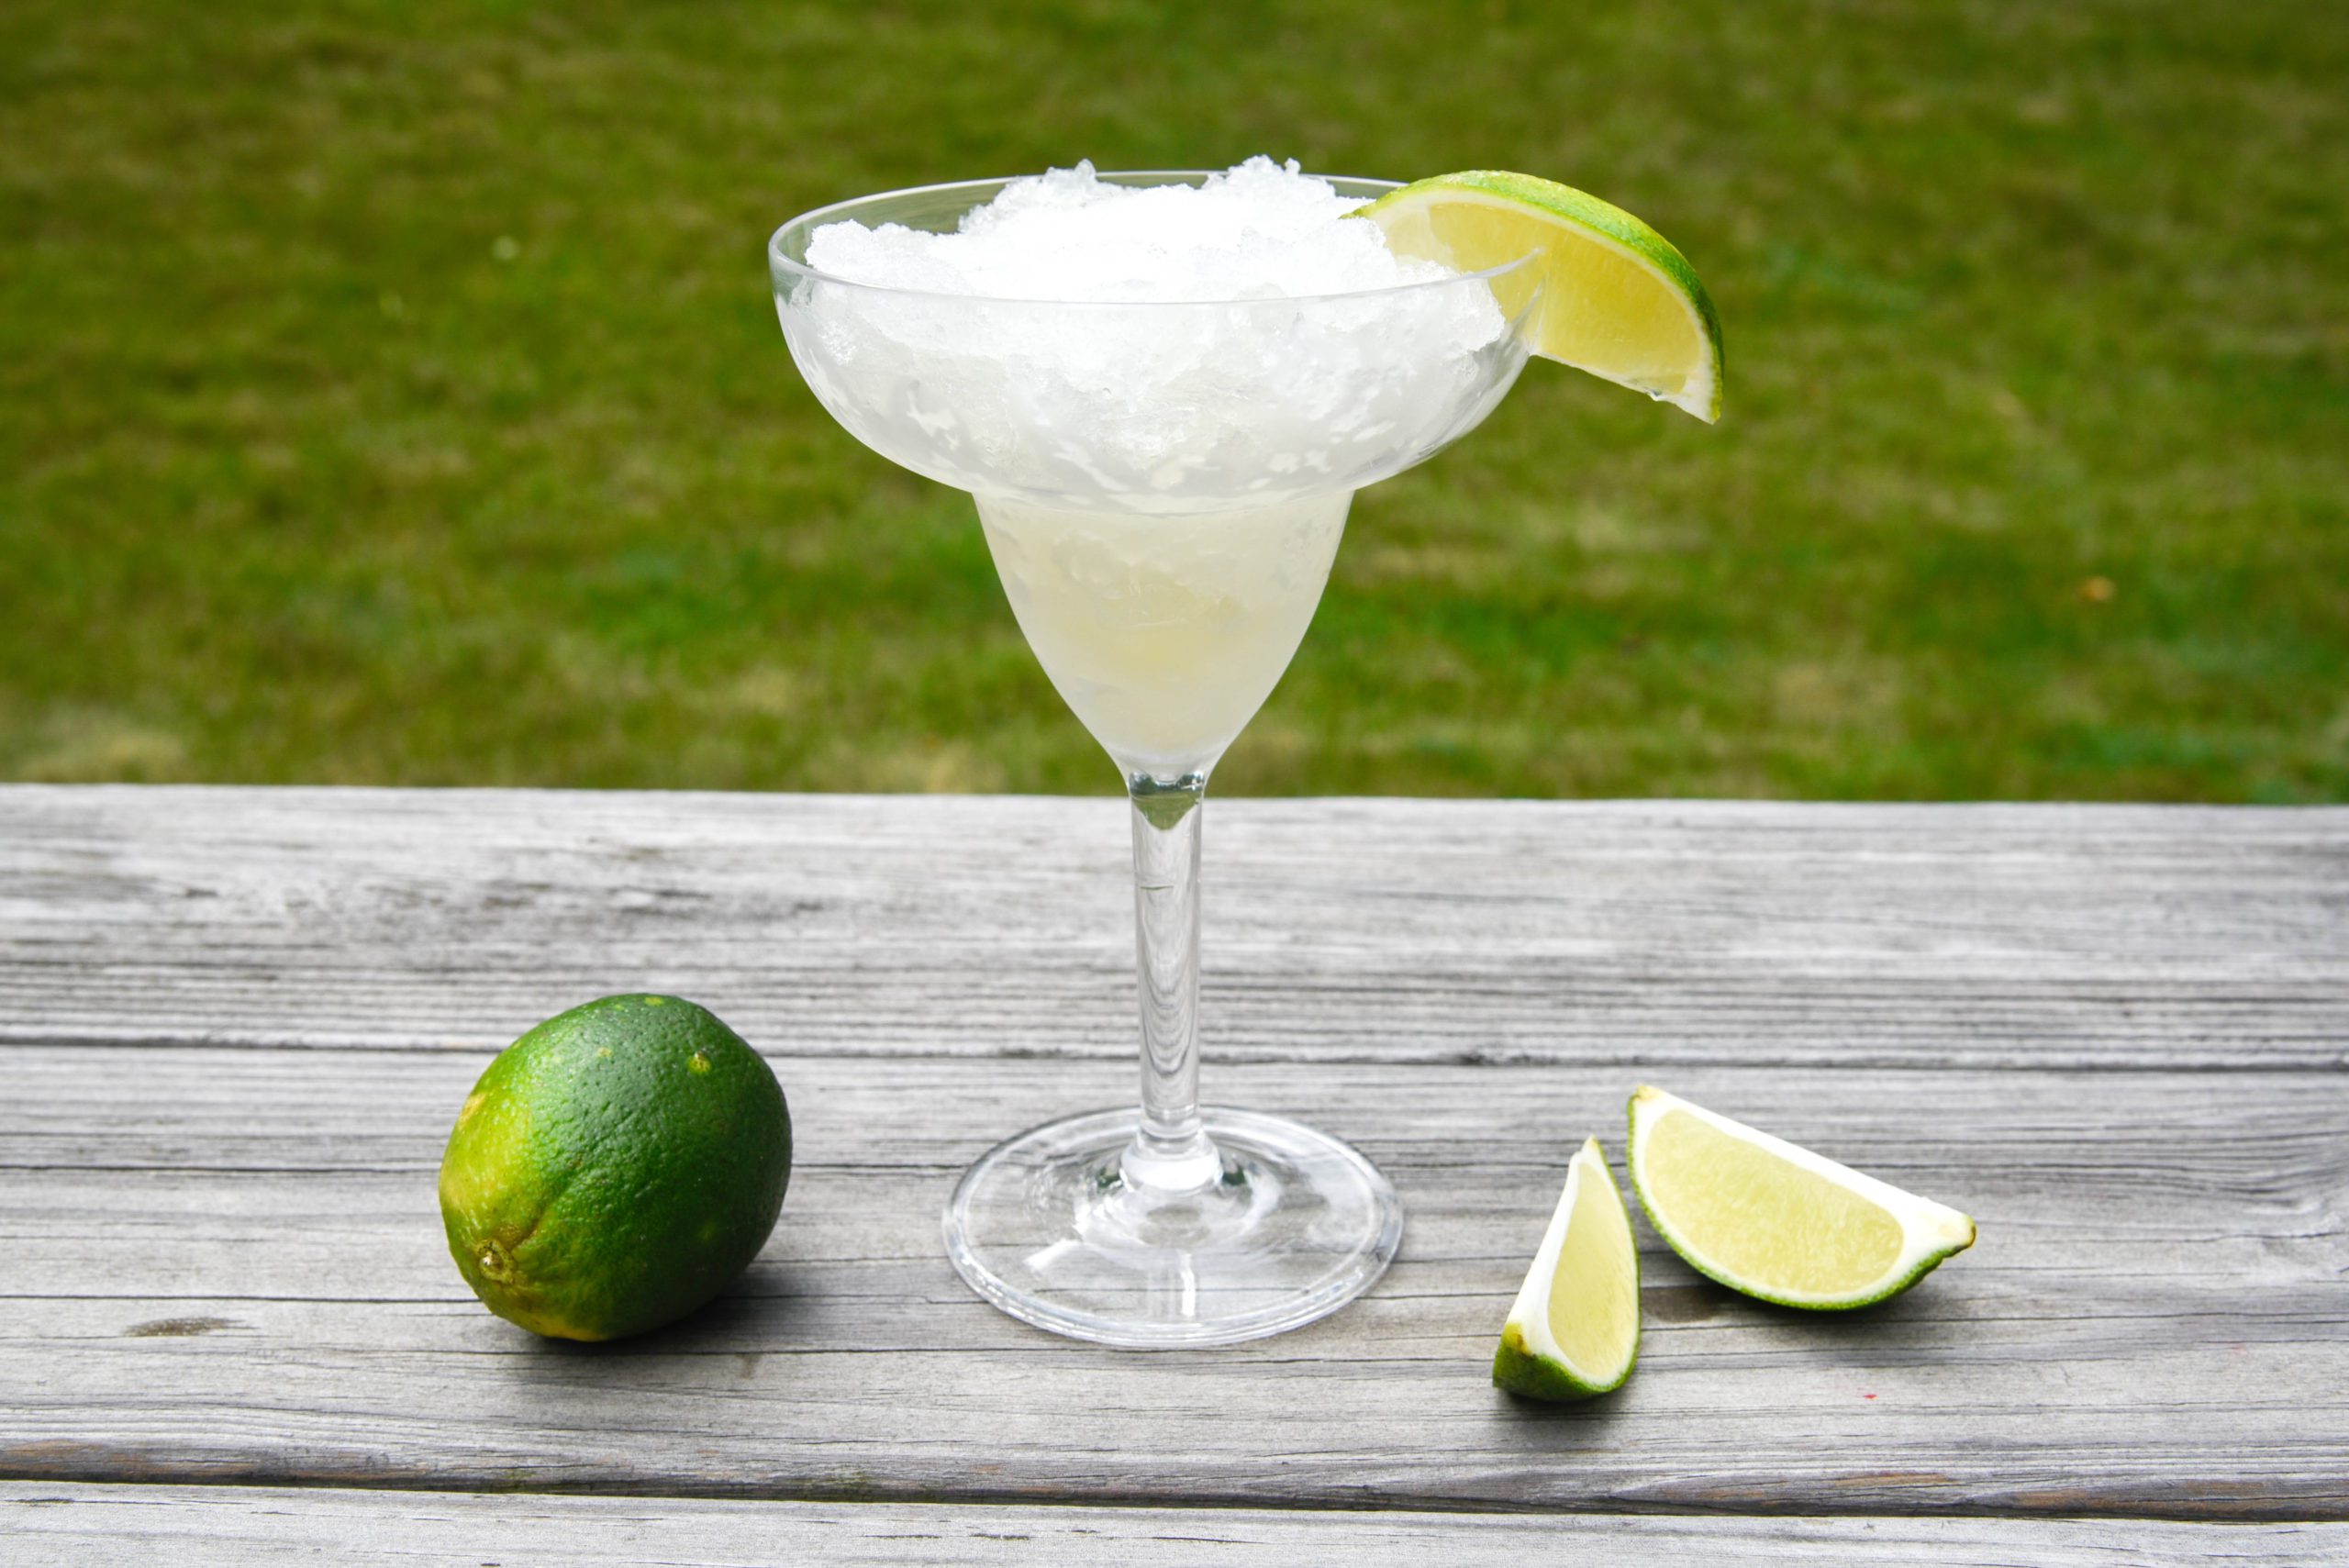
Camping Margaritas
Making margaritas while camping can be a fun and refreshing activity. Here’s a simple recipe for making camping-friendly margaritas:
Ingredients:
- Tequila
- Triple sec or orange liqueur
- Lime juice (fresh if possible)
- Simple syrup (equal parts water and sugar, dissolved together)
- Ice
- Salt (for rimming the glass, optional)
- Limes for garnish
Instructions:
- Prepare Ingredients:
- Measure out the ingredients before you leave for your camping trip to make things easier.
- If you’re making simple syrup, dissolve equal parts sugar and water together before leaving and store it in a small container.
- Rim the Glass (Optional):
- If you like, moisten the rim of your camping cup or glass with a lime wedge.
- Dip the rim into salt, creating a salted rim. This step is optional, depending on your preference.
- Mix the Ingredients:
- In a portable container or a small shaker, combine 2 parts tequila, 1 part triple sec, 1 part lime juice, and 1 part simple syrup.
- Adjust the ratios to your taste preferences.
- Shake or Stir:
- If you have a portable cocktail shaker, give the mixture a good shake. If not, stirring with a spoon will work.
- Serve over Ice:
- Fill your camping cup or glass with ice.
- Pour and Garnish:
- Pour the margarita mixture over the ice.
- Garnish with a lime wedge.
- Enjoy Responsibly:
- Sip and enjoy your camping margarita responsibly.
Remember to check if alcohol is allowed at your camping site, and if so, be sure to follow any regulations regarding its consumption. Additionally, consider packing reusable and lightweight camping-friendly barware for an easier and more enjoyable experience.
At Kiefer Campgrounds, we ask you to have fun and be responsible while drinking alcohol on any of our campgrounds.

Dollar Store Camping Tips
Camping on a budget doesn’t mean you have to sacrifice comfort or convenience. Dollar stores can be a great resource for affordable camping supplies. Here are some dollar-store camping hacks to help you make the most of your outdoor adventure:
Hacks:
- Flashlights and Lanterns:
- Purchase inexpensive LED flashlights or lanterns to illuminate your campsite at night.
- Don’t forget to stock up on extra batteries, as they are often available at dollar stores.
- Disposable Tableware:
- Pick up disposable plates, cups, and utensils for easy cleanup.
- Look for sturdy, reusable plastic options that can be washed and reused for multiple meals.
- Ziploc Bags:
- Use Ziploc bags to organize and protect your belongings, such as electronics, matches, or snacks.
- They can also be handy for packing toiletries or keeping your phone safe from water and dirt.
- Tarp or Plastic Tablecloth:
- Grab a cheap tarp or plastic tablecloth to use as a ground cover under your tent or as a makeshift rain shelter.
- It’s an affordable way to protect your gear from damp ground or unexpected rain.
- Candles:
- Purchase candles for ambient lighting at the campsite.
- You can also use them to help keep bugs away.
- First Aid Supplies:
- Dollar stores often carry basic first aid supplies like bandages, antiseptic wipes, and pain relievers.
- Assemble a simple first aid kit with these affordable items.
- Plastic Bins:
- Use plastic bins or containers to organize and store your camping gear.
- They can also double as wash basins or food storage.
- Rain Ponchos:
- Pick up inexpensive rain ponchos to stay dry in case of unexpected rain.
- They are lightweight and easy to pack.
- Trash Bags:
- Grab a pack of large trash bags for collecting and disposing of your garbage responsibly.
- They can also be used as impromptu rain covers or ground covers.
- Bungee Cords and Clothespins:
- Secure tarps or create makeshift clotheslines with bungee cords.
- Clothespins can be handy for hanging wet clothes or securing items to a line.
- Microfiber Towels:
- Dollar stores often carry small microfiber towels that are compact and quick-drying.
- They’re perfect for camping and won’t take up much space in your backpack.
- Foam Sleeping Pad:
- Look for foam kneeling pads or yoga mats at the dollar store to use as a budget-friendly sleeping pad.
Remember to check the quality and durability of items before purchasing, and adapt these ideas based on your specific camping needs and preferences. Happy camping!
It’s never too early to book your summer camping trip! Book your site at any of our Kiefer Campgrounds today!
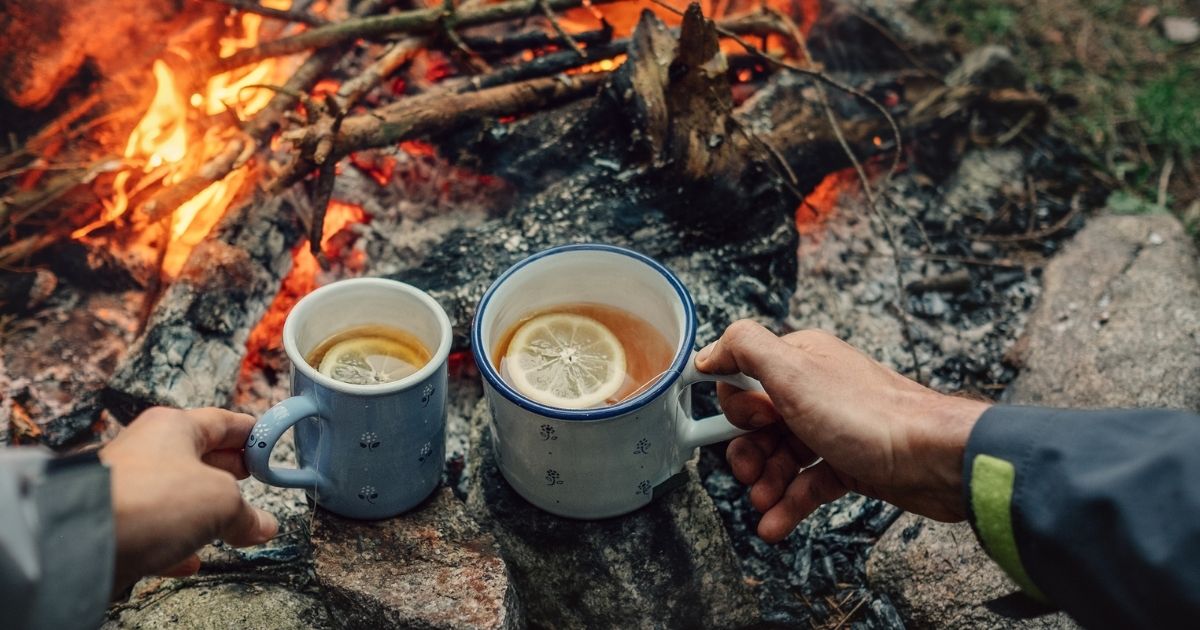
Campfire Hot Toddy
A Campfire Hot Toddy is a warm and comforting drink perfect for chilly evenings. It typically combines whiskey, honey, lemon, and warm water or tea, creating a soothing beverage with a touch of smokiness. Here’s a recipe for a Campfire Hot Toddy:
Ingredients:
- 2 oz whiskey (bourbon or another favorite)
- 1 tablespoon honey
- 1/2 oz fresh lemon juice
- 1 cup hot water or hot tea
- Optional: Cinnamon stick and lemon wedge for garnish
Instructions:
- In a heat-resistant glass or mug, add the whiskey and honey.
- Squeeze in the fresh lemon juice and drop the lemon wedge into the glass.
- Pour in the hot water or hot tea and stir well until the honey is fully dissolved.
- Optional: Garnish with a cinnamon stick for added flavor and aroma.
- Allow the drink to cool slightly before sipping. Be cautious as it will be hot.
The smoky or campfire twist in this Hot Toddy comes from the warmth and comfort it provides, rather than a specific smoky ingredient. The combination of whiskey, honey, and lemon, paired with the soothing hot water or tea, creates a delightful and relaxing drink. Adjust the honey and lemon to suit your taste preferences. Enjoy your Campfire Hot Toddy responsibly!
The perfect cozy drink to have around the campfire. Try this recipe out on your next trip to any of our Kiefer Campgrounds!
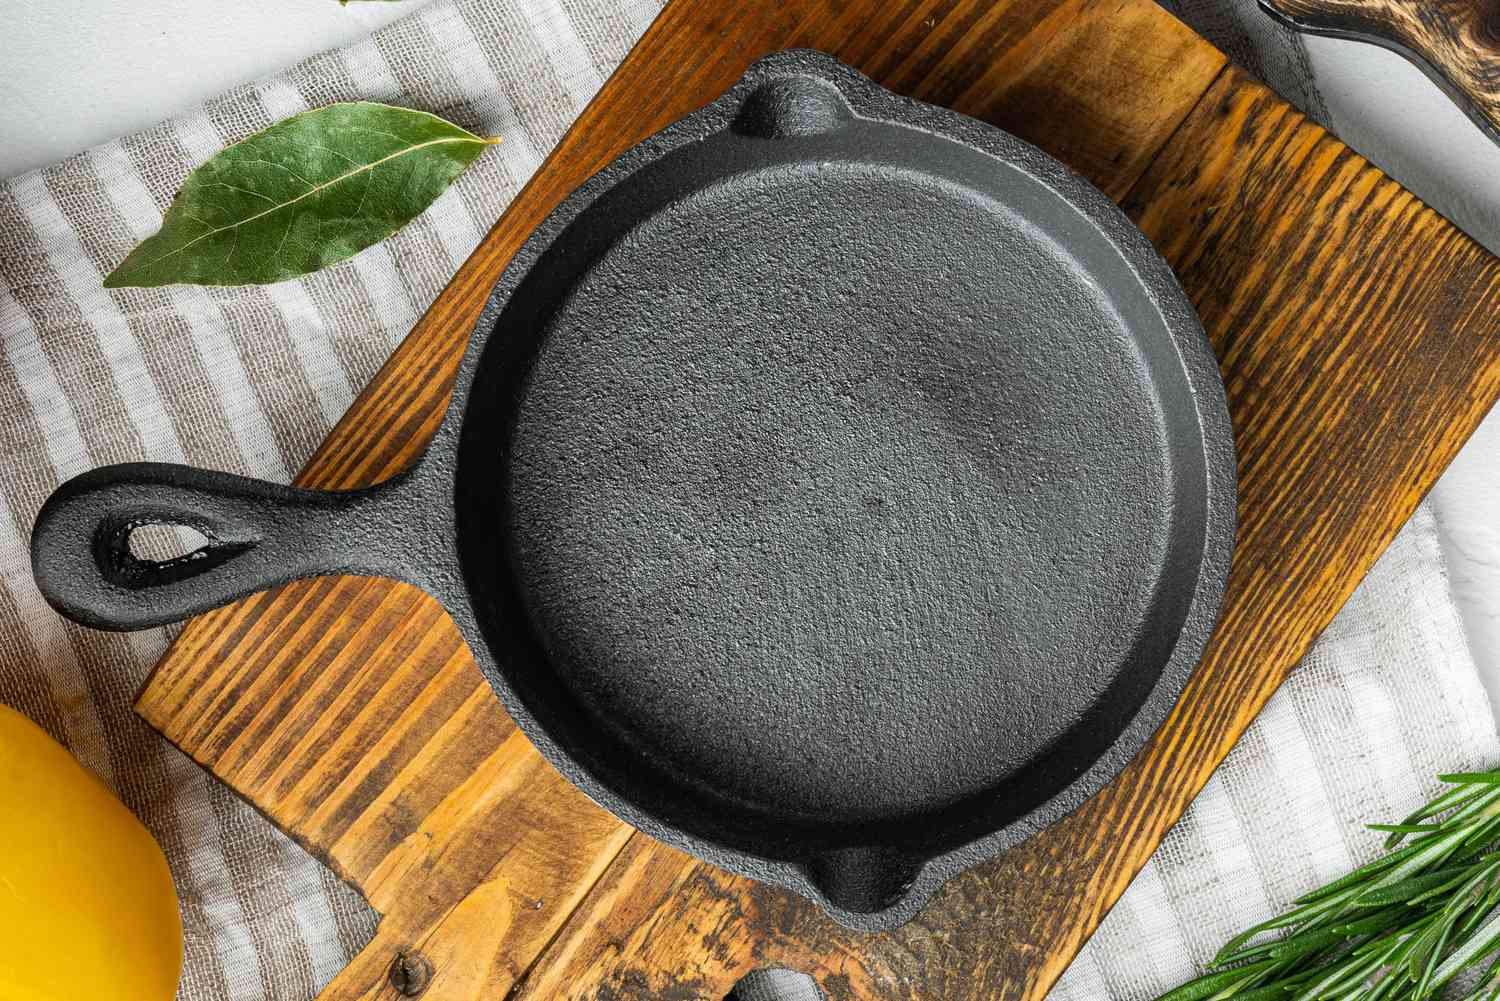
Iron Skillet Care
Caring for your iron skillet is crucial to maintain its performance and prevent rust. Here are some tips on iron skillet care:
Care Tips
- Seasoning:
- Seasoning is a crucial step in iron skillet care. It creates a natural, non-stick surface and helps prevent rust.
- To season your skillet, coat it with a thin layer of vegetable oil or flaxseed oil. Wipe off any excess oil with a paper towel.
- Bake the skillet upside down in an oven at around 375°F (190°C) for about an hour. This process polymerizes the oil, forming a protective layer on the skillet.
- Cleaning:
- Avoid using soap or harsh detergents, as they can strip away the seasoning. Instead, use a stiff brush or a non-metallic scrubber to clean off food particles.
- If necessary, use hot water and a brush to scrub off stubborn bits of food. Dry the skillet thoroughly to prevent rusting.
- Drying:
- Always dry your skillet thoroughly after washing. Water left on the surface can lead to rust.
- To ensure complete drying, place the skillet on a burner over low heat for a few minutes.
- Avoiding acidic foods:
- Acidic foods can strip away the seasoning and promote rust. Avoid cooking highly acidic foods like tomatoes for prolonged periods.
- If you do cook acidic foods, make sure to re-season your skillet afterward.
- Storage:
- Store your skillet in a dry place. If possible, place a paper towel or cloth between nested skillets to prevent moisture buildup.
- Regular use:
- Regular use of your iron skillet helps in maintaining its seasoning. Cooking with oils and fats contributes to the development of a natural non-stick surface.
- Handling rust:
- If you notice rust forming on your skillet, scrub it off with steel wool or a stiff brush. Afterward, re-season the skillet to restore its protective coating.
- Avoid extreme temperature changes:
- Rapid temperature changes can cause the iron to warp. Gradually heat and cool your skillet to prevent damage.
Final Thoughts
By following these tips, you can keep your iron skillet in excellent condition, ensuring it lasts for generations while providing you with reliable and efficient cooking performance.
Whether you’re camping at any of the Kiefer Campgrounds or cooking at home, always follow these steps when cleaning an iron skillet.
Campfire Ginger Apple Cider
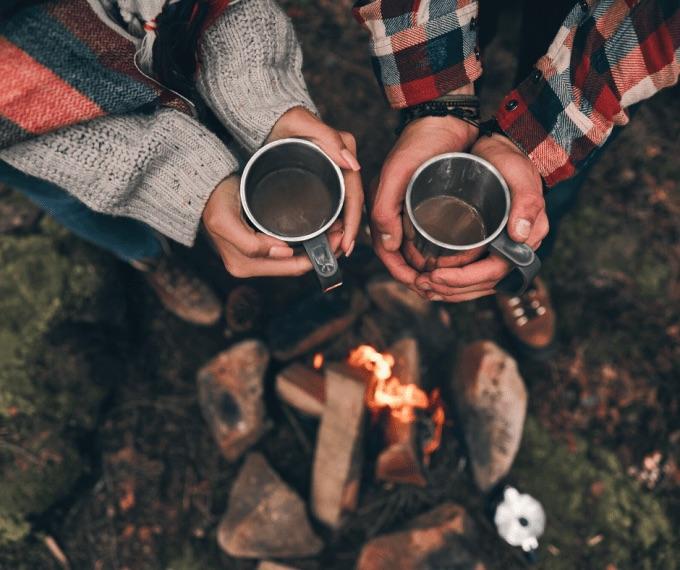
Campfire Ginger Apple Cider is a delightful and cozy beverage that combines the flavors of apple cider with the warmth of ginger, perfect for enjoying around a campfire or on a chilly evening. Here’s a simple recipe for making Campfire Ginger Apple Cider:
Ingredients:
- 1 gallon of apple cider
- 1/4 cup fresh ginger, peeled and sliced (adjust to taste)
- 1 cinnamon stick
- 4-5 whole cloves
- 1 orange, sliced
- Optional: 1/4 cup brown sugar or maple syrup for sweetness (adjust to taste)
Instructions:
- In a large pot, combine the apple cider, sliced ginger, cinnamon stick, whole cloves, and orange slices.
- If you like your cider on the sweeter side, add brown sugar or maple syrup to the pot. Adjust the sweetness according to your taste preferences.
- Place the pot over medium heat and bring the mixture to a simmer. Be careful not to let it boil, as this can affect the flavor.
- Once the cider is simmering, reduce the heat to low and let it steep for at least 15-20 minutes. This allows the flavors to meld together.
- Remove the pot from the heat and strain out the ginger, cloves, cinnamon stick, and orange slices. You can use a fine mesh strainer or cheesecloth for this.
- Serve the Campfire Ginger Apple Cider warm in mugs. Optionally, you can garnish each serving with a cinnamon stick or a slice of orange.
- Enjoy your delicious Campfire Ginger Apple Cider by the fireside or wherever you like to cozy up!
Feel free to customize the recipe based on your preferences. You can also add a splash of rum or bourbon for an adult version if you like. Experiment with the ingredients to find the perfect balance of flavors for your taste buds.
Picture it! You cozied up next to the campfire while drinking a Campfire Ginger Apple Cider at one of our Kiefer Campgrounds. The perfect drink for fall or winter camping!
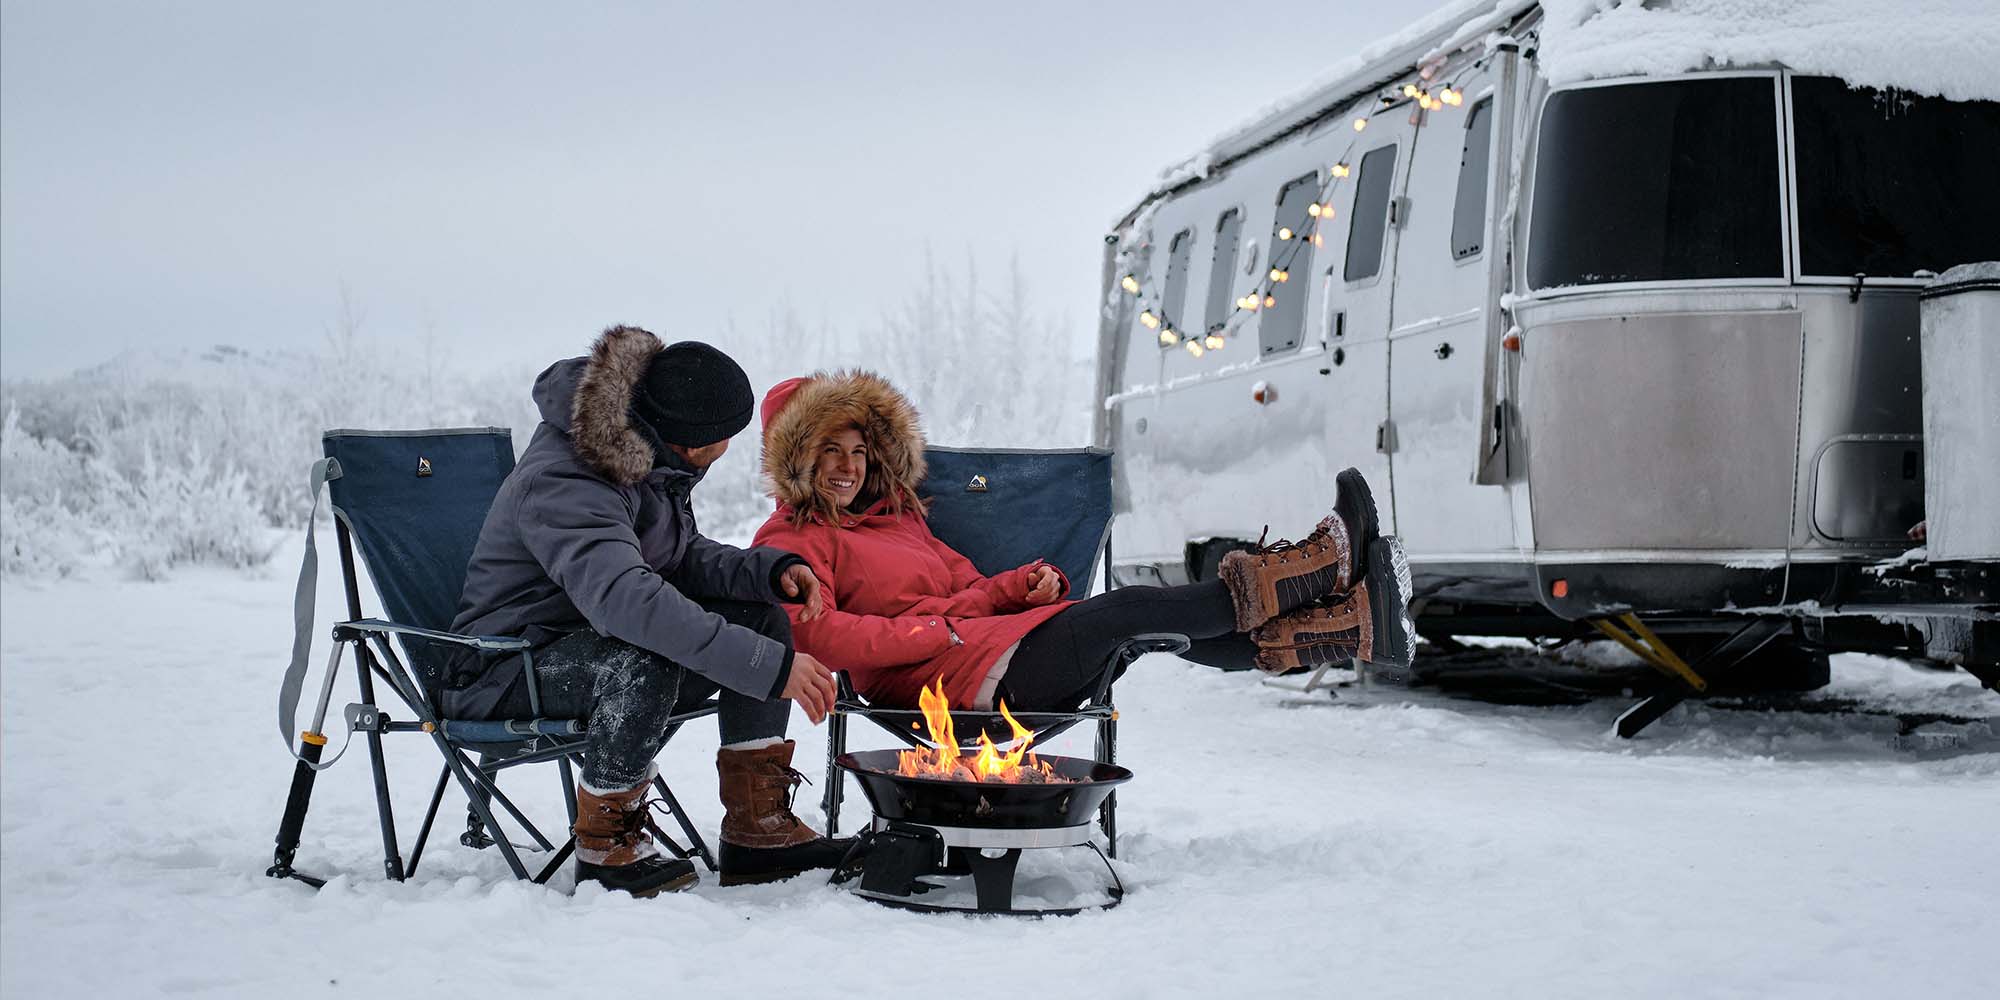
Staying Warm While Camping in Winter
Staying warm during winter camping is crucial for a comfortable and safe outdoor experience. Here are some tips to help you sleep warm:
Tips
- Choose the Right Sleeping Bag:
- Use a sleeping bag rated for colder temperatures than you expect. Look for a bag with a temperature rating that accommodates the lowest temperatures you anticipate encountering.
- Consider a mummy-shaped sleeping bag, as it provides better insulation by minimizing the amount of air inside.
- Use a Sleeping Bag Liner:
- Adding a sleeping bag liner can increase insulation and warmth. Liners can add a few extra degrees to your sleeping bag’s temperature rating.
- Insulate Yourself from the Ground:
- Place a good-quality sleeping pad underneath your sleeping bag to insulate yourself from the cold ground. The ground can absorb and drain body heat, so a well-insulated pad is essential.
- Dress in Layers:
- Wear thermal or moisture-wicking base layers to retain body heat. Layering allows you to adjust your clothing as needed to regulate your temperature.
- Wear a Hat:
- A significant amount of body heat is lost through the head. Wearing a warm hat can help retain heat and keep you warmer.
- Keep Feet Warm:
- Wear warm socks and consider using a hot water bottle at the foot of your sleeping bag. Warm feet can make a significant difference in overall comfort.
- Ventilation:
- While it may seem counterintuitive, make sure there is some ventilation in your tent. Moisture can accumulate inside the tent, leading to dampness and increased cold. Proper ventilation helps manage condensation.
- Choose a Good Tent:
- A four-season or winter tent is designed to withstand harsh weather conditions. It provides better insulation and protection against the cold.
- Campsite Selection:
- Choose a well-sheltered campsite away from cold winds. Wind can significantly impact the perceived temperature and make it feel colder than it is.
- Hot Water Bottles or Warm Rocks:
- Fill a sturdy water bottle with hot water and place it in your sleeping bag before bedtime. You can also heat rocks near the campfire and wrap them in a towel to place in your sleeping bag.
- Stay Dry:
- Moisture is your enemy in cold weather. Make sure your clothing and sleeping bag stays dry. Use rain covers for your backpack and be cautious about condensation inside your tent.
Final Thoughts
Remember to test your gear in controlled conditions before embarking on a winter camping trip. Staying warm is essential not only for comfort but also for your safety in cold environments.
Try out these great tips when camping at any of our Kiefer Campgrounds during these cold winter months.
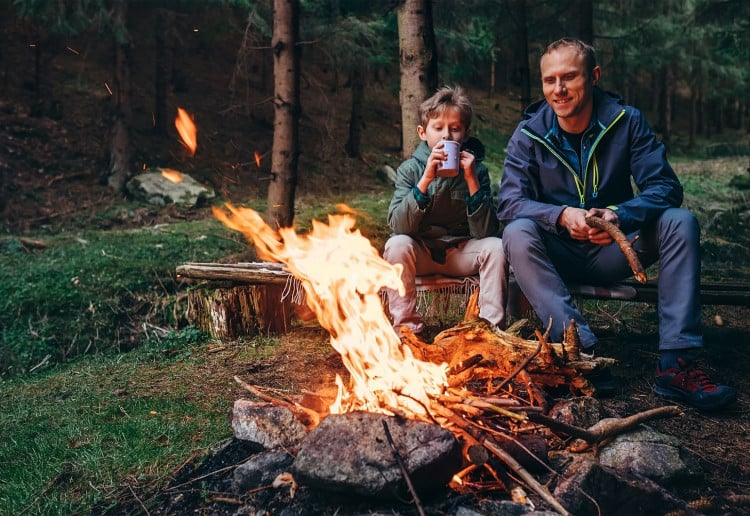
How to Start a Fire with Rocks
Starting a fire with rocks can be challenging, but it’s possible if you have the right materials and techniques. Here’s a basic method using a process called flint and steel:
Method
- Materials:
- A piece of flint or chert rock
- A piece of high-carbon steel, such as a knife or a dedicated striker
- Some dry, easily ignitable tinder, like dry grass, cotton balls, or char cloth
- Preparation:
- Ensure your tinder is very dry.
- Select a sharp edge on the flint or chert rock and a piece of steel with a hard, sharp edge.
- Striking:
- Hold the flint or chert rock in one hand and the steel in the other.
- Place the edge of the steel against the flint or chert rock at a 45-degree angle.
- Strike the steel down the edge of the flint or chert with a quick, firm motion. This should produce sparks.
- Catch the Sparks:
- Direct the sparks onto your dry tinder. If done correctly, the sparks should ignite the tinder.
- Blow on the Ember:
- Once the tinder catches fire, gently blow on it to encourage the flame to grow.
- Build a Fire:
- Once you have a small flame, carefully add kindling and fuel to build your fire.
This method requires practice and skill, as it can be quite challenging. It’s essential to have the right type of rocks (flint, chert) and a high-carbon steel striker for it to work effectively. Also, make sure to follow fire safety guidelines and have fire suppression tools nearby, like water, in case the fire gets out of control.
Remember that there are other fire-starting methods, such as using a fire starter, matches, lighters, or a magnifying glass, which are generally more reliable and easier for starting fires in survival situations.
At any of our Kiefer Campgrounds, we ask to be safe and take the precautions when handling fire.

Family owned and operated, Kiefer Campgrounds strive to offer you the best rates for a comfortable location with outstanding service, and spotless facilities. When you stay in one of our parks, you are no longer just a happy camper, but a part of our family! We are most certain you will enjoy your stay with us. Pick your favorite location and book your spot now before it’s too late! You’ll be happy you did!