
Heres Some Camping Tips & Tricks at Your Fingertips
Our Kiefer Campground Blog is the information you need to make your next camping trip even more enjoyable. From RV and camping tips and tricks, to amazing campfire recipes, to advice on planning your next trip... the information below is here to help you. And please, feel free to comment and share your experiences, knowledge and favorite recipes. At Kiefer Campground, we are a family and all here to help each other enjoy the great outdoors to the fullest!
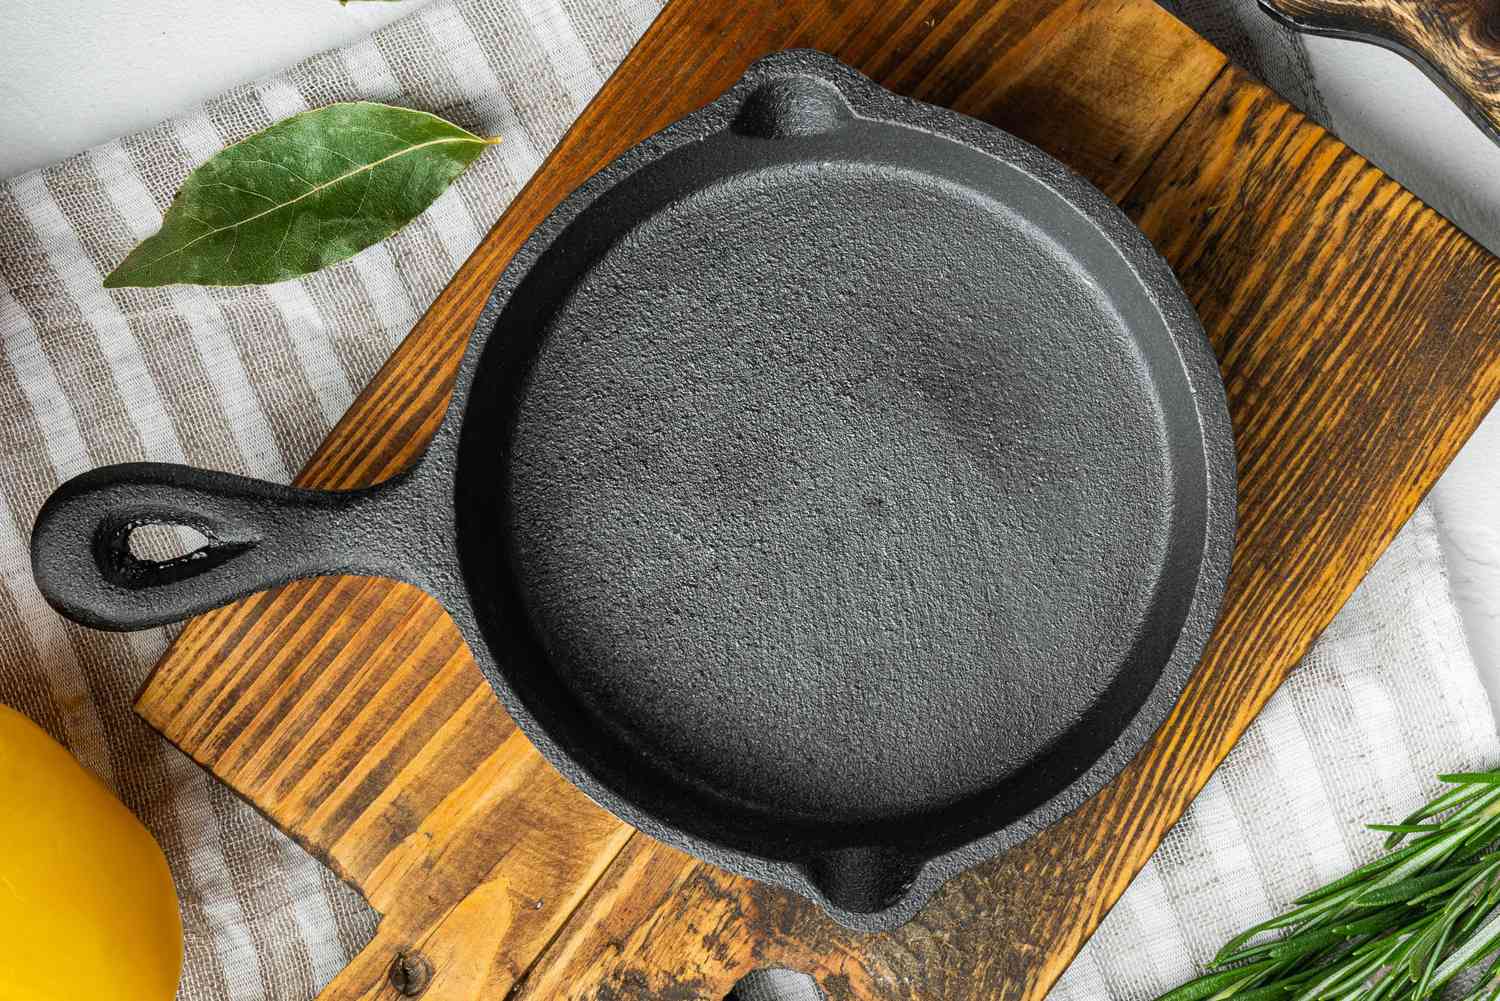
Iron Skillet Care
Caring for your iron skillet is crucial to maintain its performance and prevent rust. Here are some tips on iron skillet care:
Care Tips
- Seasoning:
- Seasoning is a crucial step in iron skillet care. It creates a natural, non-stick surface and helps prevent rust.
- To season your skillet, coat it with a thin layer of vegetable oil or flaxseed oil. Wipe off any excess oil with a paper towel.
- Bake the skillet upside down in an oven at around 375°F (190°C) for about an hour. This process polymerizes the oil, forming a protective layer on the skillet.
- Cleaning:
- Avoid using soap or harsh detergents, as they can strip away the seasoning. Instead, use a stiff brush or a non-metallic scrubber to clean off food particles.
- If necessary, use hot water and a brush to scrub off stubborn bits of food. Dry the skillet thoroughly to prevent rusting.
- Drying:
- Always dry your skillet thoroughly after washing. Water left on the surface can lead to rust.
- To ensure complete drying, place the skillet on a burner over low heat for a few minutes.
- Avoiding acidic foods:
- Acidic foods can strip away the seasoning and promote rust. Avoid cooking highly acidic foods like tomatoes for prolonged periods.
- If you do cook acidic foods, make sure to re-season your skillet afterward.
- Storage:
- Store your skillet in a dry place. If possible, place a paper towel or cloth between nested skillets to prevent moisture buildup.
- Regular use:
- Regular use of your iron skillet helps in maintaining its seasoning. Cooking with oils and fats contributes to the development of a natural non-stick surface.
- Handling rust:
- If you notice rust forming on your skillet, scrub it off with steel wool or a stiff brush. Afterward, re-season the skillet to restore its protective coating.
- Avoid extreme temperature changes:
- Rapid temperature changes can cause the iron to warp. Gradually heat and cool your skillet to prevent damage.
Final Thoughts
By following these tips, you can keep your iron skillet in excellent condition, ensuring it lasts for generations while providing you with reliable and efficient cooking performance.
Whether you’re camping at any of the Kiefer Campgrounds or cooking at home, always follow these steps when cleaning an iron skillet.
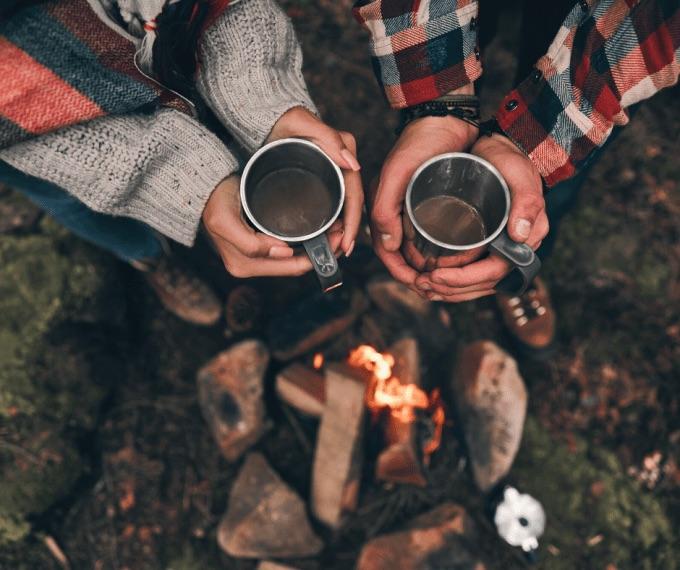
Campfire Ginger Apple Cider
Campfire Ginger Apple Cider is a delightful and cozy beverage that combines the flavors of apple cider with the warmth of ginger, perfect for enjoying around a campfire or on a chilly evening. Here’s a simple recipe for making Campfire Ginger Apple Cider:
Ingredients:
- 1 gallon of apple cider
- 1/4 cup fresh ginger, peeled and sliced (adjust to taste)
- 1 cinnamon stick
- 4-5 whole cloves
- 1 orange, sliced
- Optional: 1/4 cup brown sugar or maple syrup for sweetness (adjust to taste)
Instructions:
- In a large pot, combine the apple cider, sliced ginger, cinnamon stick, whole cloves, and orange slices.
- If you like your cider on the sweeter side, add brown sugar or maple syrup to the pot. Adjust the sweetness according to your taste preferences.
- Place the pot over medium heat and bring the mixture to a simmer. Be careful not to let it boil, as this can affect the flavor.
- Once the cider is simmering, reduce the heat to low and let it steep for at least 15-20 minutes. This allows the flavors to meld together.
- Remove the pot from the heat and strain out the ginger, cloves, cinnamon stick, and orange slices. You can use a fine mesh strainer or cheesecloth for this.
- Serve the Campfire Ginger Apple Cider warm in mugs. Optionally, you can garnish each serving with a cinnamon stick or a slice of orange.
- Enjoy your delicious Campfire Ginger Apple Cider by the fireside or wherever you like to cozy up!
Feel free to customize the recipe based on your preferences. You can also add a splash of rum or bourbon for an adult version if you like. Experiment with the ingredients to find the perfect balance of flavors for your taste buds.
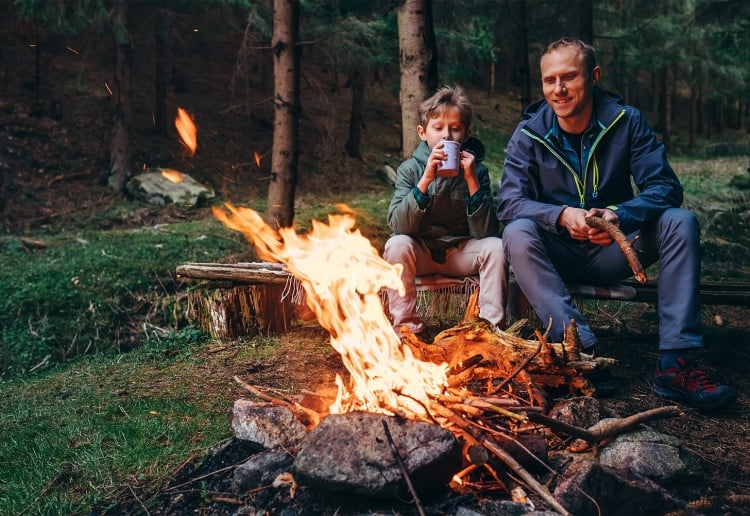
Picture it! You cozied up next to the campfire while drinking a Campfire Ginger Apple Cider at one of our Kiefer Campgrounds. The perfect drink for fall or winter camping!
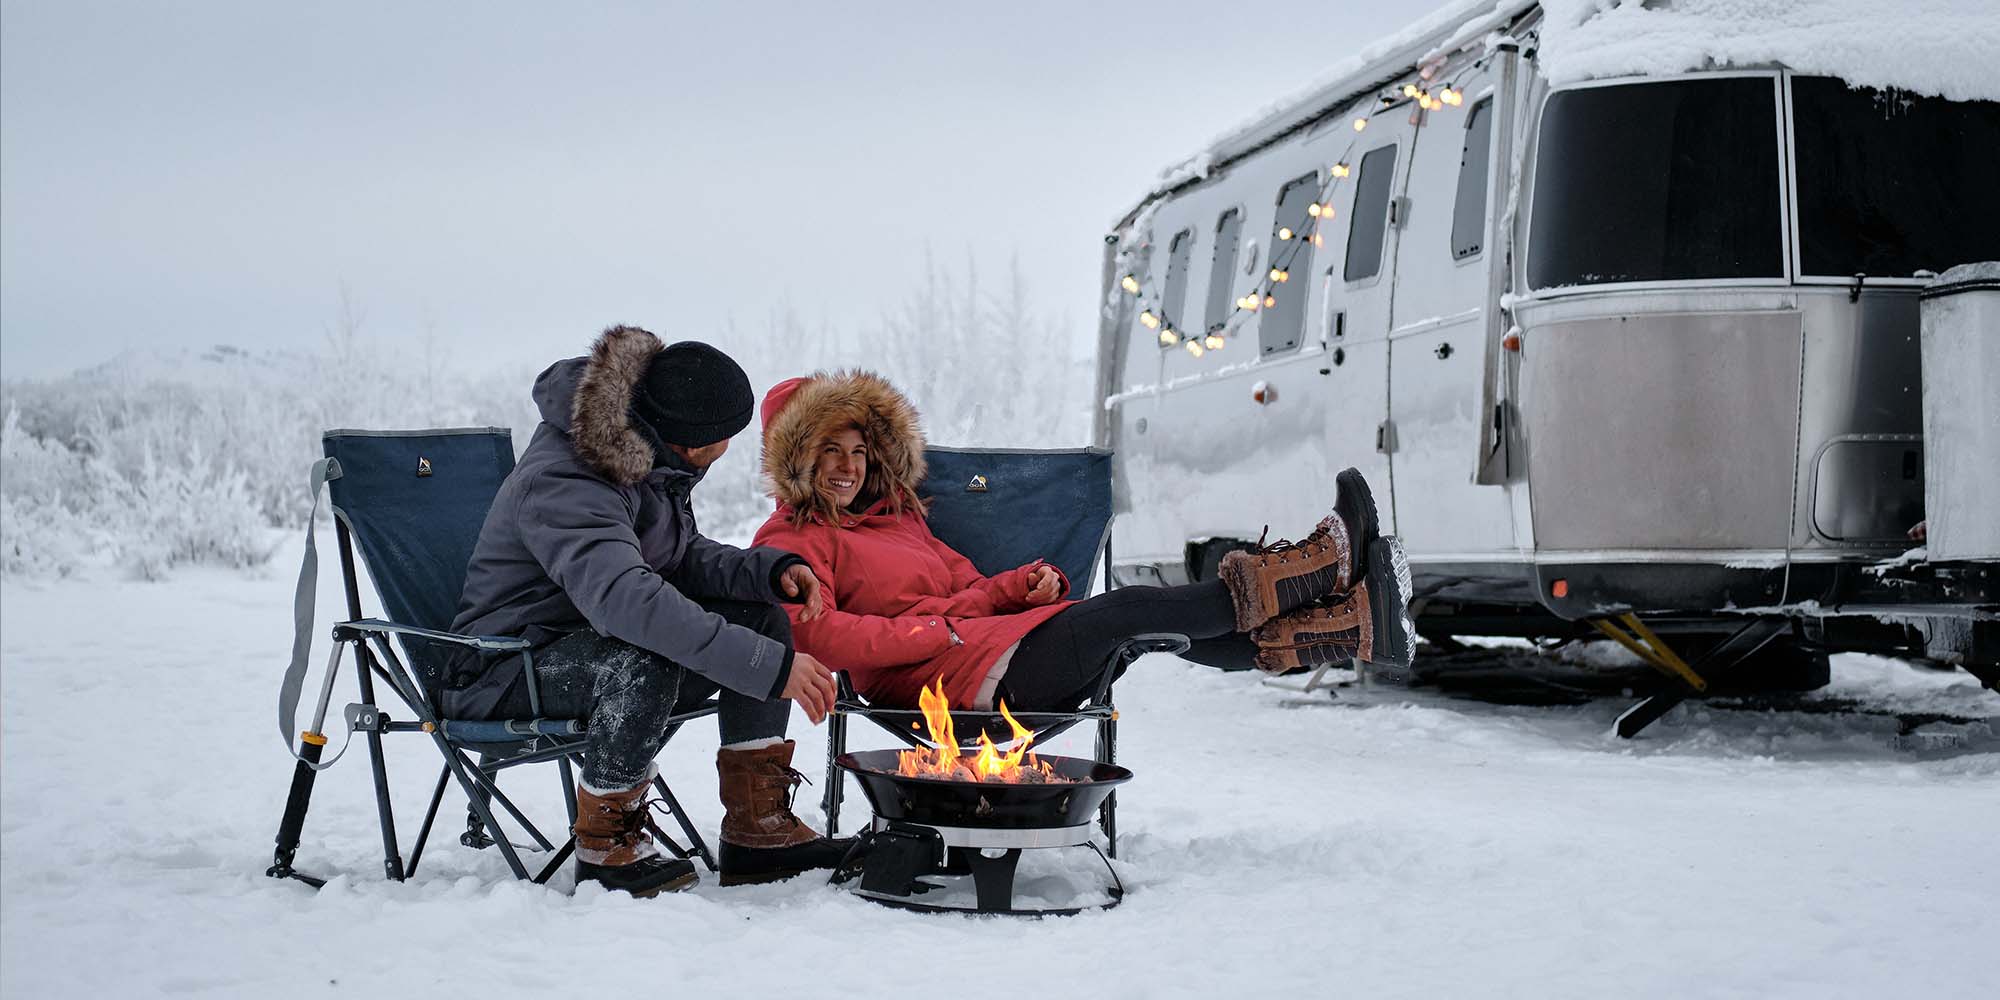
Staying Warm While Camping in Winter
Staying warm during winter camping is crucial for a comfortable and safe outdoor experience. Here are some tips to help you sleep warm:
Tips
- Choose the Right Sleeping Bag:
- Use a sleeping bag rated for colder temperatures than you expect. Look for a bag with a temperature rating that accommodates the lowest temperatures you anticipate encountering.
- Consider a mummy-shaped sleeping bag, as it provides better insulation by minimizing the amount of air inside.
- Use a Sleeping Bag Liner:
- Adding a sleeping bag liner can increase insulation and warmth. Liners can add a few extra degrees to your sleeping bag’s temperature rating.
- Insulate Yourself from the Ground:
- Place a good-quality sleeping pad underneath your sleeping bag to insulate yourself from the cold ground. The ground can absorb and drain body heat, so a well-insulated pad is essential.
- Dress in Layers:
- Wear thermal or moisture-wicking base layers to retain body heat. Layering allows you to adjust your clothing as needed to regulate your temperature.
- Wear a Hat:
- A significant amount of body heat is lost through the head. Wearing a warm hat can help retain heat and keep you warmer.
- Keep Feet Warm:
- Wear warm socks and consider using a hot water bottle at the foot of your sleeping bag. Warm feet can make a significant difference in overall comfort.
- Ventilation:
- While it may seem counterintuitive, make sure there is some ventilation in your tent. Moisture can accumulate inside the tent, leading to dampness and increased cold. Proper ventilation helps manage condensation.
- Choose a Good Tent:
- A four-season or winter tent is designed to withstand harsh weather conditions. It provides better insulation and protection against the cold.
- Campsite Selection:
- Choose a well-sheltered campsite away from cold winds. Wind can significantly impact the perceived temperature and make it feel colder than it is.
- Hot Water Bottles or Warm Rocks:
- Fill a sturdy water bottle with hot water and place it in your sleeping bag before bedtime. You can also heat rocks near the campfire and wrap them in a towel to place in your sleeping bag.
- Stay Dry:
- Moisture is your enemy in cold weather. Make sure your clothing and sleeping bag stays dry. Use rain covers for your backpack and be cautious about condensation inside your tent.
Final Thoughts
Remember to test your gear in controlled conditions before embarking on a winter camping trip. Staying warm is essential not only for comfort but also for your safety in cold environments.
Try out these great tips when camping at any of our Kiefer Campgrounds during these cold winter months.
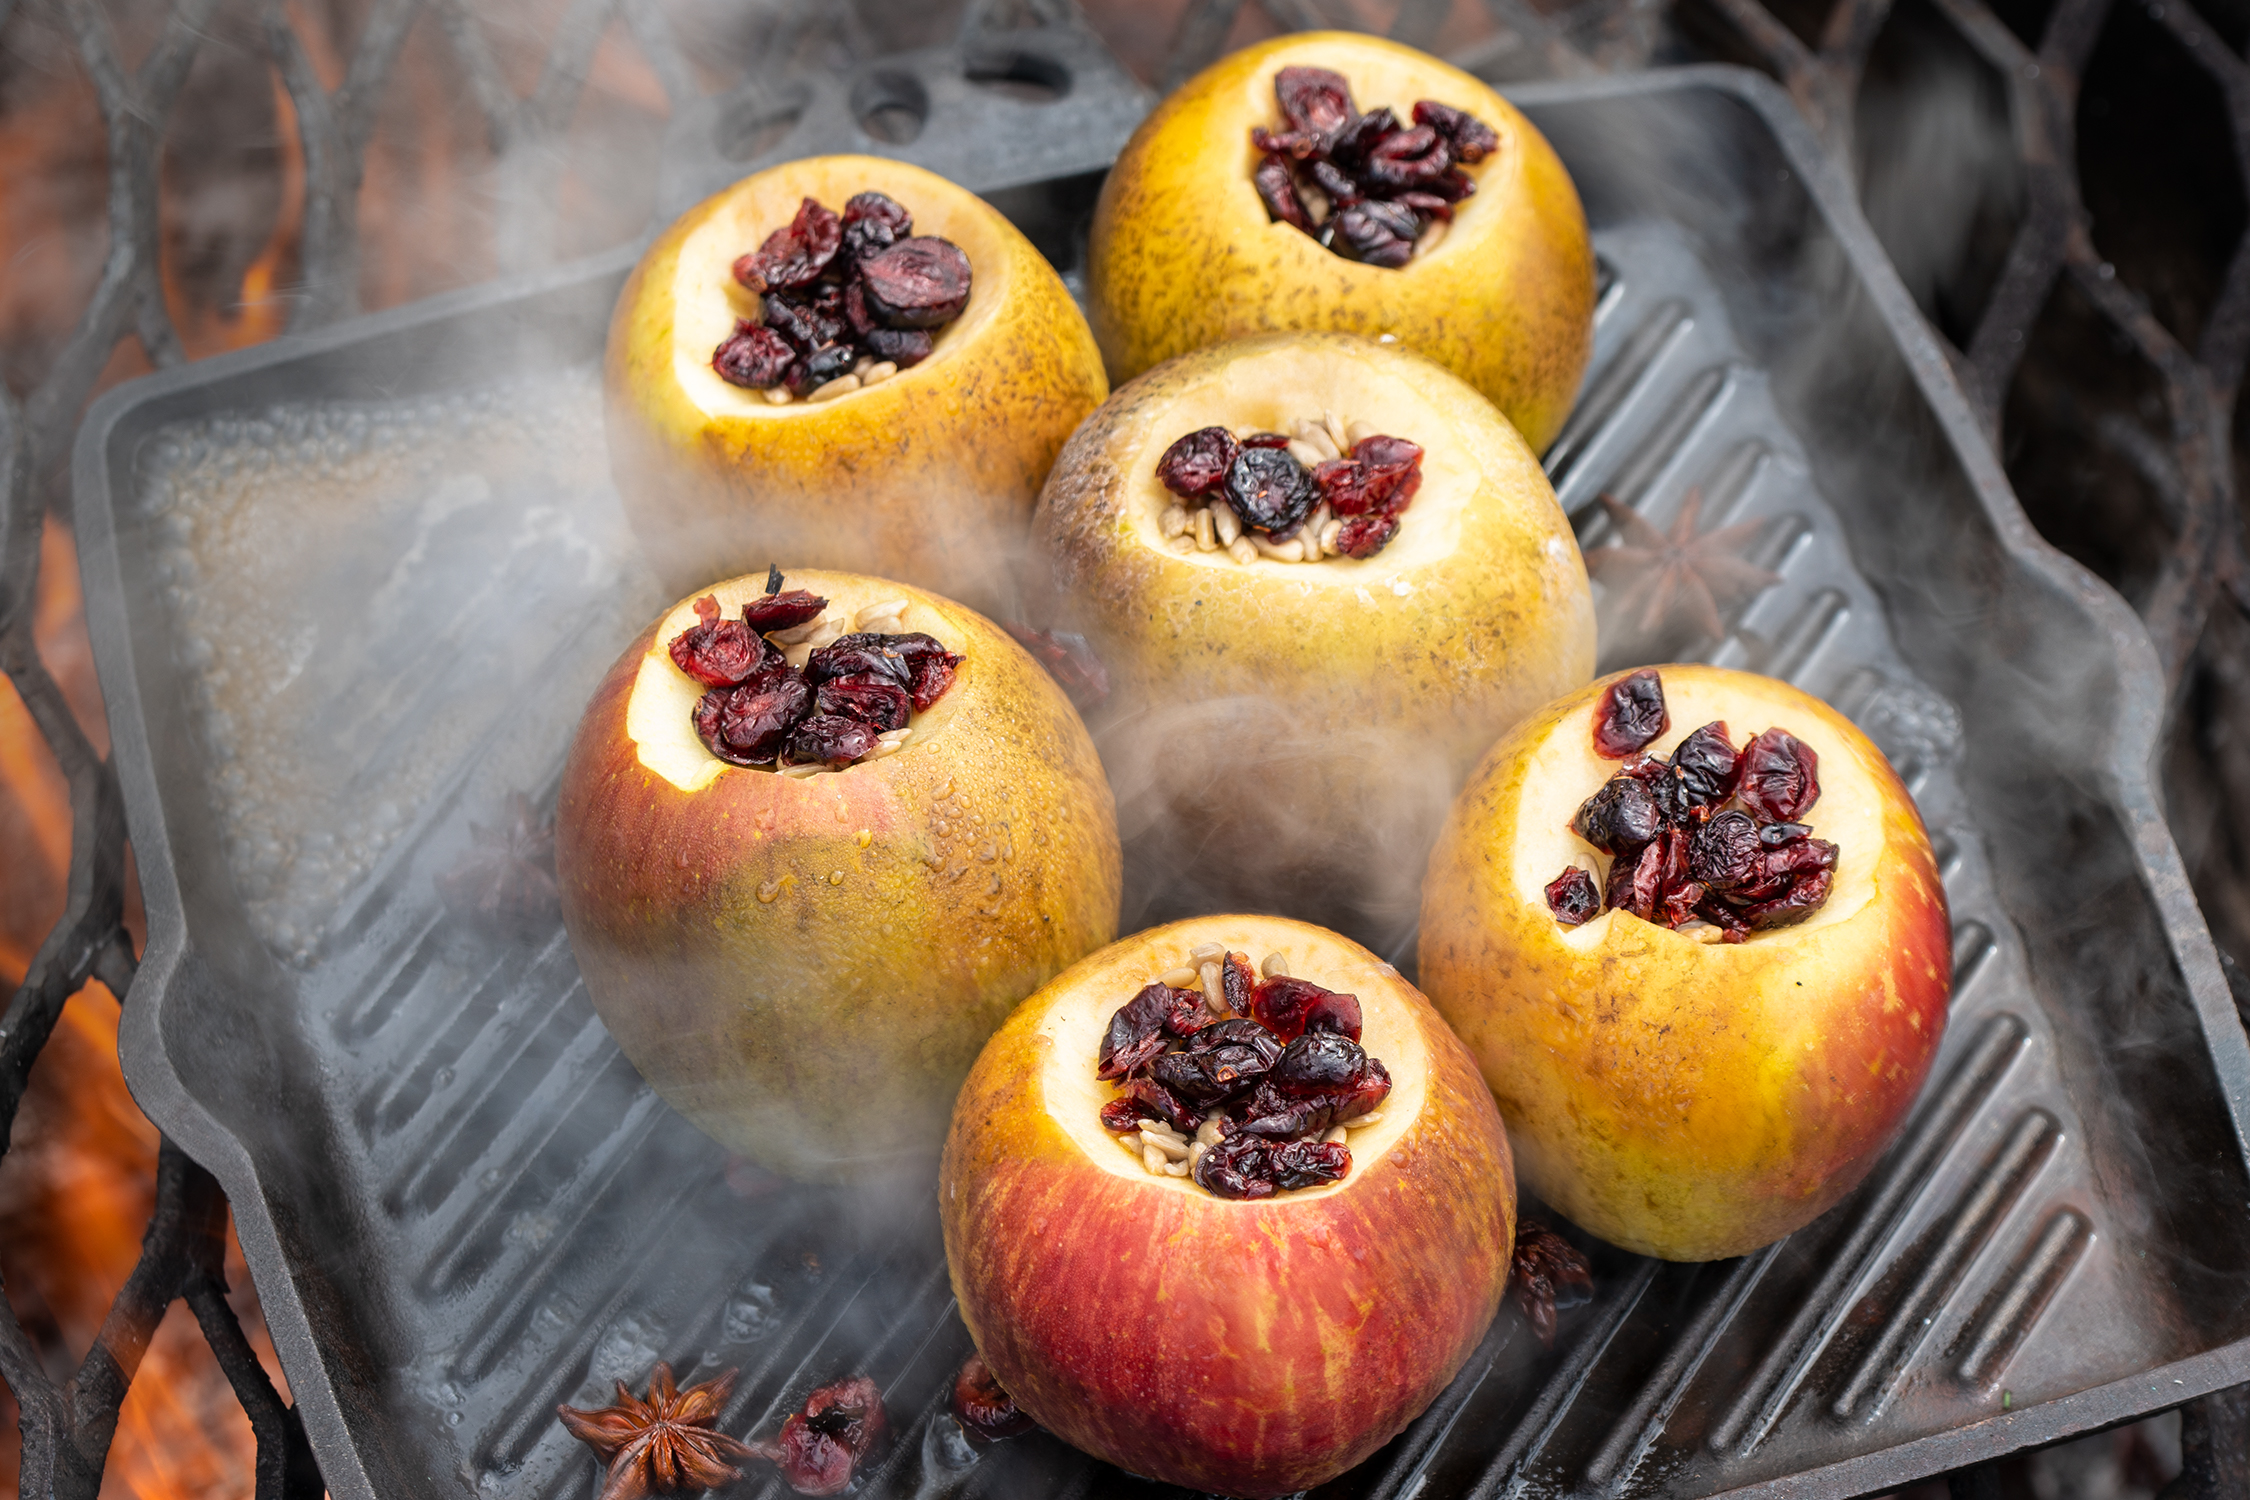
Campfire Baked Apples
Campfire-baked apples are a delicious and simple dessert that you can make over an open flame while camping or even in your backyard. Here’s a basic recipe for campfire-baked apples:
Ingredients:
- Apples (1 per serving)
- Brown sugar
- Cinnamon
- Butter
- Aluminum foil
Instructions:
- Prepare the Apples: Wash and core the apples, removing the seeds and creating a well in the center for your filling. You can leave the skin on for a rustic look, or peel them if you prefer.
- Fill the Apples: In each cored apple, add a pat of butter, a spoonful of brown sugar, and a sprinkle of cinnamon. The quantities can vary depending on your taste. You can also get creative by adding raisins, chopped nuts, or even a drizzle of caramel if you like.
- Wrap in Foil: Place each filled apple on a piece of aluminum foil large enough to wrap it completely. You can also add a bit more butter or sugar on top of the apple before sealing the foil.
- Wrap Tightly: Wrap the foil around the apple, sealing it tightly to prevent any leaks or spillage.
- Prepare the Campfire: Build a campfire or have a grill with open flames ready. You want a medium to low heat for baking the apples, not too close to the intense flames.
- Cook Over the Fire: Place the foil-wrapped apples on the grill or over the campfire grate, avoiding direct contact with flames. You can turn them occasionally to ensure even cooking.
- Cooking Time: Depending on the heat of the fire and the size of the apples, they will take around 20-30 minutes to cook. You’ll know they’re done when they’re soft and the filling is bubbly and caramelized.
- Serve: Carefully unwrap the foil, as it will be hot, and transfer the baked apple to a plate. You can serve it as is or top it with a scoop of vanilla ice cream for extra indulgence.
Remember to exercise caution when handling the hot foil packets, and use long tongs or gloves to avoid burns. Campfire-baked apples are a delightful and comforting treat that’s perfect for cool evenings spent outdoors. Enjoy!
You have to try this recipe out on your next camping trip to any of Kiefer Campgrounds!
How to Start a Fire with Rocks
Starting a fire with rocks can be challenging, but it’s possible if you have the right materials and techniques. Here’s a basic method using a process called flint and steel:
Method
- Materials:
- A piece of flint or chert rock
- A piece of high-carbon steel, such as a knife or a dedicated striker
- Some dry, easily ignitable tinder, like dry grass, cotton balls, or char cloth
- Preparation:
- Ensure your tinder is very dry.
- Select a sharp edge on the flint or chert rock and a piece of steel with a hard, sharp edge.
- Striking:
- Hold the flint or chert rock in one hand and the steel in the other.
- Place the edge of the steel against the flint or chert rock at a 45-degree angle.
- Strike the steel down the edge of the flint or chert with a quick, firm motion. This should produce sparks.
- Catch the Sparks:
- Direct the sparks onto your dry tinder. If done correctly, the sparks should ignite the tinder.
- Blow on the Ember:
- Once the tinder catches fire, gently blow on it to encourage the flame to grow.
- Build a Fire:
- Once you have a small flame, carefully add kindling and fuel to build your fire.
This method requires practice and skill, as it can be quite challenging. It’s essential to have the right type of rocks (flint, chert) and a high-carbon steel striker for it to work effectively. Also, make sure to follow fire safety guidelines and have fire suppression tools nearby, like water, in case the fire gets out of control.
Remember that there are other fire-starting methods, such as using a fire starter, matches, lighters, or a magnifying glass, which are generally more reliable and easier for starting fires in survival situations.
At any of our Kiefer Campgrounds, we ask to be safe and take the precautions when handling fire.

Campfire Chili Cheese Fries
Campfire chili cheese fries are a delicious and hearty dish often enjoyed during camping trips or outdoor gatherings around a campfire. This dish combines crispy french fries, flavorful chili, and melted cheese for a satisfying and indulgent meal. Here’s a basic recipe to make campfire chili cheese fries:
Ingredients for the Chili:
- 1 pound ground beef or ground turkey
- 1 onion, chopped
- 2 cloves garlic, minced
- 1 can (15 ounces) kidney beans, drained and rinsed
- 1 can (15 ounces) diced tomatoes
- 1 can (15 ounces) tomato sauce
- 2 tablespoons chili powder
- 1 teaspoon cumin
- Salt and pepper to taste
For the Fries:
- Frozen french fries or make your own using potatoes
- Cooking oil for frying
For the Cheese Sauce:
- 2 cups shredded cheddar cheese
- 1 cup milk
- 2 tablespoons all-purpose flour
- 2 tablespoons butter
- Salt and pepper to taste
Instructions:
- Prepare the Chili:
- In a large skillet or Dutch oven, brown the ground beef or turkey over medium heat, breaking it into crumbles as it cooks.
- Add the chopped onion and minced garlic and cook until the onion is translucent.
- Stir in the kidney beans, diced tomatoes, tomato sauce, chili powder, cumin, salt, and pepper. Simmer the chili for about 15-20 minutes, allowing the flavors to meld. If you’re making this at the campfire, use a campfire-safe pot or Dutch oven and cook it over the campfire, adjusting the heat as needed.
- Prepare the Fries:
- While the chili is simmering, cook the french fries according to the package instructions, either in an oven or a deep fryer. If you’re camping, you can use a campfire grate or a portable stove for frying.
- Make the Cheese Sauce:
- In a small saucepan, melt the butter over medium heat.
- Stir in the flour and cook for a minute or two until it forms a paste (roux).
- Gradually whisk in the milk and continue to whisk until the mixture thickens.
- Reduce the heat and stir in the shredded cheddar cheese until it’s smooth and creamy. Season with salt and pepper to taste.
- Assemble the Campfire Chili Cheese Fries:
- Arrange a serving of cooked fries on a plate or in a serving dish.
- Spoon a generous amount of chili over the fries.
- Drizzle the cheese sauce over the top of the chili.
- Serve hot, garnished with optional toppings like chopped green onions, jalapeños, or sour cream.
These campfire chili cheese fries are a crowd-pleaser and perfect for enjoying in an outdoor setting, whether you’re camping, tailgating, or simply having a backyard bonfire. Enjoy!
While camping at any of Kiefer Campgrounds, try this gooey recipe for campfire chili cheese fries!

Packing a Cooler Effectively
Packing a cooler effectively is essential to keep your food and beverages cold for an extended period, especially during outdoor activities like picnics, camping, or beach trips. Here’s a step-by-step guide on how to pack a cooler effectively:
- Choose the Right Cooler:
- Select an appropriately sized cooler for your needs. Packing a smaller cooler is easier to manage for short trips, while larger coolers are better for extended stays.
- Pre-chill the Cooler:
- Before packing, pre-chill the cooler by filling it with ice or ice packs for at least 30 minutes. This helps to create a cold environment from the start.
- Gather Supplies:
- Gather all the items you plan to put in the cooler, including food, drinks, ice packs, and any perishable items.
- Layer of Insulation:
- Place a layer of insulation at the bottom of the cooler. You can use frozen gel packs, a layer of ice, or even crumpled newspaper. This layer helps maintain the cold temperature and keeps items from coming into direct contact with the ice.
- Organize Food and Drinks:
- Organize your items logically. Place items that you’ll need last at the bottom and those you’ll need first on top.
- Use resealable plastic bags or airtight containers to prevent leakage and cross-contamination.
- Place raw meat, poultry, or seafood in a separate container or Ziploc bag to prevent any potential contamination.
- Layering:
- Layer items with ice packs or bags of ice. Start with a layer of ice packs or ice on top of the insulation.
- Place drinks and items you’ll use frequently on top of this layer.
- Add another layer of ice packs or ice, and then put in perishable items like fruits, vegetables, dairy products, and meats.
- Continue layering with ice packs or ice and food items until the cooler is full.
- Fill Empty Space:
- If there’s any empty space left, fill it with additional ice packs or ice cubes to maximize cold retention.
- It’s important to minimize air gaps, as they can lead to quicker temperature fluctuations.
- Top Layer:
- Place delicate or easily crushed items on top, like bread, chips, or snacks.
- If you have additional space, you can add more ice packs or a final layer of ice to ensure everything stays cold.
- Close the Cooler:
- Seal the cooler tightly to prevent warm air from entering and cold air from escaping.
- Use heavy-duty cooler straps or bungee cords to secure the lid and keep it closed during transport.
- Monitor Temperature:
- Keep a thermometer inside the cooler to monitor the temperature and ensure it stays below 40°F (4°C) for perishable items.
- Maintenance:
- As the ice melts, drain any excess water from the cooler to prevent the items from becoming waterlogged.
- Replace ice or ice packs as needed to maintain the desired temperature.
By following these steps, you can pack your cooler effectively to keep your food and beverages cold and safe for an extended period, allowing you to enjoy your outdoor adventures worry-free.

Campfire Bacon Pancakes
Making bacon pancakes over a campfire is a fun and delicious outdoor cooking idea. Here’s a basic guide on how you might go about it:
Ingredients:
- Pancake mix (pre-mixed or homemade)
- Bacon strips
- Maple syrup or your preferred pancake topping
Instructions:
- Prepare the pancake mix according to the instructions. If you’re using a pre-mixed batter, you might need to add water or milk and mix until you get a smooth consistency.
- Cook the bacon: You can cook the bacon directly on a campfire grate or using a pan or skillet. If you’re using a campfire, wait until you have a good bed of hot coals rather than open flames. Lay the bacon strips on the grate or in the pan and cook until they are crispy.
- Using the bacon grease: You can use some of the bacon grease to grease the cooking surface for your pancakes, just like you would with butter or oil. This will infuse the pancakes with a delicious smoky bacon flavor.
- Cook the pancakes: Pour pancake batter onto the cooked bacon in the pan or skillet. Cook until bubbles form on the surface and the edges look set. This usually takes a couple of minutes. Flip the bacon pancakes and cook for an additional couple of minutes on the other side.
- Serve: Stack the bacon pancakes and drizzle maple syrup over the top for that classic sweet and savory combination.
- Enjoy your campfire bacon pancakes!
Remember to exercise caution while cooking over a campfire, and make sure to follow all safety guidelines to prevent accidents. Cooking bacon pancakes over a campfire can be a bit more challenging than using a stove or griddle, so some experimentation might be required to get the timing and temperature right.
Overall, it’s a fun and rewarding outdoor cooking experience that combines the joy of camping with the comfort of a hearty breakfast.
Come enjoy this new recipe at Kiefer Campgrounds!
Camping For Beginners
Camping can be a wonderful and rewarding experience for beginners. Here are some tips to help you get started:
Beginners Guide
- Choose the Right Campsite: Start with established campgrounds or campsites that provide amenities like bathrooms, potable water, and possibly even electricity. As you gain more experience, you can venture into more primitive or backcountry camping.
- Gather Essential Gear: Invest in basic camping gear like a tent, sleeping bag, sleeping pad, camping stove, cookware, and a flashlight or headlamp. Borrow or rent equipment if you’re unsure about committing to a purchase.
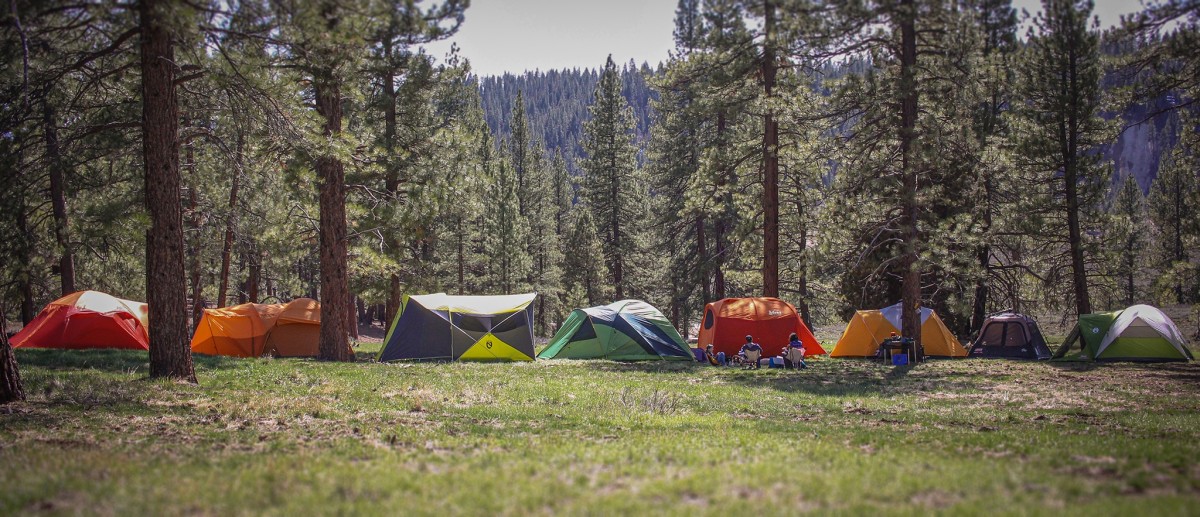
- Practice Pitching Your Tent: Before heading out, practice setting up your tent at home. This will help you become familiar with the process and ensure you’re not struggling with it at the campsite.
- Pack Appropriate Clothing: Check the weather forecast and pack clothing layers that can handle temperature fluctuations. Include rain gear and extra socks.
- Plan Meals: Plan simple meals that are easy to prepare. Pre-packaged camping foods, instant oatmeal, canned goods, and sandwiches are great options. Don’t forget to bring utensils and cookware.
- Stay Hydrated: Bring an adequate supply of potable water or a water filtration system if you’re camping in an area with access to natural water sources.
- Leave No Trace: Follow the principles of Leave No Trace, which means packing out all trash, minimizing impact on the environment, and respecting wildlife.
- Stay Organized: Keep your campsite tidy by designating specific areas for cooking, eating, and storing gear. This will help you find things easily and prevent accidents.
- Bring First Aid Supplies: Pack a basic first aid kit with essentials like bandages, antiseptic wipes, pain relievers, and any personal medications you might need.
- Check Campfire Regulations: If campfires are allowed at your chosen campsite, make sure to follow the local regulations. Bring firewood or a camping stove for cooking.
- Learn Basic Camping Skills: Familiarize yourself with basic camping skills like starting a fire, using a camping stove, tying knots, and basic navigation.
- Stay Safe: Let someone know your camping plans and expected return date. Carry a map, compass, or GPS device if you’re heading into more remote areas.
- Test Your Gear: Before your camping trip, set up and test all your equipment to ensure everything is in working order.
- Respect Quiet Hours: Be considerate of other campers by adhering to designated quiet hours.
- Embrace the Experience: Disconnect from technology and enjoy the natural surroundings. Listen to the sounds of nature, stargaze, and appreciate the tranquility.
Remember that your first camping trip might have a learning curve, so don’t be discouraged by any challenges you encounter. As you gain experience, you’ll become more comfortable with various aspects of camping. Soon you can start exploring more advanced techniques and locations.
Come to Kiefer Campgrounds for your first time camping!
Cinnamon Twists
Campfire cinnamon twists are a delightful and easy-to-make dessert that’s perfect for camping. These sweet and cinnamon-spiced treats are made from simple ingredients and cooked over the campfire. Here’s a simple recipe to make campfire cinnamon twists:
Ingredients:
- 1 package refrigerated crescent roll dough (8-count)
- 1/4 cup granulated sugar
- 2 teaspoons ground cinnamon
- Cooking spray or melted butter for brushing
- Wooden skewers or roasting sticks
Instructions:
- Prepare the campfire: Build a campfire and let it burn down until you have hot coals suitable for cooking. Set up a cooking grate over the campfire or use a designated fire pit area.
- Mix the cinnamon sugar: In a small bowl, combine the granulated sugar and ground cinnamon. Mix well to create the cinnamon sugar mixture.
- Prepare the dough: Open the package of refrigerated crescent roll dough and separate the triangles. On a clean surface or a cutting board, roll each triangle into a long strip, similar to a rope shape.
- Coat with cinnamon sugar: Dip each dough strip into the cinnamon sugar mixture, making sure to coat it thoroughly.
- Twist the dough: Take each coated dough strip and twist it around a wooden skewer or roasting stick. Press the ends of the dough firmly to secure them in place on the skewer.
- Cook over the campfire: Hold the skewers with the twisted dough strips over the campfire, rotating them regularly to cook them evenly. The dough will cook quickly, so keep an eye on them to avoid burning. The cinnamon twists are done when they turn golden brown and puff up slightly.
- Brush with butter (optional): If desired, you can brush the cooked cinnamon twists with melted butter for added flavor and shine.
- Serve and enjoy: Carefully remove the campfire cinnamon twists from the skewers and serve them warm. These delicious treats are best enjoyed right away.
Note:
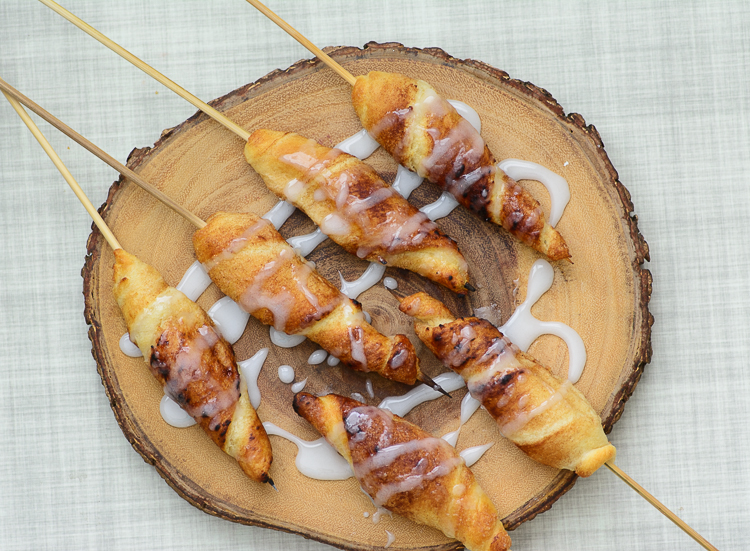
You can customize these campfire cinnamon twists by adding a drizzle of icing or a sprinkle of powdered sugar for an extra sweet touch.
Campfire cinnamon twists are a delightful and satisfying camping dessert that the whole family will love. They are quick to make, and the wonderful aroma of cinnamon will fill the air as they cook over the campfire. Enjoy these sweet and tasty treats as a perfect ending to your camping adventure!
Try this new sweet treat on your next visit with us at Kiefer Campgrounds!

Family owned and operated, Kiefer Campgrounds strive to offer you the best rates for a comfortable location with outstanding service, and spotless facilities. When you stay in one of our parks, you are no longer just a happy camper, but a part of our family! We are most certain you will enjoy your stay with us. Pick your favorite location and book your spot now before it’s too late! You’ll be happy you did!