
Heres Some Camping Tips & Tricks at Your Fingertips
Our Kiefer Campground Blog is the information you need to make your next camping trip even more enjoyable. From RV and camping tips and tricks, to amazing campfire recipes, to advice on planning your next trip... the information below is here to help you. And please, feel free to comment and share your experiences, knowledge and favorite recipes. At Kiefer Campground, we are a family and all here to help each other enjoy the great outdoors to the fullest!

Benefits of Staying at a Cabin vs. a Hotel
What is on your mind when the weather begins to warm and spring has everything blooming? Well, for most people, the answer is simple. Travel. Everyone wants to get out of their home and go somewhere new and exciting, or visit somewhere fun they have been before. The world is changing but people still get restless after being stuck indoors all winter. This year, when you travel, try something different. Stay at a cabin instead of a hotel.
Cabins will often cost about the same as a standard hotel room. Trip Advisor shows local hotel rooms starting around $100 per night for a basic one-bedroom for the first weekend of April. Our local campground charges $120 per night for a cabin with a one or two-bedroom option. The cabins include some added amenities you would not find in a standard motel room though a stove top, fridge, dishware, and personal grill helps to give you the comfort of home while enjoying your trip.
No more hearing the guests in the room next to you yelling, or listening to kids running up and down the halls. No more awkward elevator sharing as you try to find your room. You can wake to the sound of birds outside your window. Spend your evening by the campfire, watch the sunset over the lake, enjoy nature while grilling your dinner, or try out one of the other amenities the campground has to offer.
Campgrounds vary on amenities they offer. Our Camp Lakewood Campground has a lounge that offers alcohol and gaming. Terre Haute Campground offers peddle carts and gem mining. Madison Campground has arcade games. These are just examples of added perks you will find when you choose to stay at a cabin. Other amenities we offer include:
- Free parking
- Free Wi-Fi
- Free fishing/pool (depending on location)
- Fire Rings
- Laundry Room
- Personal Patio with Grill
- Room Service: simply call the office during business hours and have anything we offer be delivered to your site.
- Convenience store: filled with any supplies you might have forgotten at home, as well as souvenirs.
If you are interested in trying one out you can book your reservation now at any of our campgrounds. Kiefer Campgrounds would love to welcome you to your new home away from home.
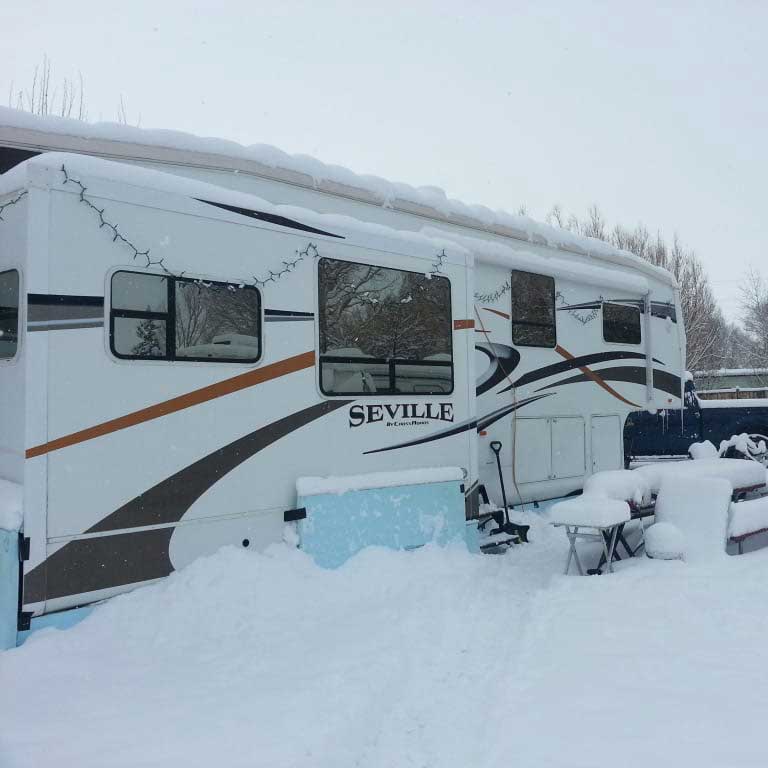
Simple Steps to Winterize your RV
Winterizing your RV is imperative as the freezing temperatures set in. To prevent expensive repairs as the spring thaw sets in, winterize your RV now. That means either taking it to a dealer to have it winterized for you or doing it yourself. If you decide to do it yourself, following the guide below will help you keep your water lines from breaking.
Tools Needed Before You Begin
- Cordless power drill with #2 square tip driver bit
- Socket wrench and 1-1/16″ socket
- Flashlight
- New anode rod or plastic plug
- 3-4 gallons of antifreeze (a little extra never hurts)
- 2 Crescent wrenches or a set of open-end wrenches
- Siphoning kit (if the pump is not already equipped)
- Water heater bypass kit (if not already equipped)
- Needle nose pliers or a screwdriver
Steps To Winterize Your RV
- 1. Drain and Flush the Black and Gray Water Tanks
- Draining these tanks prevents bacteria growth and breakage. Once both are drained, clean the black tank with a special black tank cleaner or a cleaning wand.
- 2. Drain and Flush the Water Heater
- Turn off your water heater and let it cool down. Hook up city water to your RV with the water turned off. Use your socket wrench to remove the drain plug or anode rod and then open the pressure relief valve. Don’t drain the water heater if it’s hot or has pressure built up. Wait until the temperature and pressure come down. Then turn the water pressure on and flush out the sediment for a few minutes. Remove the anode rod if old and leave it out during winter but do not forget to get a new one for spring.
- 3. Bypass the Water Heater
- Before adding anti-freeze to your RV, you need to make sure you bypass the water heater. Some RVs will have a bypass already installed. To find the water heater, locate the water heater service door on the exterior of the RV and line that up with where it feeds inside. More often than not, there’s an access panel inside that you will need to remove. Using your drill and square driver bit, remove the panel to access the valves and adjust them to properly bypass the water heater.
- 4. Drain the Fresh Tank and Low Point Drains
- Be sure the water pressure is off before removing the plug and draining the freshwater tank. It’s a good idea to open the faucets to help increase the flow. Close all the faucets and plug the low point drains before moving on.
- 5. Locate the Water Pump
- Attach the siphoning kit, or if your RV has one installed, find the siphoning hose and place it inside your gallon of antifreeze. Open the valve and turn on the water pump to push the antifreeze thru the system.
- 6. Open External Faucets and Valves on the Outside of the RV
- Starting low and going upwards, open low point drains valves or loose the low point drain plugs to allow water to run out. Do so until the water turns pink (this is the antifreeze), then close the valves or retighten the plugs. Turn on any outside showers or exterior faucets, running one side (hot or cold) until it runs pink then close it and run the other.
- 7. Open Internal Faucets, Showers, and Toilets
- Repeating step six, run the faucets inside (kitchen, bathroom, and showers) starting with one side until it runs pink then closing it and running the other side. Then move on to the toilets until you see the antifreeze.
- 8. Pour Antifreeze Down P-Traps
- You should finish up by pouring some additional antifreeze down the drain of each sink, shower, and toilet in the RV to ensure the exterior termination pipes don’t freeze. Finally, double-check that the water heater’s heating element is turned off and all faucets are closed.
Get Help If You Need It
If this process is too much, remember you can have a professional help you. Your owner’s manual can also help you with weatherization.

Family owned and operated, Kiefer Campgrounds strive to offer you the best rates for a comfortable location with outstanding service, and spotless facilities. When you stay in one of our parks, you are no longer just a happy camper, but a part of our family! We are most certain you will enjoy your stay with us. Pick your favorite location and book your spot now before it’s too late! You’ll be happy you did!