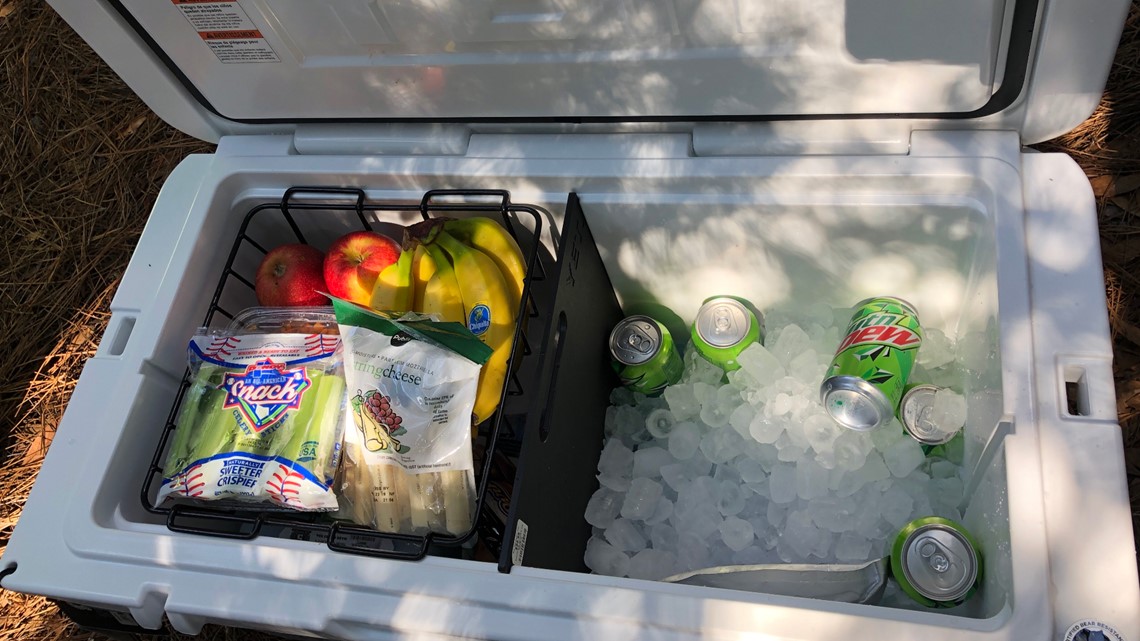
Packing a Cooler Effectively

Packing a cooler effectively is essential to keep your food and beverages cold for an extended period, especially during outdoor activities like picnics, camping, or beach trips. Here’s a step-by-step guide on how to pack a cooler effectively:
- Choose the Right Cooler:
- Select an appropriately sized cooler for your needs. Packing a smaller cooler is easier to manage for short trips, while larger coolers are better for extended stays.
- Pre-chill the Cooler:
- Before packing, pre-chill the cooler by filling it with ice or ice packs for at least 30 minutes. This helps to create a cold environment from the start.
- Gather Supplies:
- Gather all the items you plan to put in the cooler, including food, drinks, ice packs, and any perishable items.
- Layer of Insulation:
- Place a layer of insulation at the bottom of the cooler. You can use frozen gel packs, a layer of ice, or even crumpled newspaper. This layer helps maintain the cold temperature and keeps items from coming into direct contact with the ice.
- Organize Food and Drinks:
- Organize your items logically. Place items that you’ll need last at the bottom and those you’ll need first on top.
- Use resealable plastic bags or airtight containers to prevent leakage and cross-contamination.
- Place raw meat, poultry, or seafood in a separate container or Ziploc bag to prevent any potential contamination.
- Layering:
- Layer items with ice packs or bags of ice. Start with a layer of ice packs or ice on top of the insulation.
- Place drinks and items you’ll use frequently on top of this layer.
- Add another layer of ice packs or ice, and then put in perishable items like fruits, vegetables, dairy products, and meats.
- Continue layering with ice packs or ice and food items until the cooler is full.
- Fill Empty Space:
- If there’s any empty space left, fill it with additional ice packs or ice cubes to maximize cold retention.
- It’s important to minimize air gaps, as they can lead to quicker temperature fluctuations.
- Top Layer:
- Place delicate or easily crushed items on top, like bread, chips, or snacks.
- If you have additional space, you can add more ice packs or a final layer of ice to ensure everything stays cold.
- Close the Cooler:
- Seal the cooler tightly to prevent warm air from entering and cold air from escaping.
- Use heavy-duty cooler straps or bungee cords to secure the lid and keep it closed during transport.
- Monitor Temperature:
- Keep a thermometer inside the cooler to monitor the temperature and ensure it stays below 40°F (4°C) for perishable items.
- Maintenance:
- As the ice melts, drain any excess water from the cooler to prevent the items from becoming waterlogged.
- Replace ice or ice packs as needed to maintain the desired temperature.
By following these steps, you can pack your cooler effectively to keep your food and beverages cold and safe for an extended period, allowing you to enjoy your outdoor adventures worry-free.
Family owned and operated, Kiefer Campgrounds strive to offer you the best rates for a comfortable location with outstanding service, and spotless facilities. When you stay in one of our parks, you are no longer just a happy camper, but a part of our family! We are most certain you will enjoy your stay with us. Pick your favorite location and book your spot now before it’s too late! You’ll be happy you did!


