
Heres Some Camping Tips & Tricks at Your Fingertips
Our Kiefer Campground Blog is the information you need to make your next camping trip even more enjoyable. From RV and camping tips and tricks, to amazing campfire recipes, to advice on planning your next trip... the information below is here to help you. And please, feel free to comment and share your experiences, knowledge and favorite recipes. At Kiefer Campground, we are a family and all here to help each other enjoy the great outdoors to the fullest!
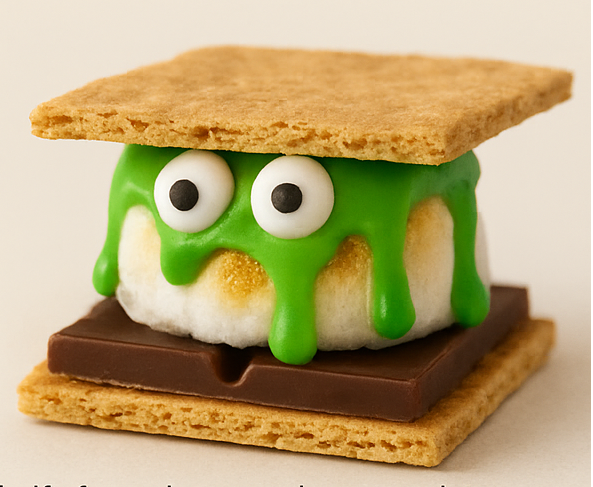
🍫👻 Monster S’mores Recipe
Beware… these Monster S’mores are frighteningly good! 👀🔥🍫
Ingredients:
- Graham crackers
- Marshmallows
- Chocolate bars
- Candy eyes
- Green icing or melted green-tinted white chocolate (for “slime”)
Instructions:
- Build your base: Place half of a graham cracker on a plate or napkin.
- Add the chocolate: Top the cracker with a square of your favorite chocolate bar.
- Toast the marshmallow: Roast your marshmallow over the campfire until golden and gooey.
- Assemble the s’more: Sandwich the roasted marshmallow between the chocolate and another graham cracker half.
- Make it monstrous: Use green icing to add “slime” oozing out the sides. Stick candy eyes onto the top cracker or icing while it’s still warm.
- Serve & scare: Enjoy your creepy-cute Monster S’more by the fire! 🔥🍫
Try this easy recipe the next time you stay at Kiefer Campgrounds on Halloween!
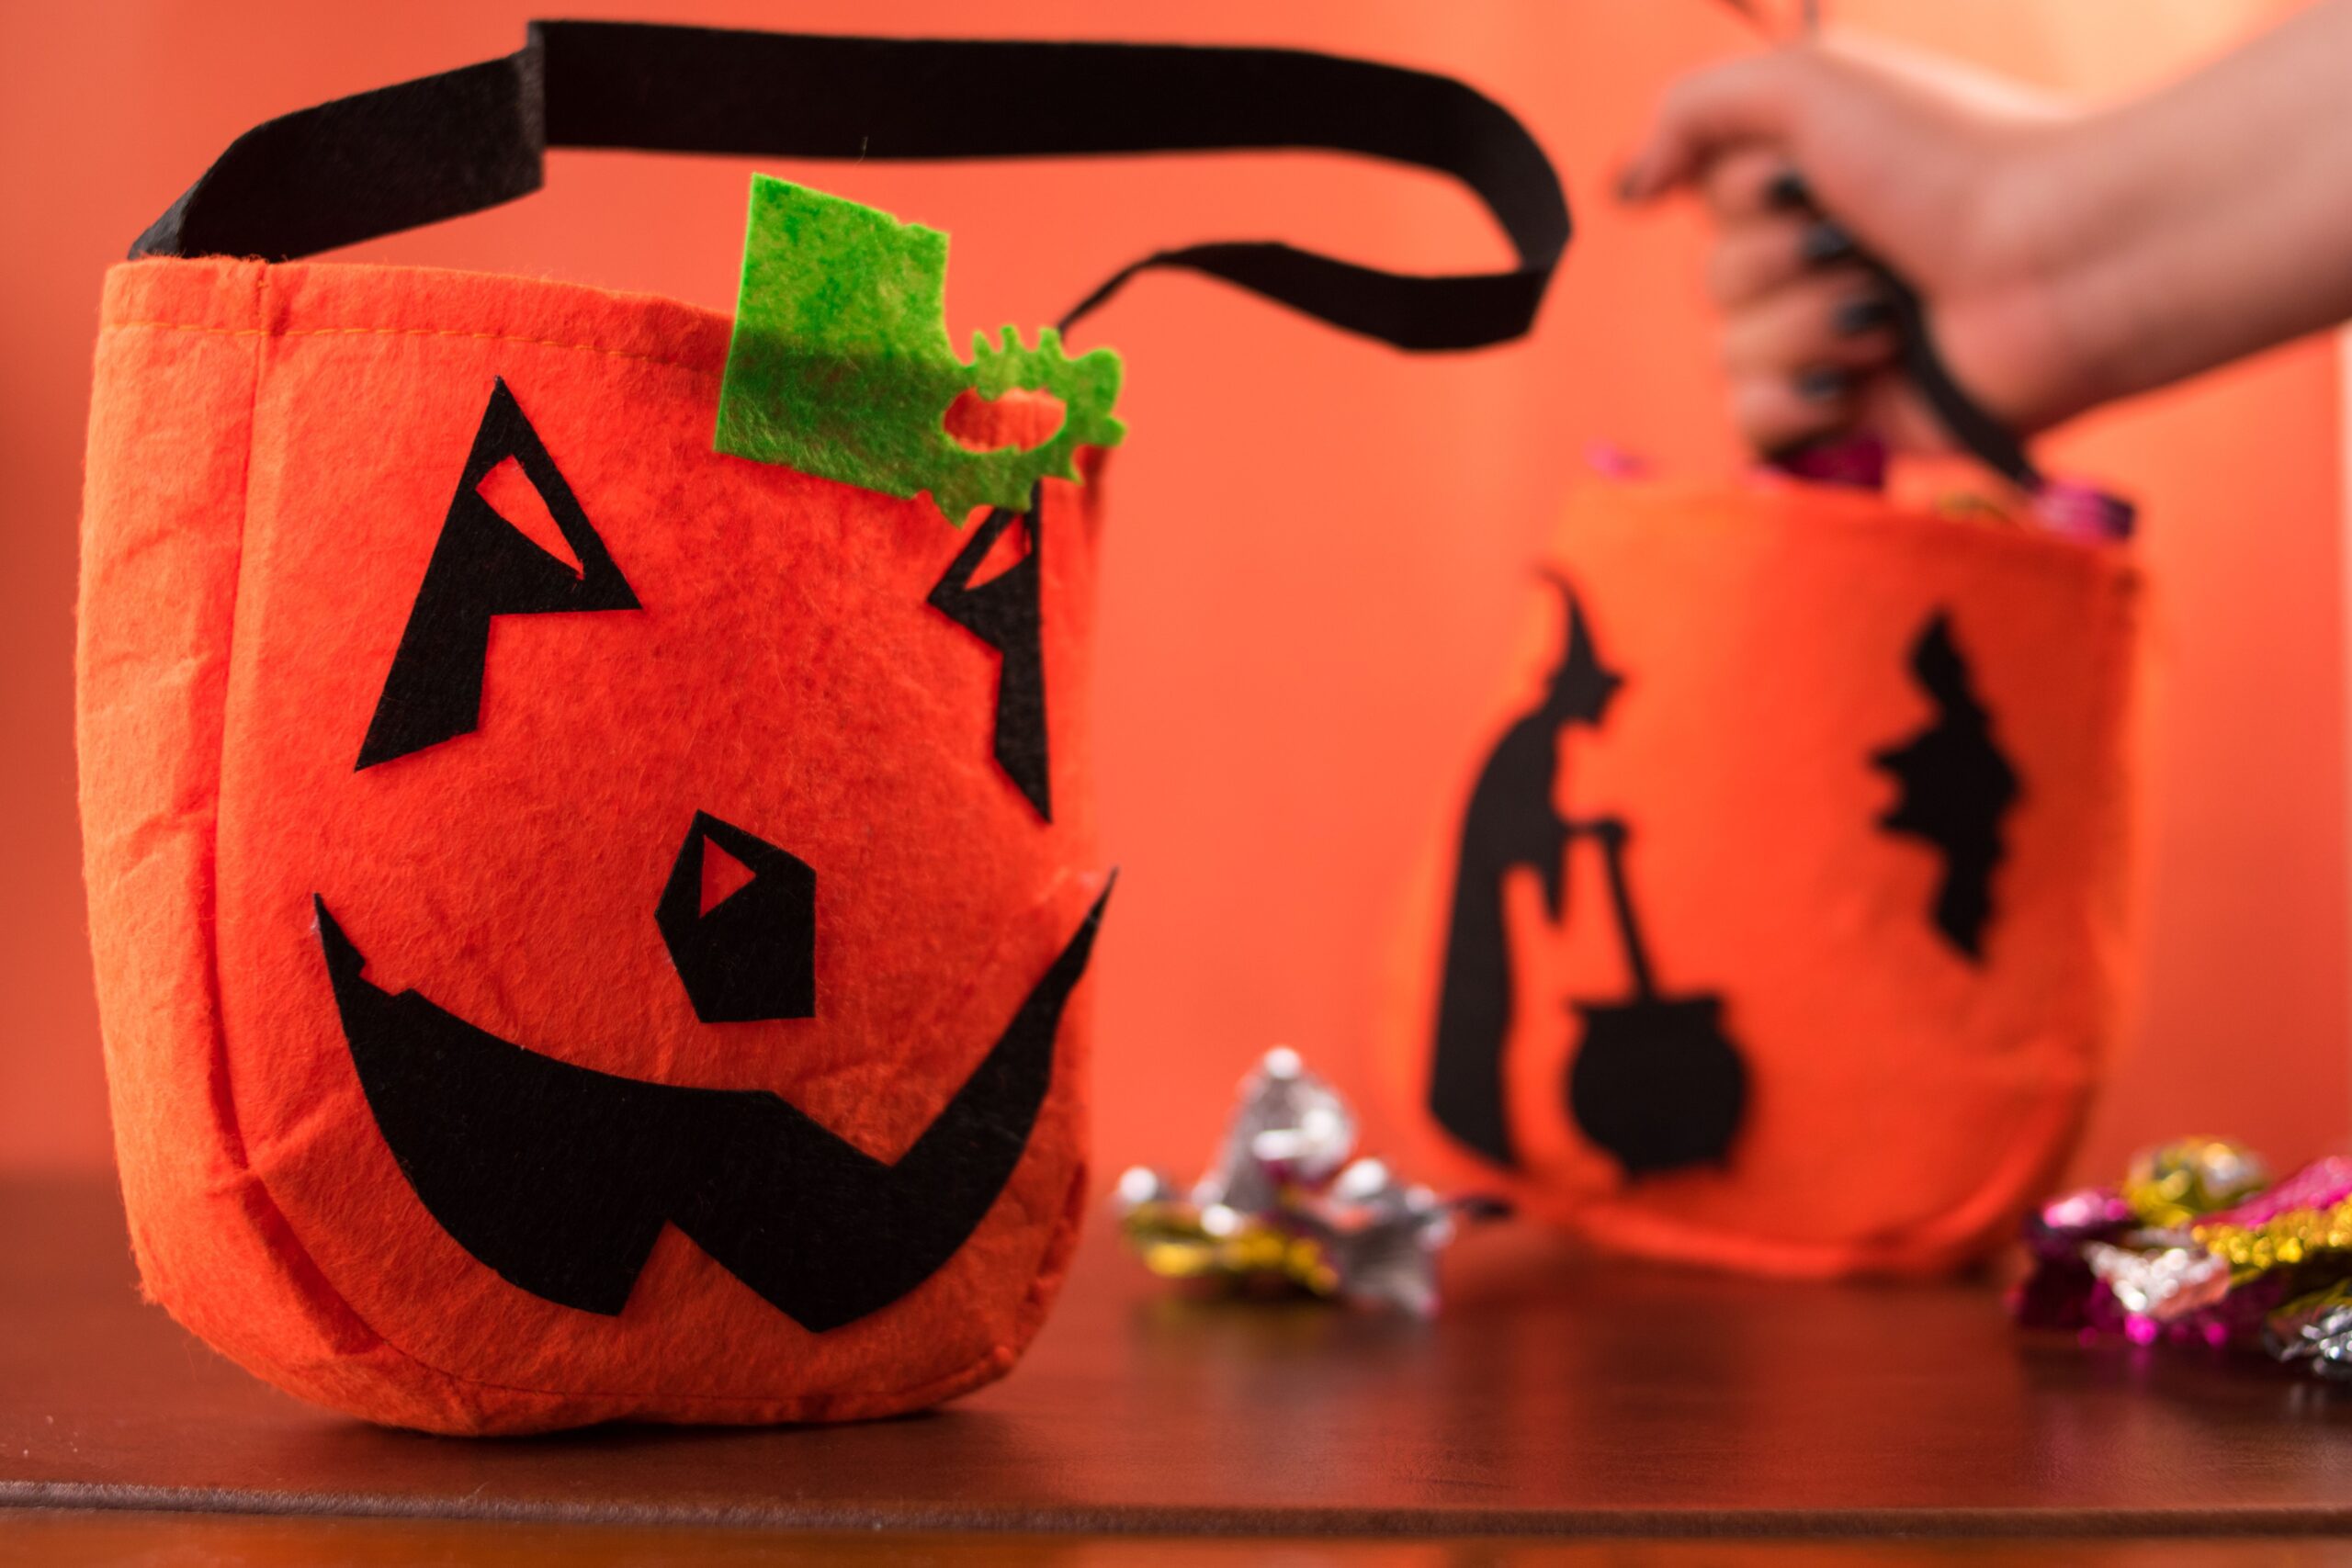
🕸️ How to Make Your Own Trick-or-Treat Bag! 🍬
Why buy one when you can make it yourself? Get creative and design a spook-tacular bag to carry all your Halloween candy! 👻
🧵 What You’ll Need:
- Plain canvas tote or pillowcase
- Fabric markers or acrylic paint
- Stencils or Halloween stickers
- Optional: felt, ribbon, or glow-in-the-dark paint
🎨 Steps:
- Lay Out Your Design: Sketch your idea — pumpkins, ghosts, bats, your name — anything fun and spooky!
- Decorate: Use markers or paint to bring it to life. Add stickers, patches, or felt cutouts for extra flair.
- Personalize It: Write your name so no one “accidentally” takes your candy! 😉
- Let It Dry: Make sure everything is fully dry before using.
- Add a Safety Touch: Outline your designs with reflective or glow-in-the-dark paint so cars can see you while trick-or-treating.
🎃 Bonus Tip:
Turn it into a family craft night — everyone makes their own unique bag!
Try making your own trick-or-treat bags during your next stay at Kiefer Campgrounds!
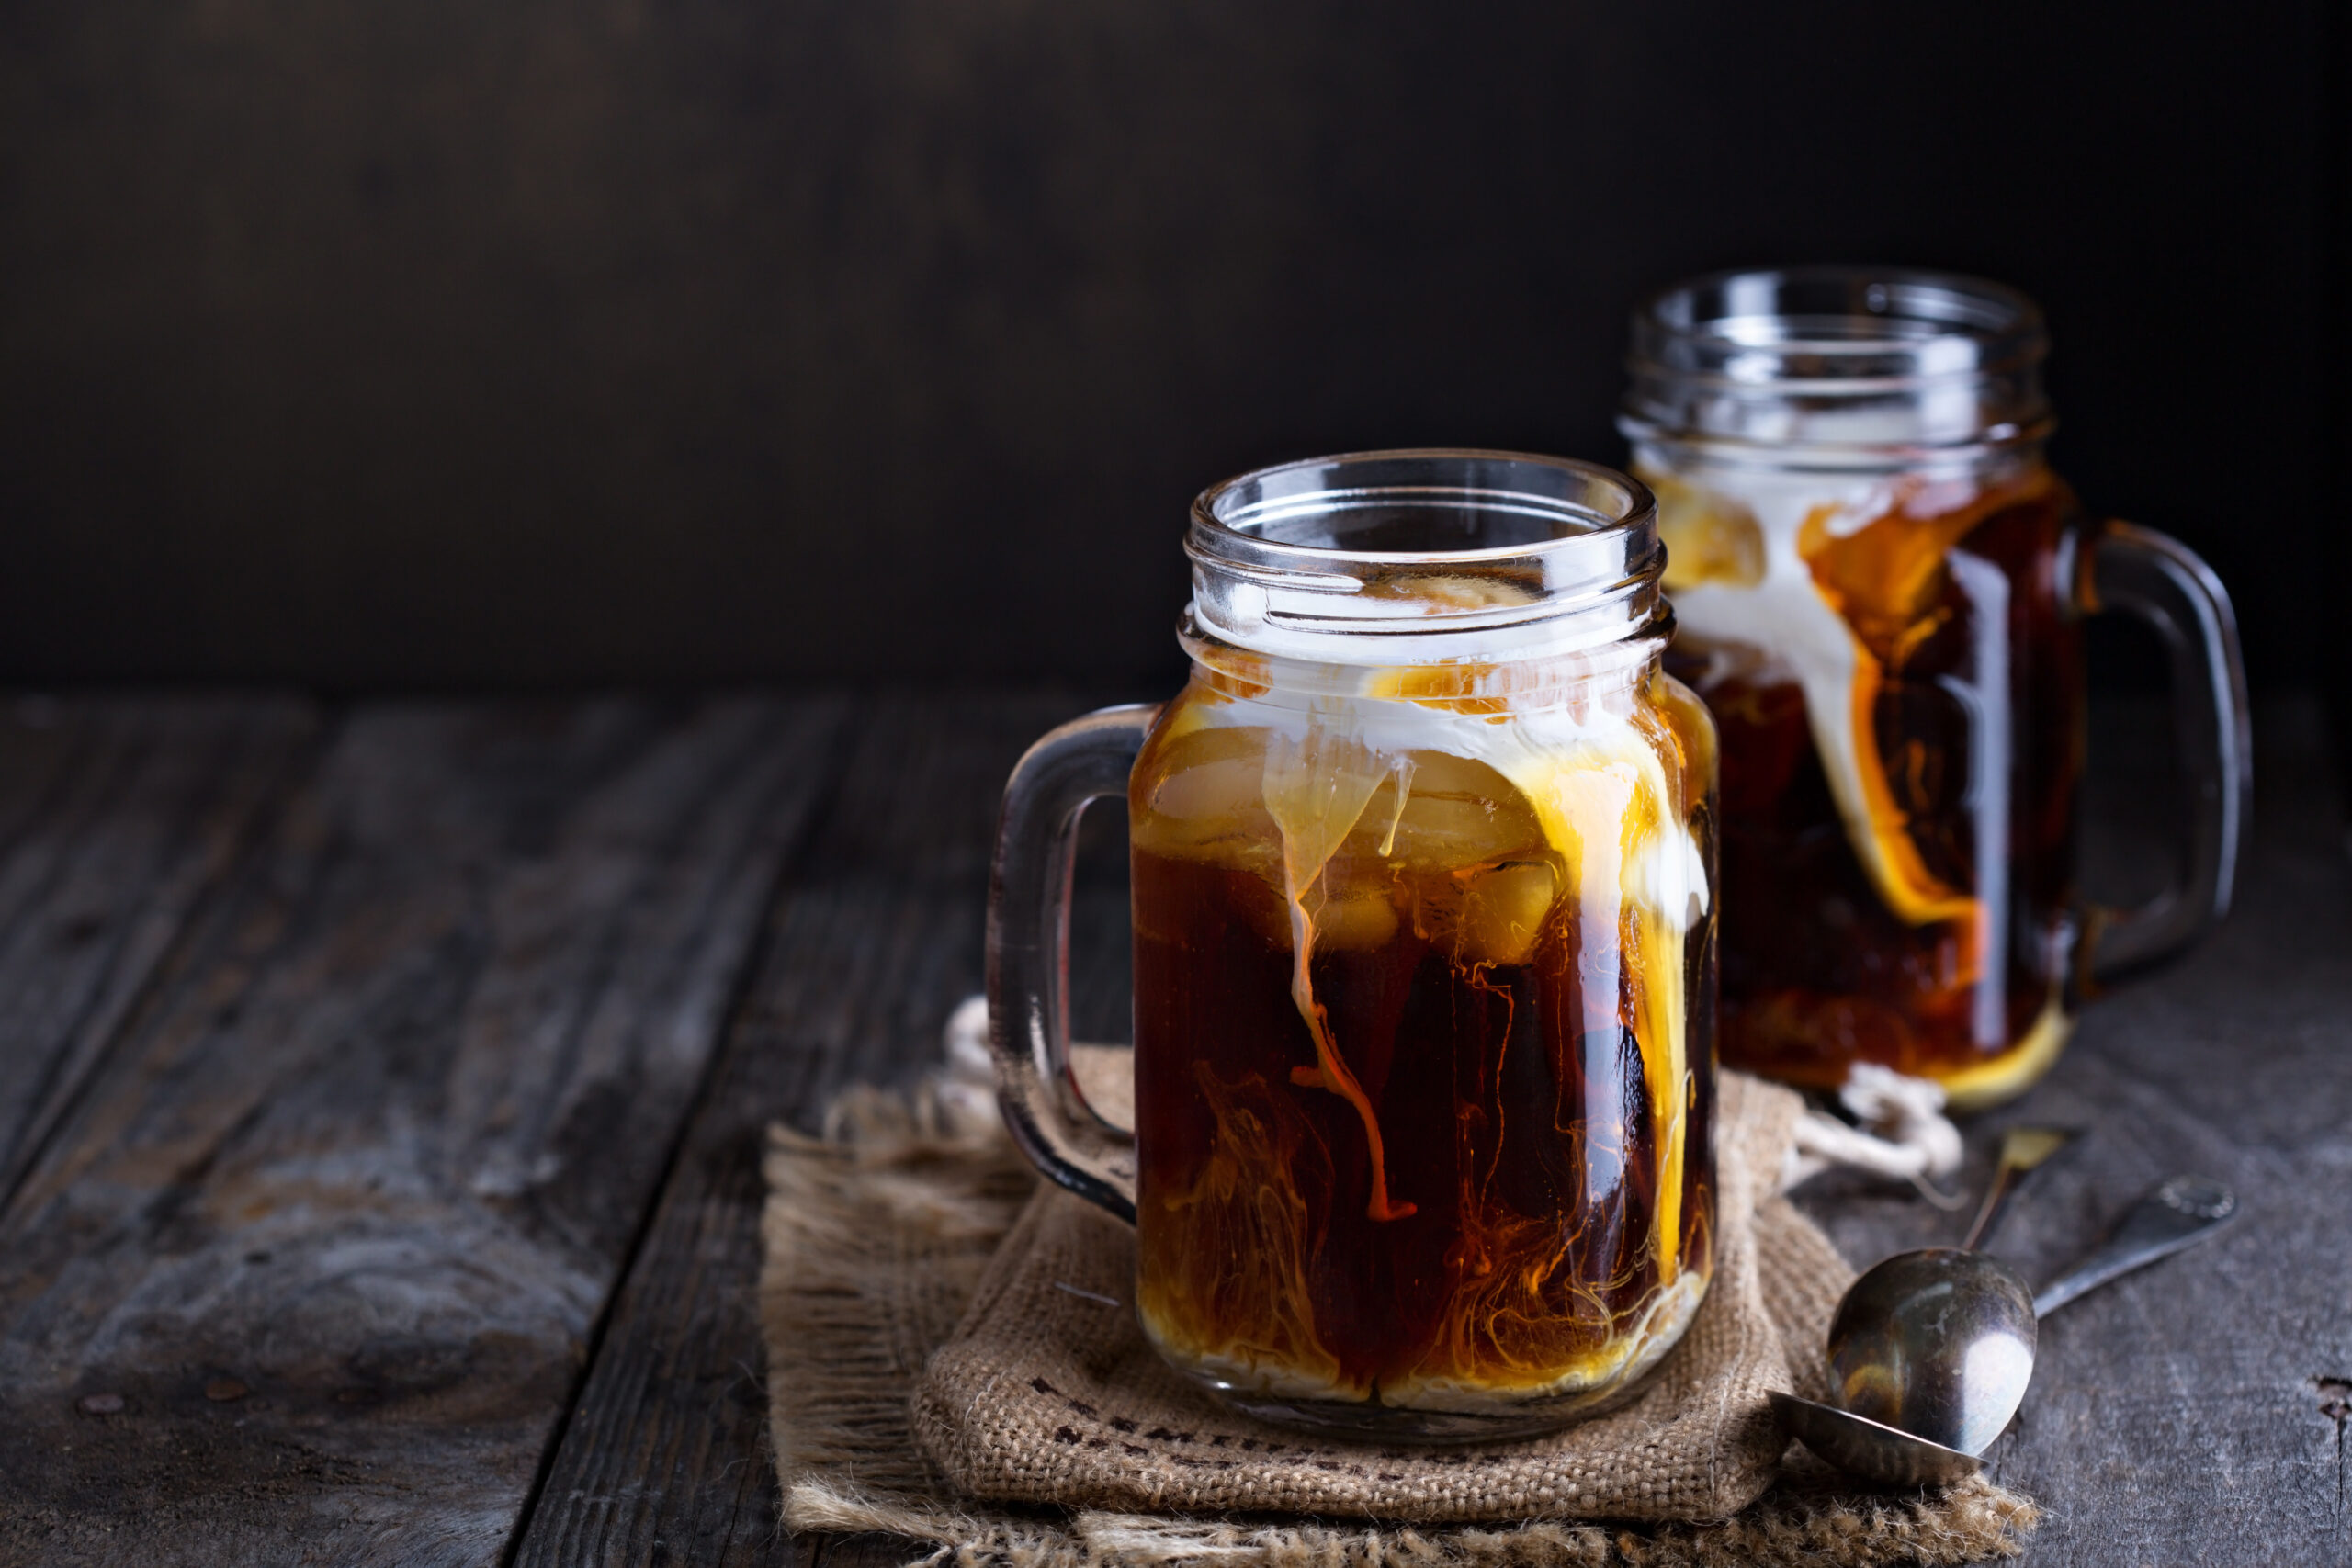
🏕️ Mason Jar Camping Iced Coffee Recipe
Who says you have to skip your morning coffee just because you’re on the road? Start your camping adventure off the right way with some Camping Coffee!
What You’ll Need (per jar):
- 1 mason jar with lid
- 1 cup cold brew or strong brewed coffee (chilled)
- ½ cup milk, oat milk, or creamer of choice
- 1–2 tbsp sweetener (sugar, honey, or flavored syrup)
- Ice cubes
- Optional: whipped cream, cinnamon, or chocolate drizzle
Directions:
- Prep at Home (Optional): Brew a strong pot of coffee before your trip. Let it cool and store in a sealed container or pre-fill mason jars with black coffee. Keep chilled in a cooler.
- Assemble at Camp: Fill your mason jar halfway with ice.
- Pour in your chilled coffee.
- Add milk or creamer, then sweeten to taste.
- Screw on the lid and shake gently (this also makes it frothy!).
- Top with whipped cream or a sprinkle of cinnamon if you’re feeling fancy.
- Enjoy by the campfire!
Flavor Twists:
- Mocha Camp Treat: Add a spoonful of chocolate syrup before shaking.
- Vanilla Sunrise: A splash of vanilla extract + a sprinkle of cinnamon.
- Maple Brew: Swap sugar for real maple syrup.
✨ Pro Tip: Mason jars travel great in coolers and double as your mug—no need for extra cups at the campsite!
You won’t have to worry about skipping your morning coffee! Bring this recipe during your next stay with us at Kiefer Campgrounds!
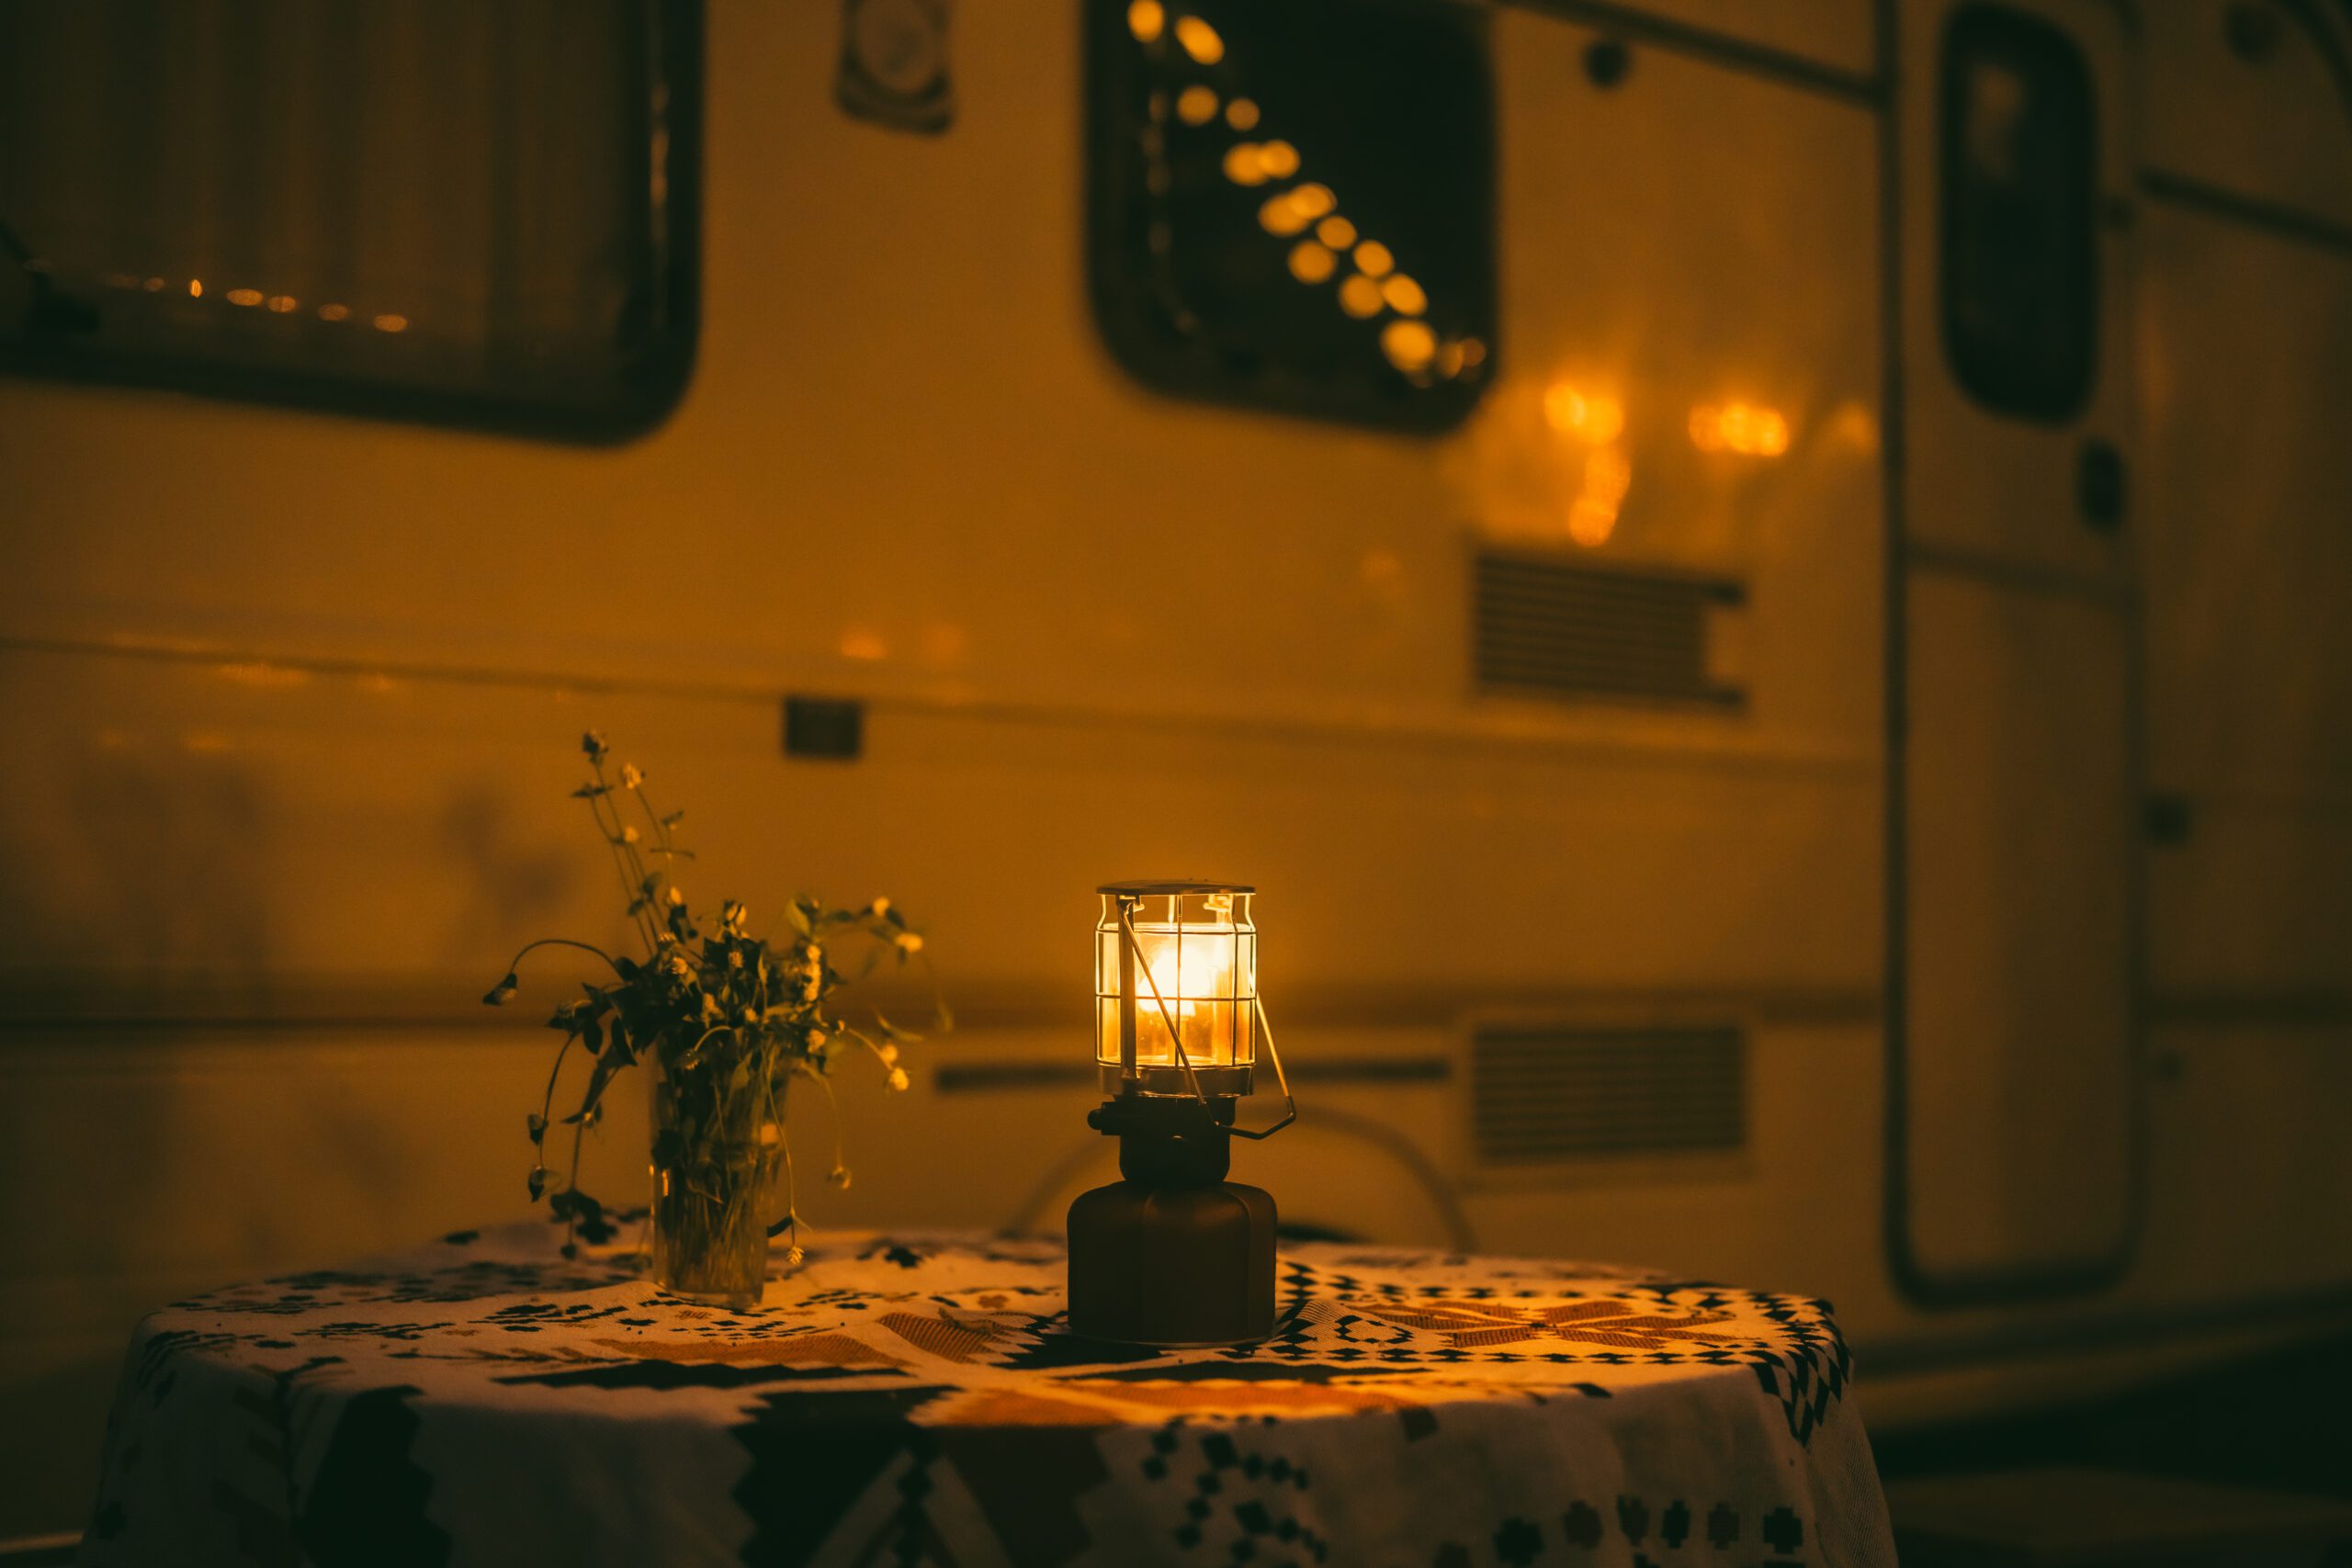
🔦 DIY Lanterns & Lighting for the Campsite
Camping nights feel extra magical with the right glow! ✨ You don’t need fancy gear—just a little creativity. Here are some easy DIY ideas to light up your campsite:
1. Mason Jar Lanterns
- Place battery-operated tea lights inside mason jars.
- Add sand, pebbles, or fairy lights for a cozy touch.
- Hang them from tree branches with twine.
2. Glow Stick Jars
- Crack glow sticks and drop them into clear jars.
- Perfect for kids’ tents or a fun nighttime game.
3. Solar Pathway Lights
- Grab inexpensive solar garden lights.
- Line your tent entrance or trail for safety and style.
4. Headlamp + Water Jug Trick
- Strap a headlamp around a water jug filled with water.
- The jug diffuses the light, creating a glowing lantern for your picnic table.
5. Tin Can Luminaries
- Hammer nail holes into empty tin cans (stars, hearts, or random patterns).
- Place a candle or LED light inside for a rustic lantern.
6. Rope Light Perimeter
- Use battery or solar-powered rope lights.
- Outline your tent or campsite for a warm, safe glow.
🌙 Pro Tip: Always use LED or solar-powered lights when possible to save on batteries and reduce fire hazards.
Try making your own DIY lantern the next time you stay at a Kiefer Campgrounds location!
Camping Ice Cream in a Bag
This recipe is an easy way to make ice cream on the go! You only need a few ingredients, and it takes little to no time at all!
Ingredients (per person):
- 1 cup half-and-half (or whole milk for lighter, heavy cream for richer)
- 2 tbsp sugar
- ½ tsp vanilla extract
- Ice (enough to fill a gallon bag halfway)
- ⅓ cup rock salt (or kosher salt)
Equipment:
- 1 quart-size resealable bag (for the ice cream mix)
- 1 gallon-size resealable bag (for the ice + salt)
- A spoon for each camper
Directions:
- Mix in a bag – Pour half-and-half, sugar, and vanilla into the quart-size bag. Seal tight.
- Ice + salt bag – Fill the gallon bag halfway with ice, then add rock salt.
- Combine + shake – Place the small bag inside the large one and seal. Shake, squeeze, or pass the bag around the campfire for 5–10 minutes until the ice cream firms up.
- Pro tip: Wrap the bag in a towel or bandana—it gets really cold!
- Pro tip: Wrap the bag in a towel or bandana—it gets really cold!
- Eat straight from the bag – Once ready, pull out the quart bag, wipe it off, unzip, and hand out spoons. No bowls or cleanup needed!
🔥 Camping Twist Ideas:
- Toss in M&M’s, trail mix, or crushed graham crackers before serving.
- Add instant coffee granules to the mix for a “campfire latte” ice cream.
- Drizzle chocolate syrup right into the bag for a swirled effect.
Try this easy trick for making ice cream in the middle of nowhere or while camping at Kiefer Campgrounds!

Foraging in the Wild: What’s Safe to Eat? 🌿🍓
Finding your own food in nature can be fun and rewarding—but it can also be dangerous if you’re not careful. Many wild plants, berries, and mushrooms look harmless but can cause serious illness or worse. Here’s how to forage safely.
1. Learn Before You Go
- Know your plants. Study reliable field guides or take a class with a local foraging expert.
- Never rely on “looks familiar.” Some edible species have deadly look-alikes (e.g., wild carrots vs. poison hemlock).
- Bring a guidebook or plant ID app—and cross-check multiple sources.
2. Common Safe-to-Eat Wild Foods (when correctly identified)
✅ Berries – Wild blackberries, raspberries, blueberries.
✅ Nuts – Acorns (after leaching tannins), black walnuts, hickory nuts.
✅ Greens – Dandelion leaves, lamb’s quarters, chickweed.
✅ Flowers – Clover, violets, daylilies (in moderation).
3. Foods to Avoid Unless Expertly Trained
🚫 Mushrooms — Even seasoned foragers can mistake toxic varieties for edible ones.
🚫 Unknown berries — Many red or white berries are poisonous.
🚫 Wild tubers and bulbs — Can be mistaken for toxic species.
4. Golden Safety Rules
- When in doubt, leave it out.
- Test only after 100% positive ID—and try small amounts first.
- Harvest away from roadsides, polluted water, or treated areas.
- Respect nature—only take what you’ll use, and leave enough for wildlife.
5. Gear to Bring
📗 Field guide or app
🔪 Small knife for cutting greens
🛍️ Breathable bag or basket
🥤 Water for rinsing finds
Bottom line: Foraging can add adventure to your outdoor trip, but safety is everything. The most experienced foragers spend years learning—and they still double-check every plant before eating it. Check out more tips from Kiefer Campgrounds!
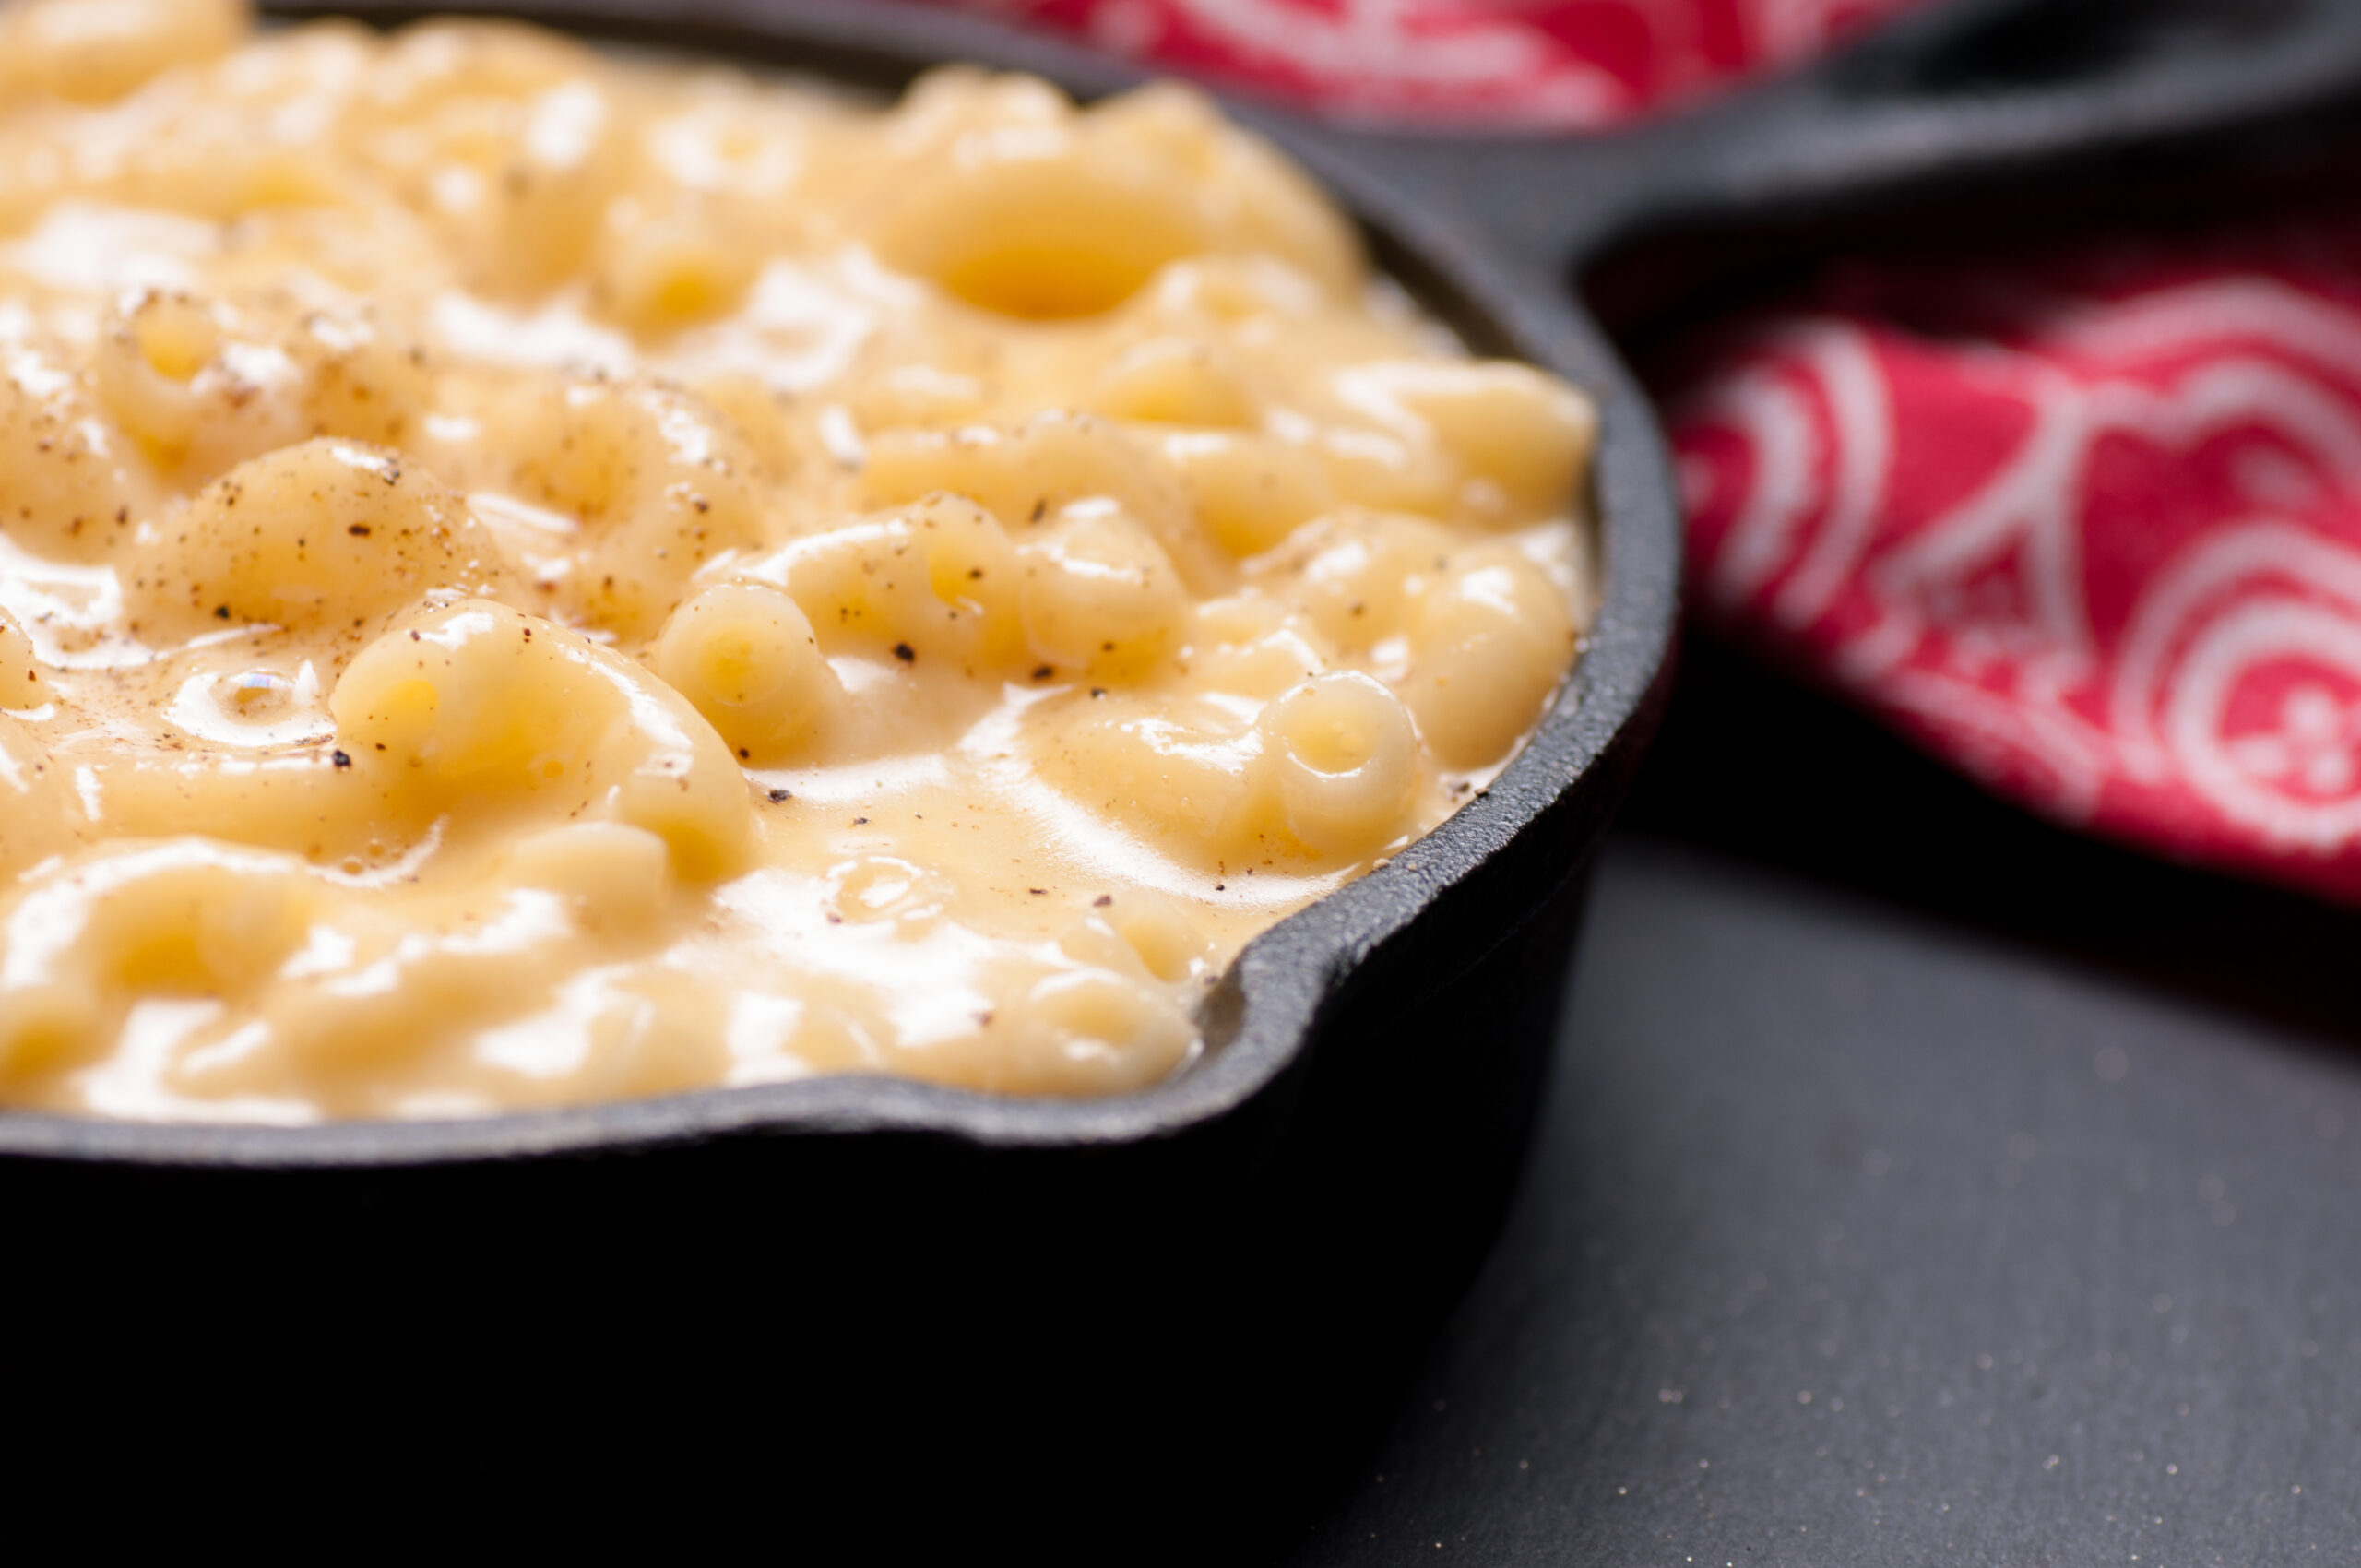
Campfire Mac & Cheese🔥🧀
Here’s a delicious campfire mac and cheese recipe that’s perfect for your next outdoor adventure!
(Foil Packet or Cast Iron Style)
🧂 Ingredients:
- 2 cups elbow macaroni (precooked al dente)
- 1 cup shredded cheddar cheese
- ½ cup shredded mozzarella (optional for extra gooeyness)
- ½ cup milk or heavy cream
- 2 tbsp butter
- Salt & pepper to taste
- Optional: bacon bits, green onions, garlic powder, hot sauce, or breadcrumbs
🔥 Directions (Cast Iron Skillet Method):
- Prep ahead: Boil your macaroni at home and store in a sealed container or ziplock.
- At camp, heat a cast iron skillet over the campfire or grill.
- Add butter, then stir in the precooked pasta.
- Pour in milk or cream and stir until warm.
- Add cheeses and stir until melted and creamy.
- Season to taste and mix in any extras like bacon or green onions.
- Serve hot and enjoy by the fire!
🧀 Foil Packet Method:
- In a large piece of foil, combine precooked pasta, cheeses, butter, and a splash of milk.
- Seal tightly and place on hot coals for about 8–10 minutes, turning occasionally.
- Carefully open, stir, and enjoy!
Try making this delicious recipe the next time you stay at any of our Kiefer Campgrounds locations!

🥞Mini Pancake Skewers
Here’s a fun and simple Mini Pancake Skewer recipe — perfect for breakfast, brunch, or camping mornings! 🥞🍓🍌
Ingredients:
- Mini pancakes (homemade or frozen)
- Fresh strawberries (halved)
- Banana slices
- Blueberries
- Syrup or Nutella for dipping
- Skewers or toothpicks
Instructions:
- Make mini pancakes (use a tablespoon of batter per pancake) or heat up frozen minis.
- Slice strawberries and bananas.
- On each skewer or toothpick, layer: pancake, strawberry, pancake, banana, pancake, blueberry.
- Serve with a side of syrup or Nutella for dipping!
🥄 Tips:
- Great for make-ahead or meal prep!
- Use whipped cream or yogurt as a topping for extra fun.
Mini Pancake Skewers are the perfect breakfast go-to when camping at Kiefer Campgrounds!
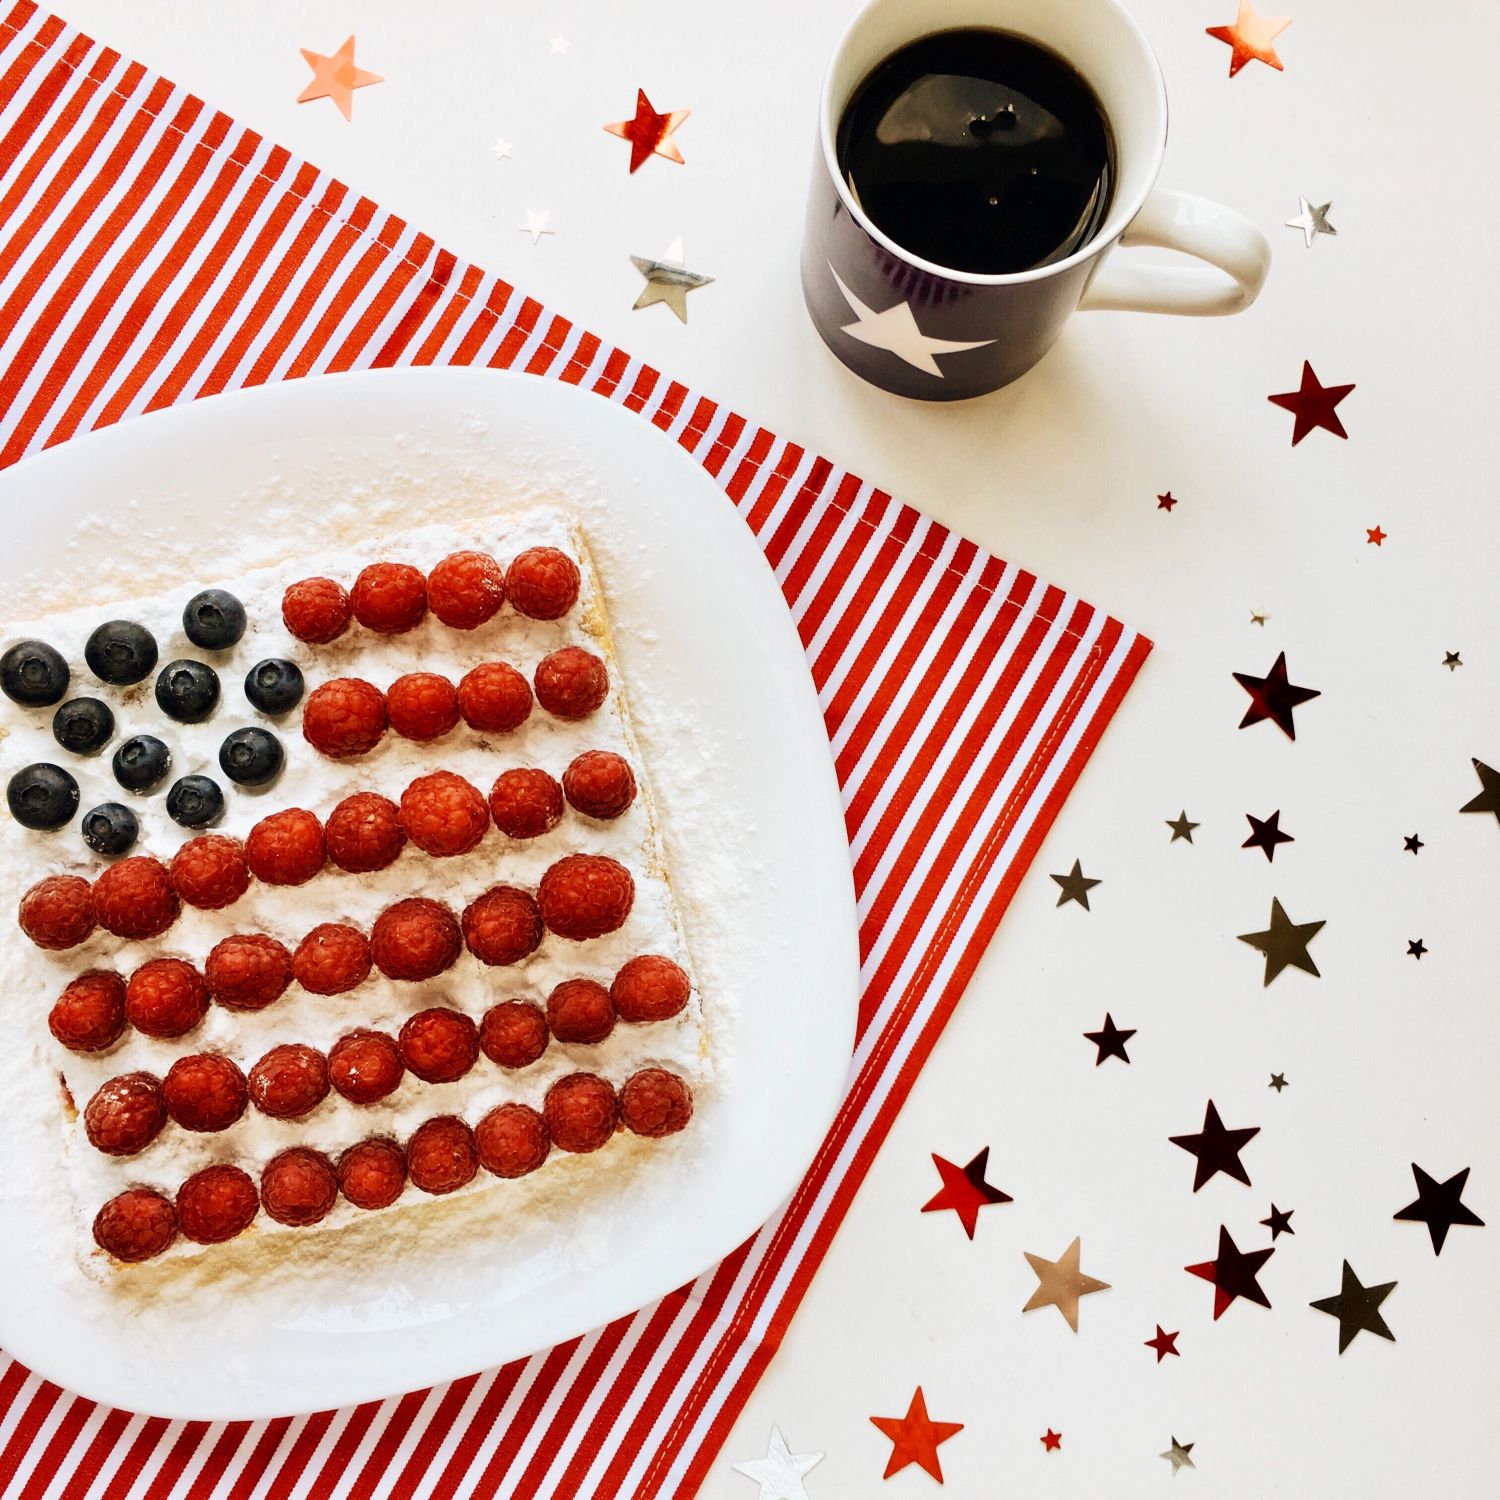
Flag Fruit Pizza Recipe
Here’s a fun and festive Flag Fruit Pizza recipe — perfect for your 4th of July celebration!🍓
Ingredients:
For the crust:
- 1 roll refrigerated sugar cookie dough (16.5 oz)
- Cooking spray or parchment paper
For the frosting:
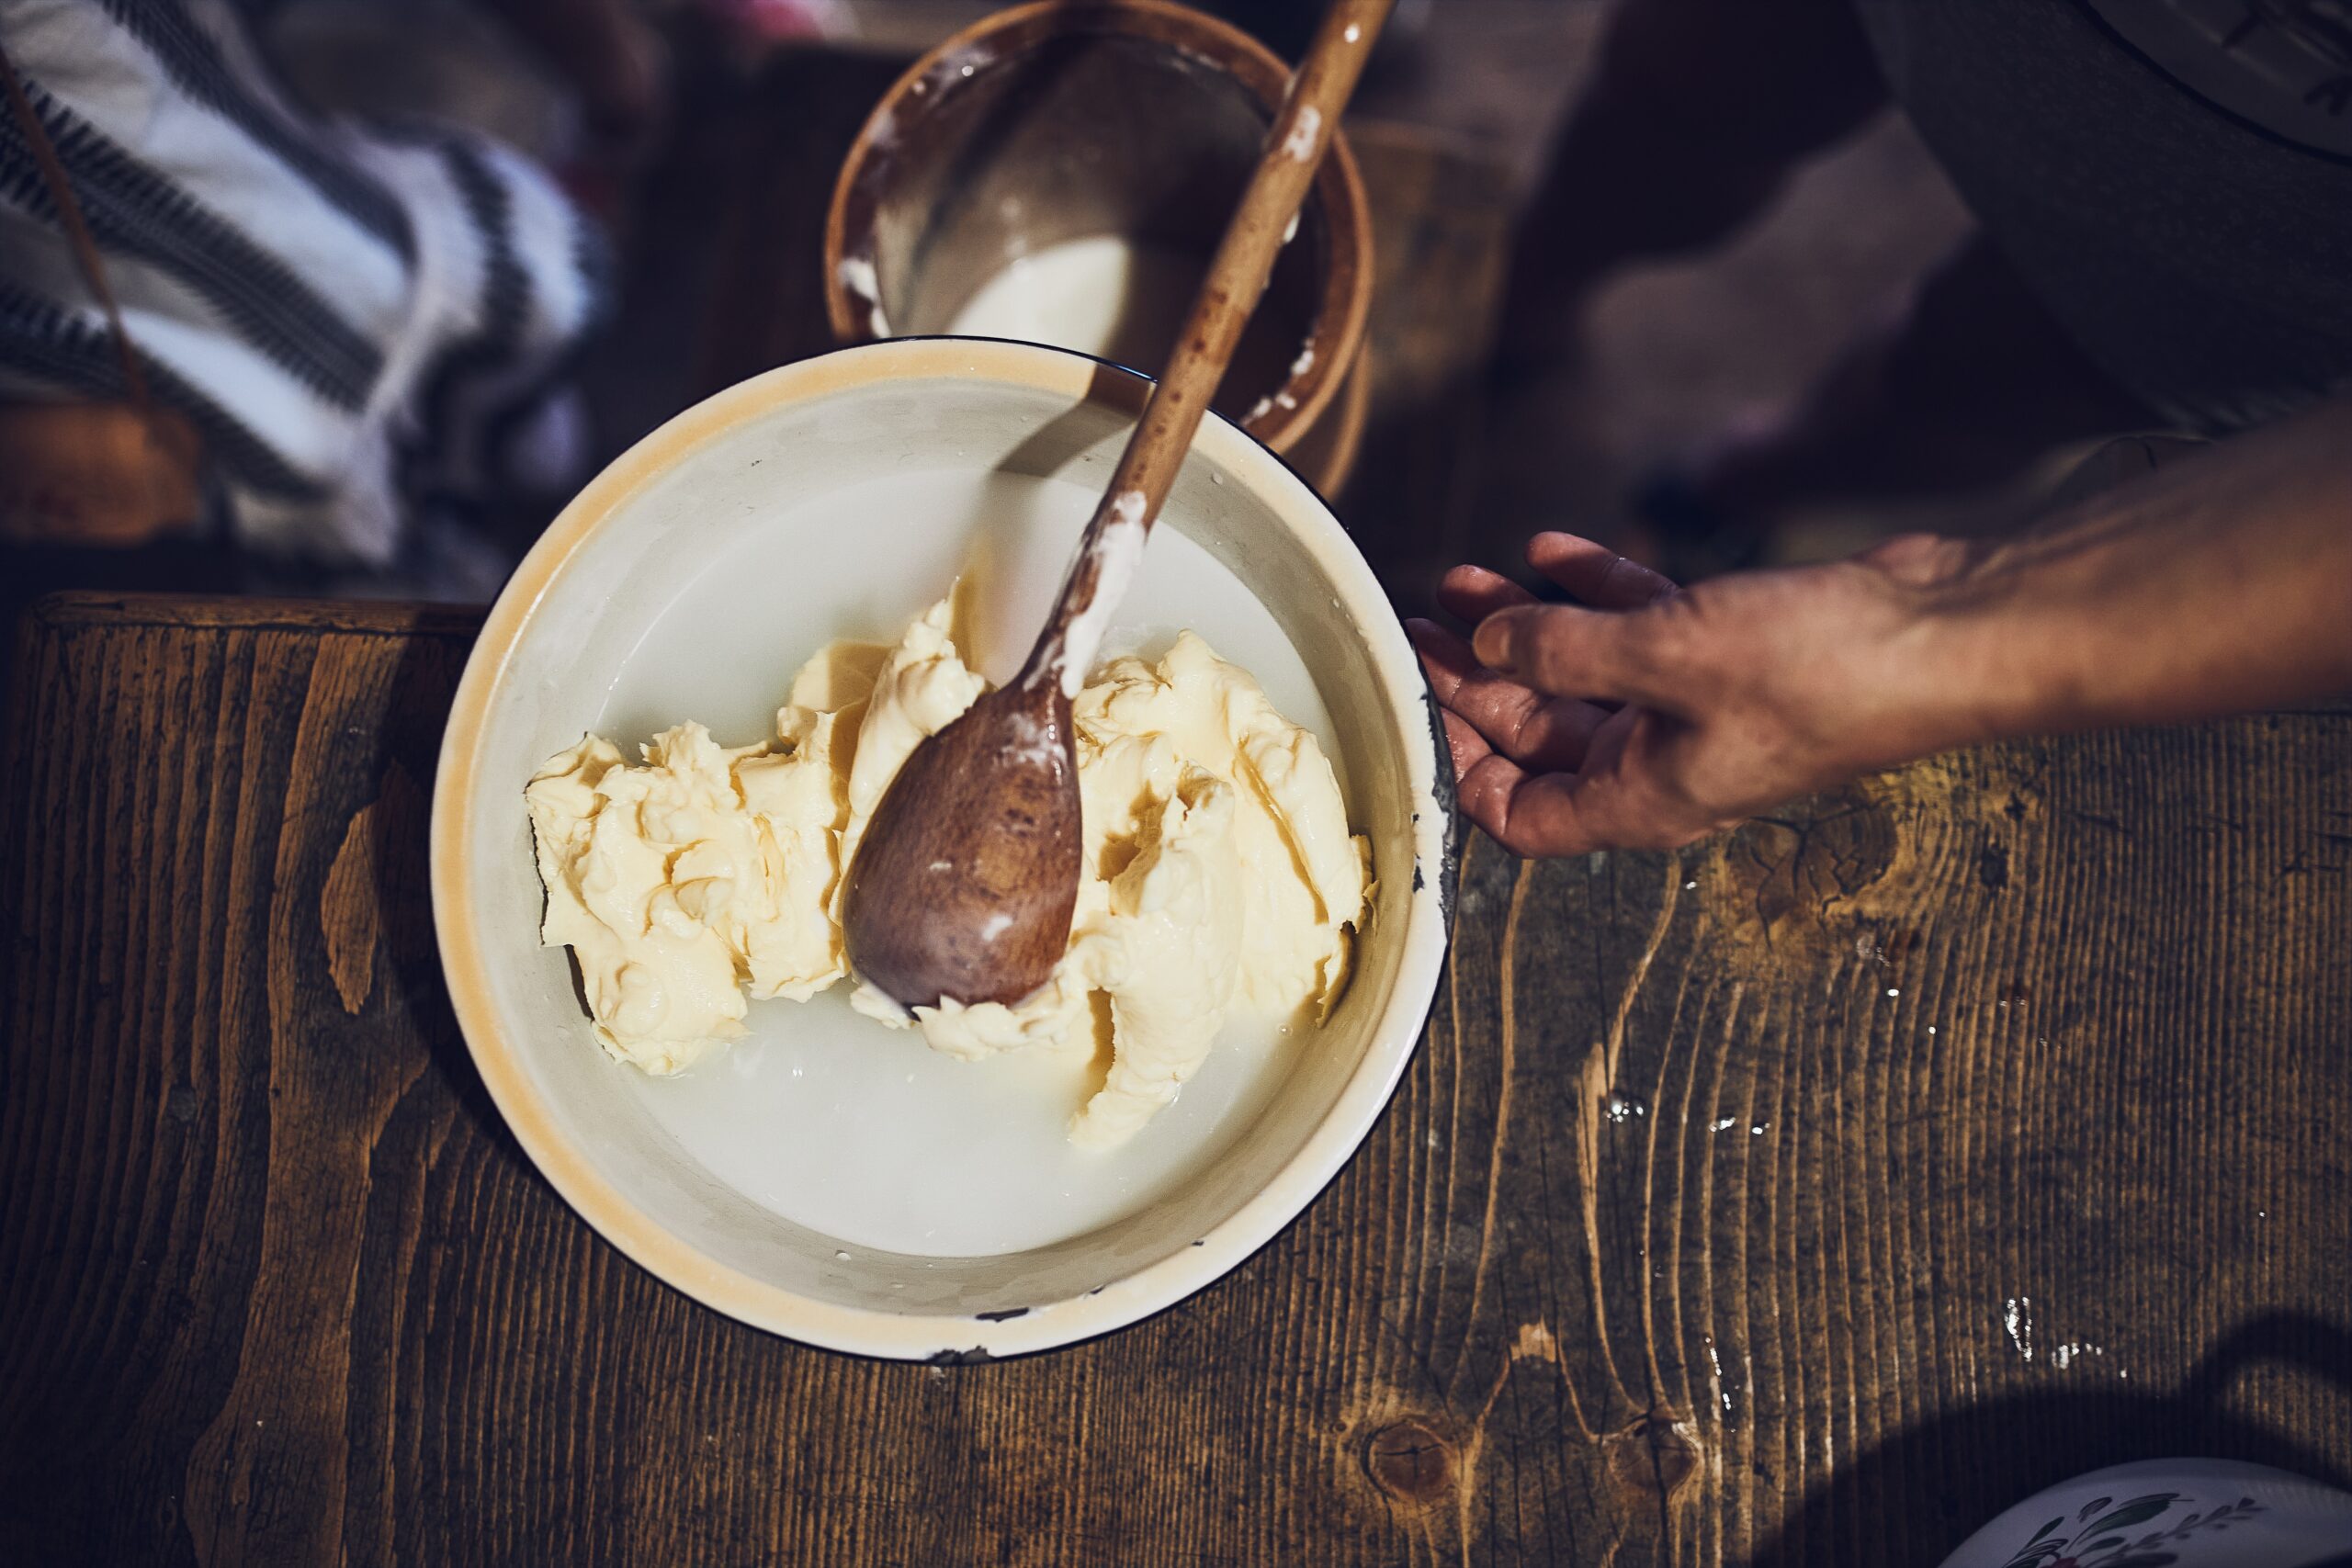
- 8 oz cream cheese, softened
- 1/4 cup unsalted butter, softened
- 1 cup powdered sugar
- 1 tsp vanilla extract
For the toppings:
- 1/2 cup blueberries
- 1 cup sliced strawberries
- 1 banana or mini marshmallows (for white stripes)
- Optional: honey or apricot glaze for shine
Instructions:
- Preheat oven to 350°F (175°C).
- Prepare crust:
- Press cookie dough evenly into a greased or parchment-lined 9×13″ baking sheet or rectangle pan.
- Bake for 12–15 minutes, or until edges are lightly golden.
- Let cool completely.
- Press cookie dough evenly into a greased or parchment-lined 9×13″ baking sheet or rectangle pan.
- Make the frosting:
- Beat cream cheese and butter until smooth.
- Add powdered sugar and vanilla, mixing until fluffy.
- Beat cream cheese and butter until smooth.
- Frost the crust:
- Spread cream cheese frosting evenly over cooled cookie crust.
- Spread cream cheese frosting evenly over cooled cookie crust.
- Assemble the flag design:
- Top left corner: arrange blueberries in a square for the “stars” section.
- Use alternating rows of sliced strawberries and bananas/marshmallows to make red and white “stripes.”
- Top left corner: arrange blueberries in a square for the “stars” section.
- Optional glaze:
- Lightly brush fruit with honey or warm apricot jam for a glossy finish.
- Lightly brush fruit with honey or warm apricot jam for a glossy finish.
- Chill & serve:
- Refrigerate until ready to serve. Cut into squares and enjoy!
Try Kiefer Campground’s sweet and simple dessert recipe for the Fourth of July holiday!
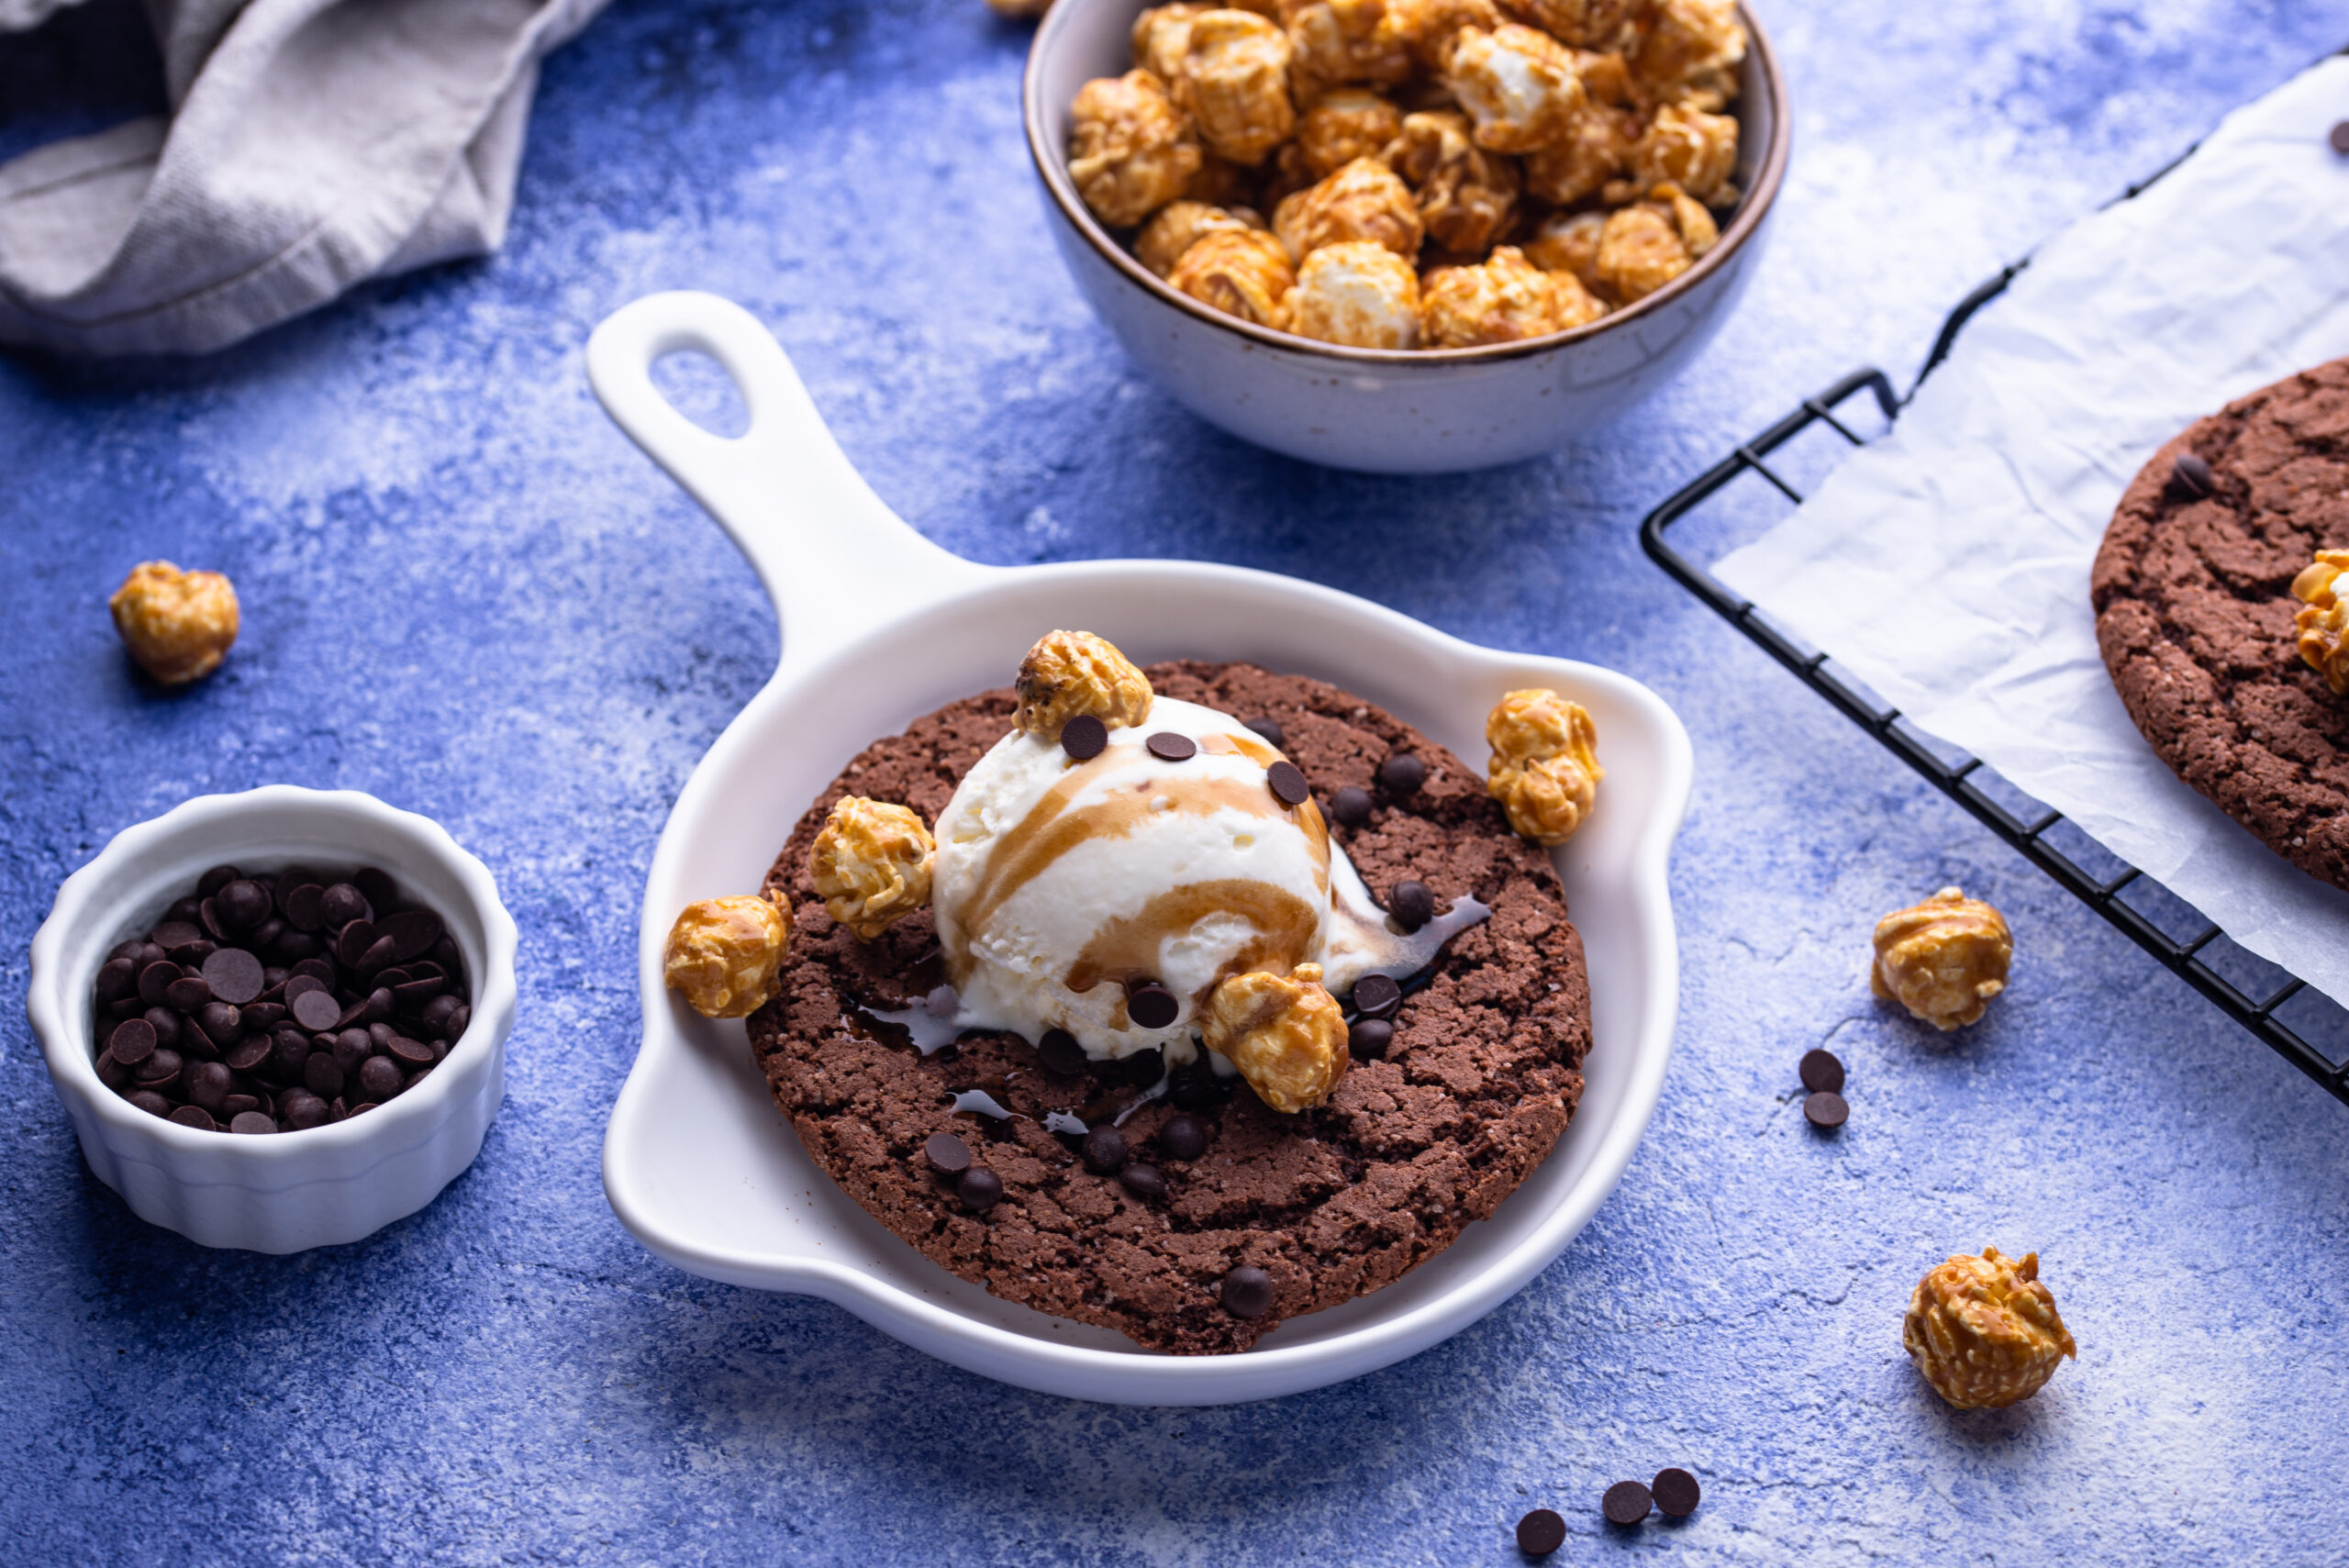
🍫 Skillet Brownies
Skillet brownies are a great choice for chocolate lovers out in the wilderness! This warm, gooey recipe will be the perfect sweet treat to end the night camping under the stars!
🧈 Ingredients:
- ½ cup (1 stick) unsalted butter
- 1 cup granulated sugar
- 2 large eggs
- 1 tsp vanilla extract
- ⅓ cup unsweetened cocoa powder
- ½ cup all-purpose flour
- ¼ tsp salt
- ¼ tsp baking powder
- ½ cup chocolate chips or chunks (optional)
- Optional toppings: ice cream, caramel drizzle, or whipped cream
🔥 Instructions:
- Preheat oven to 350°F (175°C).
- Melt butter in an 8- or 10-inch oven-safe skillet over medium heat. Remove from heat once melted.
- Mix in sugar, eggs, and vanilla directly into the skillet, stirring until smooth.
- Add dry ingredients: Stir in cocoa powder, flour, salt, and baking powder until just combined.
- Fold in chocolate chips, if using.
- Smooth the top, then bake in the oven for 20–25 minutes, or until the edges are set and the center is slightly gooey.
- Cool slightly, top with your favorites, and dig in with a spoon—or slice it up if you can wait!
Try this skillet brownie recipe the next time you want a sweet treat while camping at Kiefer Campgrounds!

Family owned and operated, Kiefer Campgrounds strive to offer you the best rates for a comfortable location with outstanding service, and spotless facilities. When you stay in one of our parks, you are no longer just a happy camper, but a part of our family! We are most certain you will enjoy your stay with us. Pick your favorite location and book your spot now before it’s too late! You’ll be happy you did!