
Heres Some Camping Tips & Tricks at Your Fingertips
Our Kiefer Campground Blog is the information you need to make your next camping trip even more enjoyable. From RV and camping tips and tricks, to amazing campfire recipes, to advice on planning your next trip... the information below is here to help you. And please, feel free to comment and share your experiences, knowledge and favorite recipes. At Kiefer Campground, we are a family and all here to help each other enjoy the great outdoors to the fullest!

🍊 Orange Peel Brownies
Here’s a rich, fudgy Orange Peel Brownies recipe that gives just enough citrus pop without tasting like a candle!
🛒 Ingredients
For the brownies:
- 1 cup (2 sticks) unsalted butter
- 1 ½ cups semi-sweet chocolate chips
- 1 ¼ cups granulated sugar
- ¾ cup brown sugar
- 3 large eggs
- 1 tsp vanilla extract
- 1 tbsp fresh orange zest (from about 1 large orange)
- ½ tsp orange extract (optional but 🔥)
- 1 cup all-purpose flour
- ¼ cup unsweetened cocoa powder
- ½ tsp salt
For the candied orange peel (optional but SO good):
- Peel from 1–2 oranges (cut into thin strips)
- ½ cup water
- ½ cup sugar
🔥 Instructions
1️⃣ Make the candied orange peel (optional)
- Simmer orange peel strips in water for 10 minutes. Drain.
- Add ½ cup water + ½ cup sugar to a saucepan.
- Simmer peels in syrup for 10–12 minutes.
- Remove and let dry on parchment paper.
- Sprinkle lightly with sugar if desired.
(Set aside to chop and fold into batter or sprinkle on top.)
2️⃣ Make the brownies
- Preheat oven to 350°F. Line a 9×13 pan with parchment paper.
- Melt butter and chocolate chips together (microwave in 30-second bursts). Stir until smooth.
- Whisk in sugars.
- Add eggs one at a time.
- Stir in vanilla, orange zest, and orange extract.
- Fold in flour, cocoa powder, and salt just until combined.
- Fold in chopped candied peel (if using).
- Pour into pan and bake 28–32 minutes (center should still be slightly fudgy).
Let cool completely before slicing!
✨ Optional Upgrade
Drizzle with a simple orange glaze:
- 1 cup powdered sugar
- 1–2 tbsp fresh orange juice
- Tiny pinch of zest
Try this recipe the next time you stay at Kiefer Campgrounds!
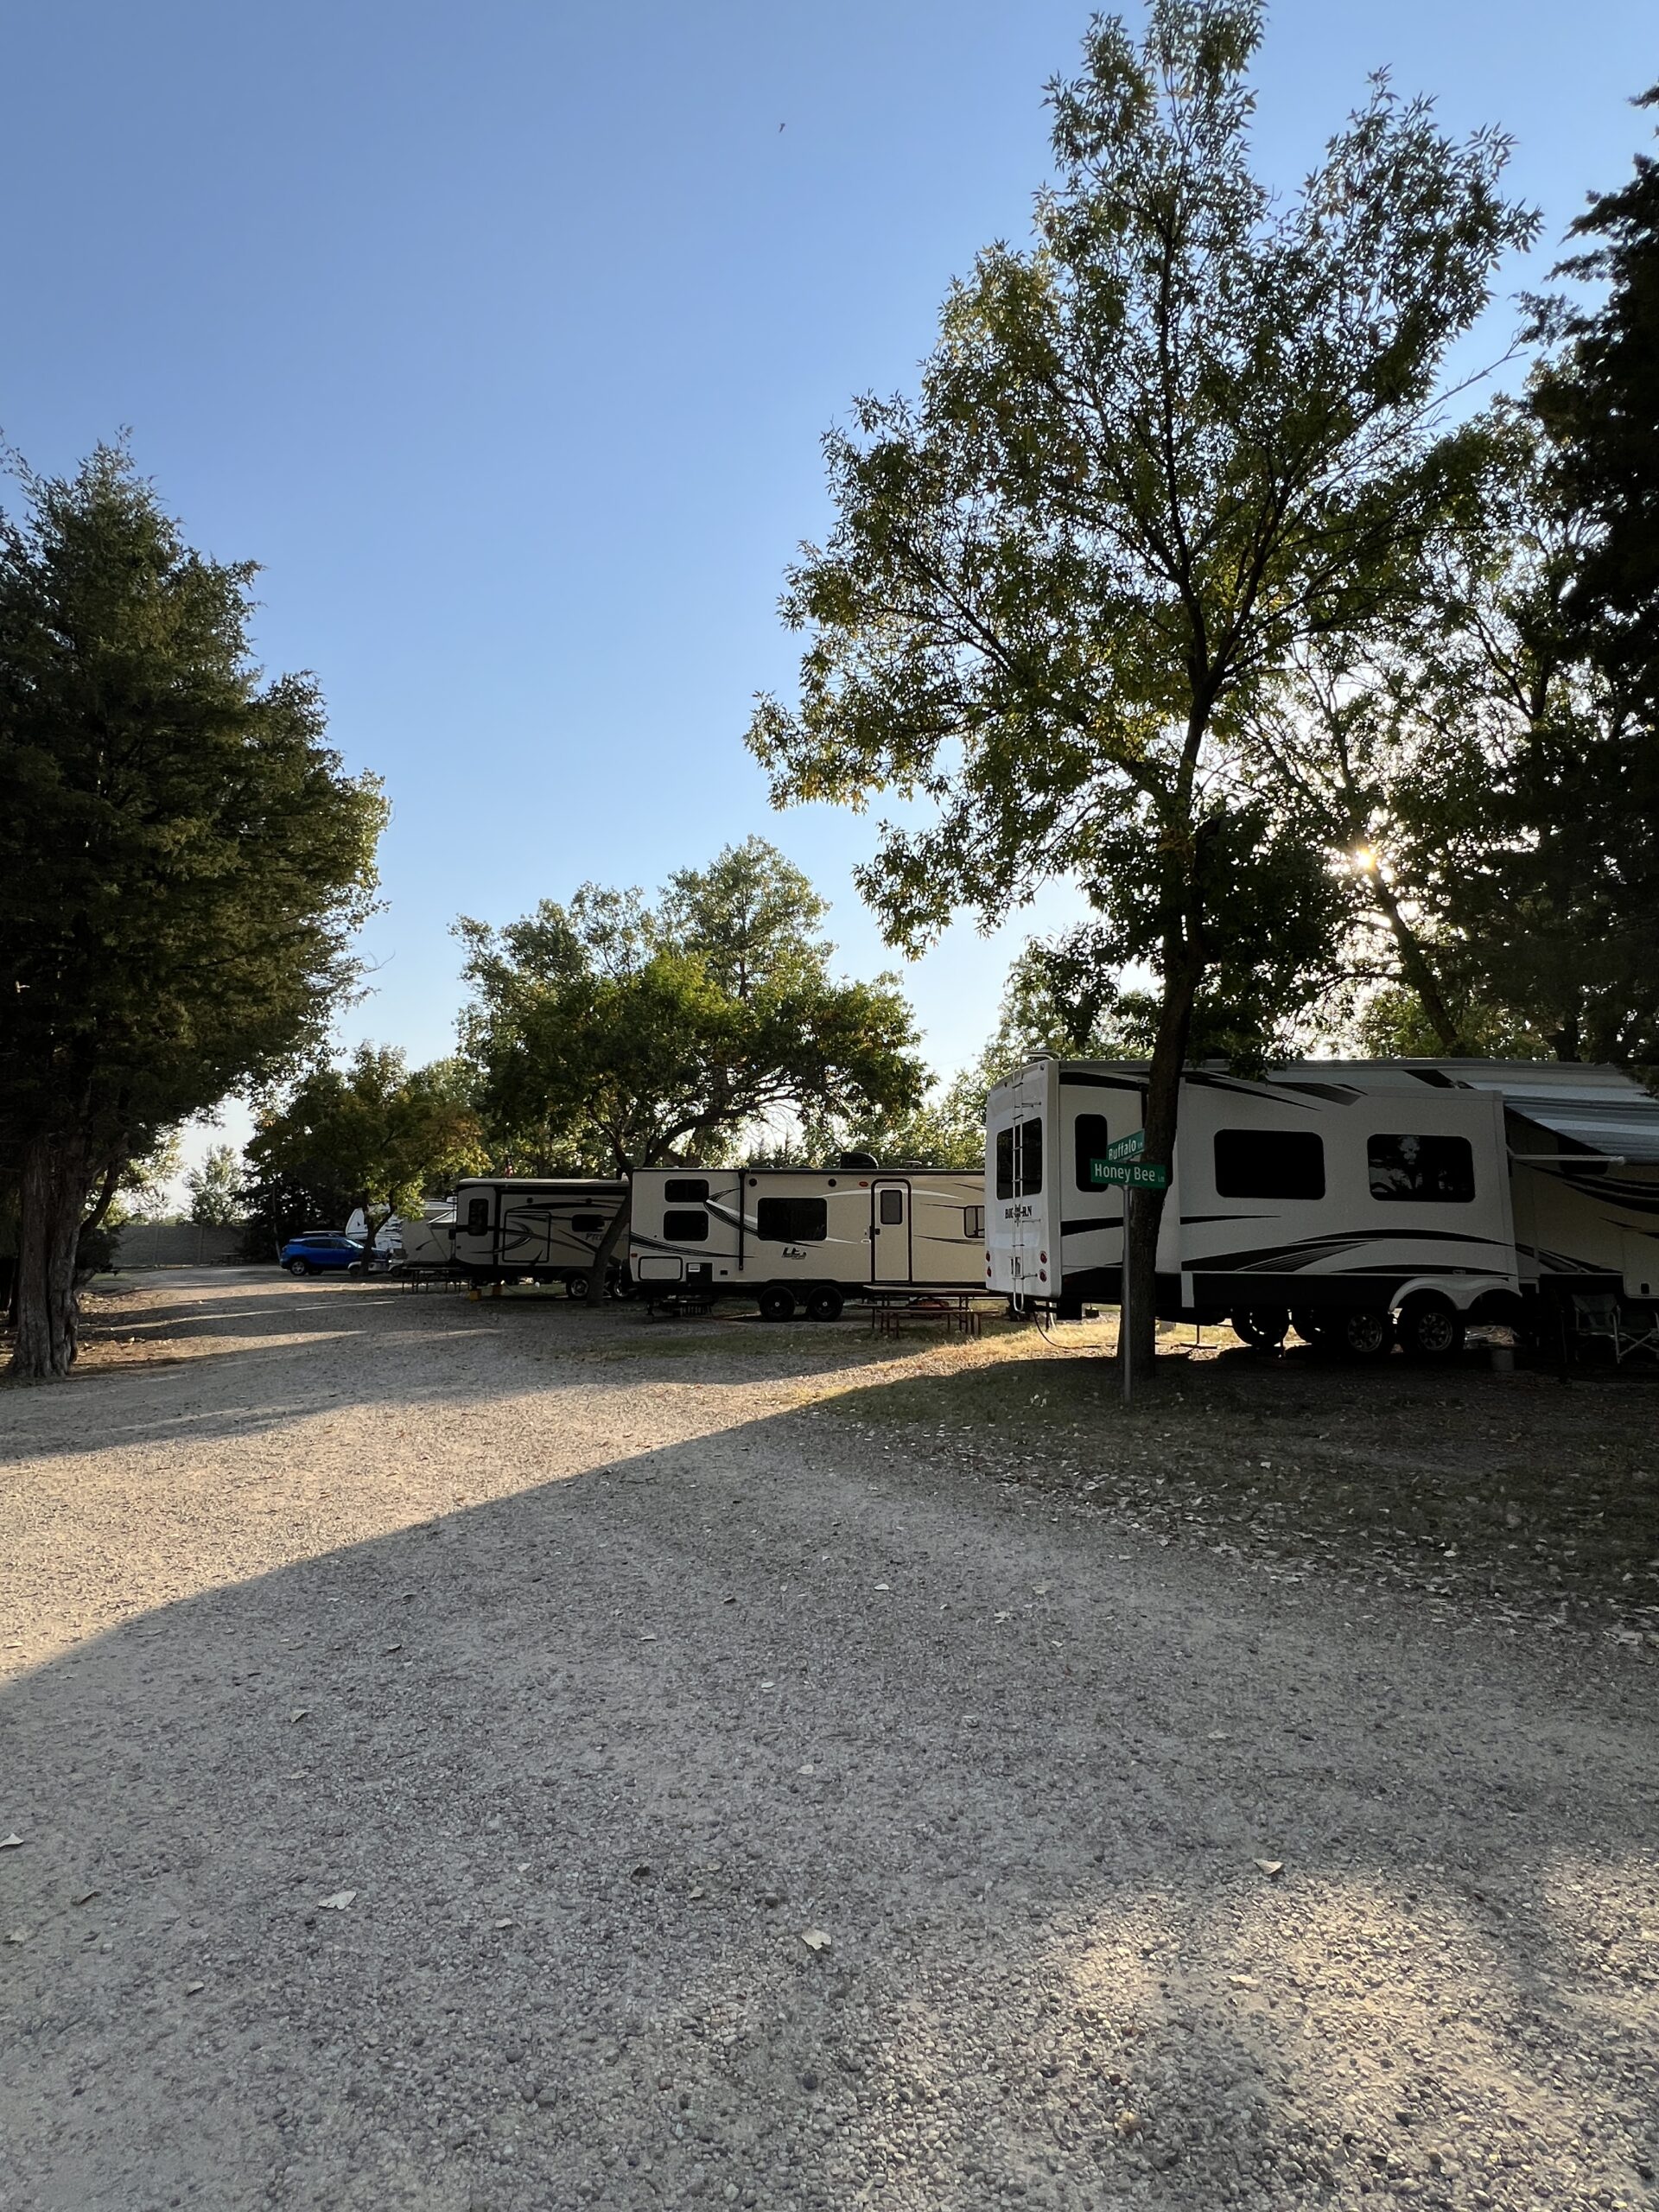
What You Can Expect When Staying at Kiefer Campgrounds
Planning your getaway? Here’s exactly what you can expect when you stay at Kiefer Campgrounds — and why so many campers come back year after year.
🏕️ Campsite Comforts
• Full hookup RV sites (water, electric, sewer at many locations)
• Spacious pull-through and back-in sites
• Tent sites available
• Cabin or glamping options at select locations
• Picnic table and fire ring at your site
• Level pads for easy setup
Whether you’re bringing the big rig or pitching a tent, we’ve got you covered.
🧼 Clean & Convenient Amenities
• Clean bathhouses
• Laundry facilities
• Camp store for essentials
• Free Wi-Fi
• 24/7 online reservations
• After-hours check-in available
Camping should feel relaxing — not complicated.
🎣 Activities & On-Site Fun
Amenities vary by location, but you may find:
• Swimming pool (seasonal)
• Fishing ponds or lake access
• Playground areas
• Game room or lounge areas
• Pedal carts
• Kayaking or canoeing
• Golf cart-friendly roads
- Gem Mining
For example, at Camp Lakewood Campground, guests enjoy peaceful lakeside views and water activities.
At Terre Haute Campground, families love the pool and pedal cart track.
Each campground has its own personality — but the same welcoming feel.
🐾 Family & Pet Friendly
• Family-owned and operated atmosphere
• Quiet hours for peaceful evenings
• Pet-friendly sites (leash required)
• Clean, well-maintained grounds
• Safe environment for kids
We’re big on community, comfort, and making memories.
🌅 The Kiefer Difference
• Friendly staff who treat you like family
• Well-kept grounds you can feel proud to stay at
• A relaxing, laid-back vibe
• Campfires, sunsets, and memory-making moments
No matter which location you choose, at Kiefer Campgrounds, you can expect a clean, welcoming place to unwind and enjoy the outdoors!
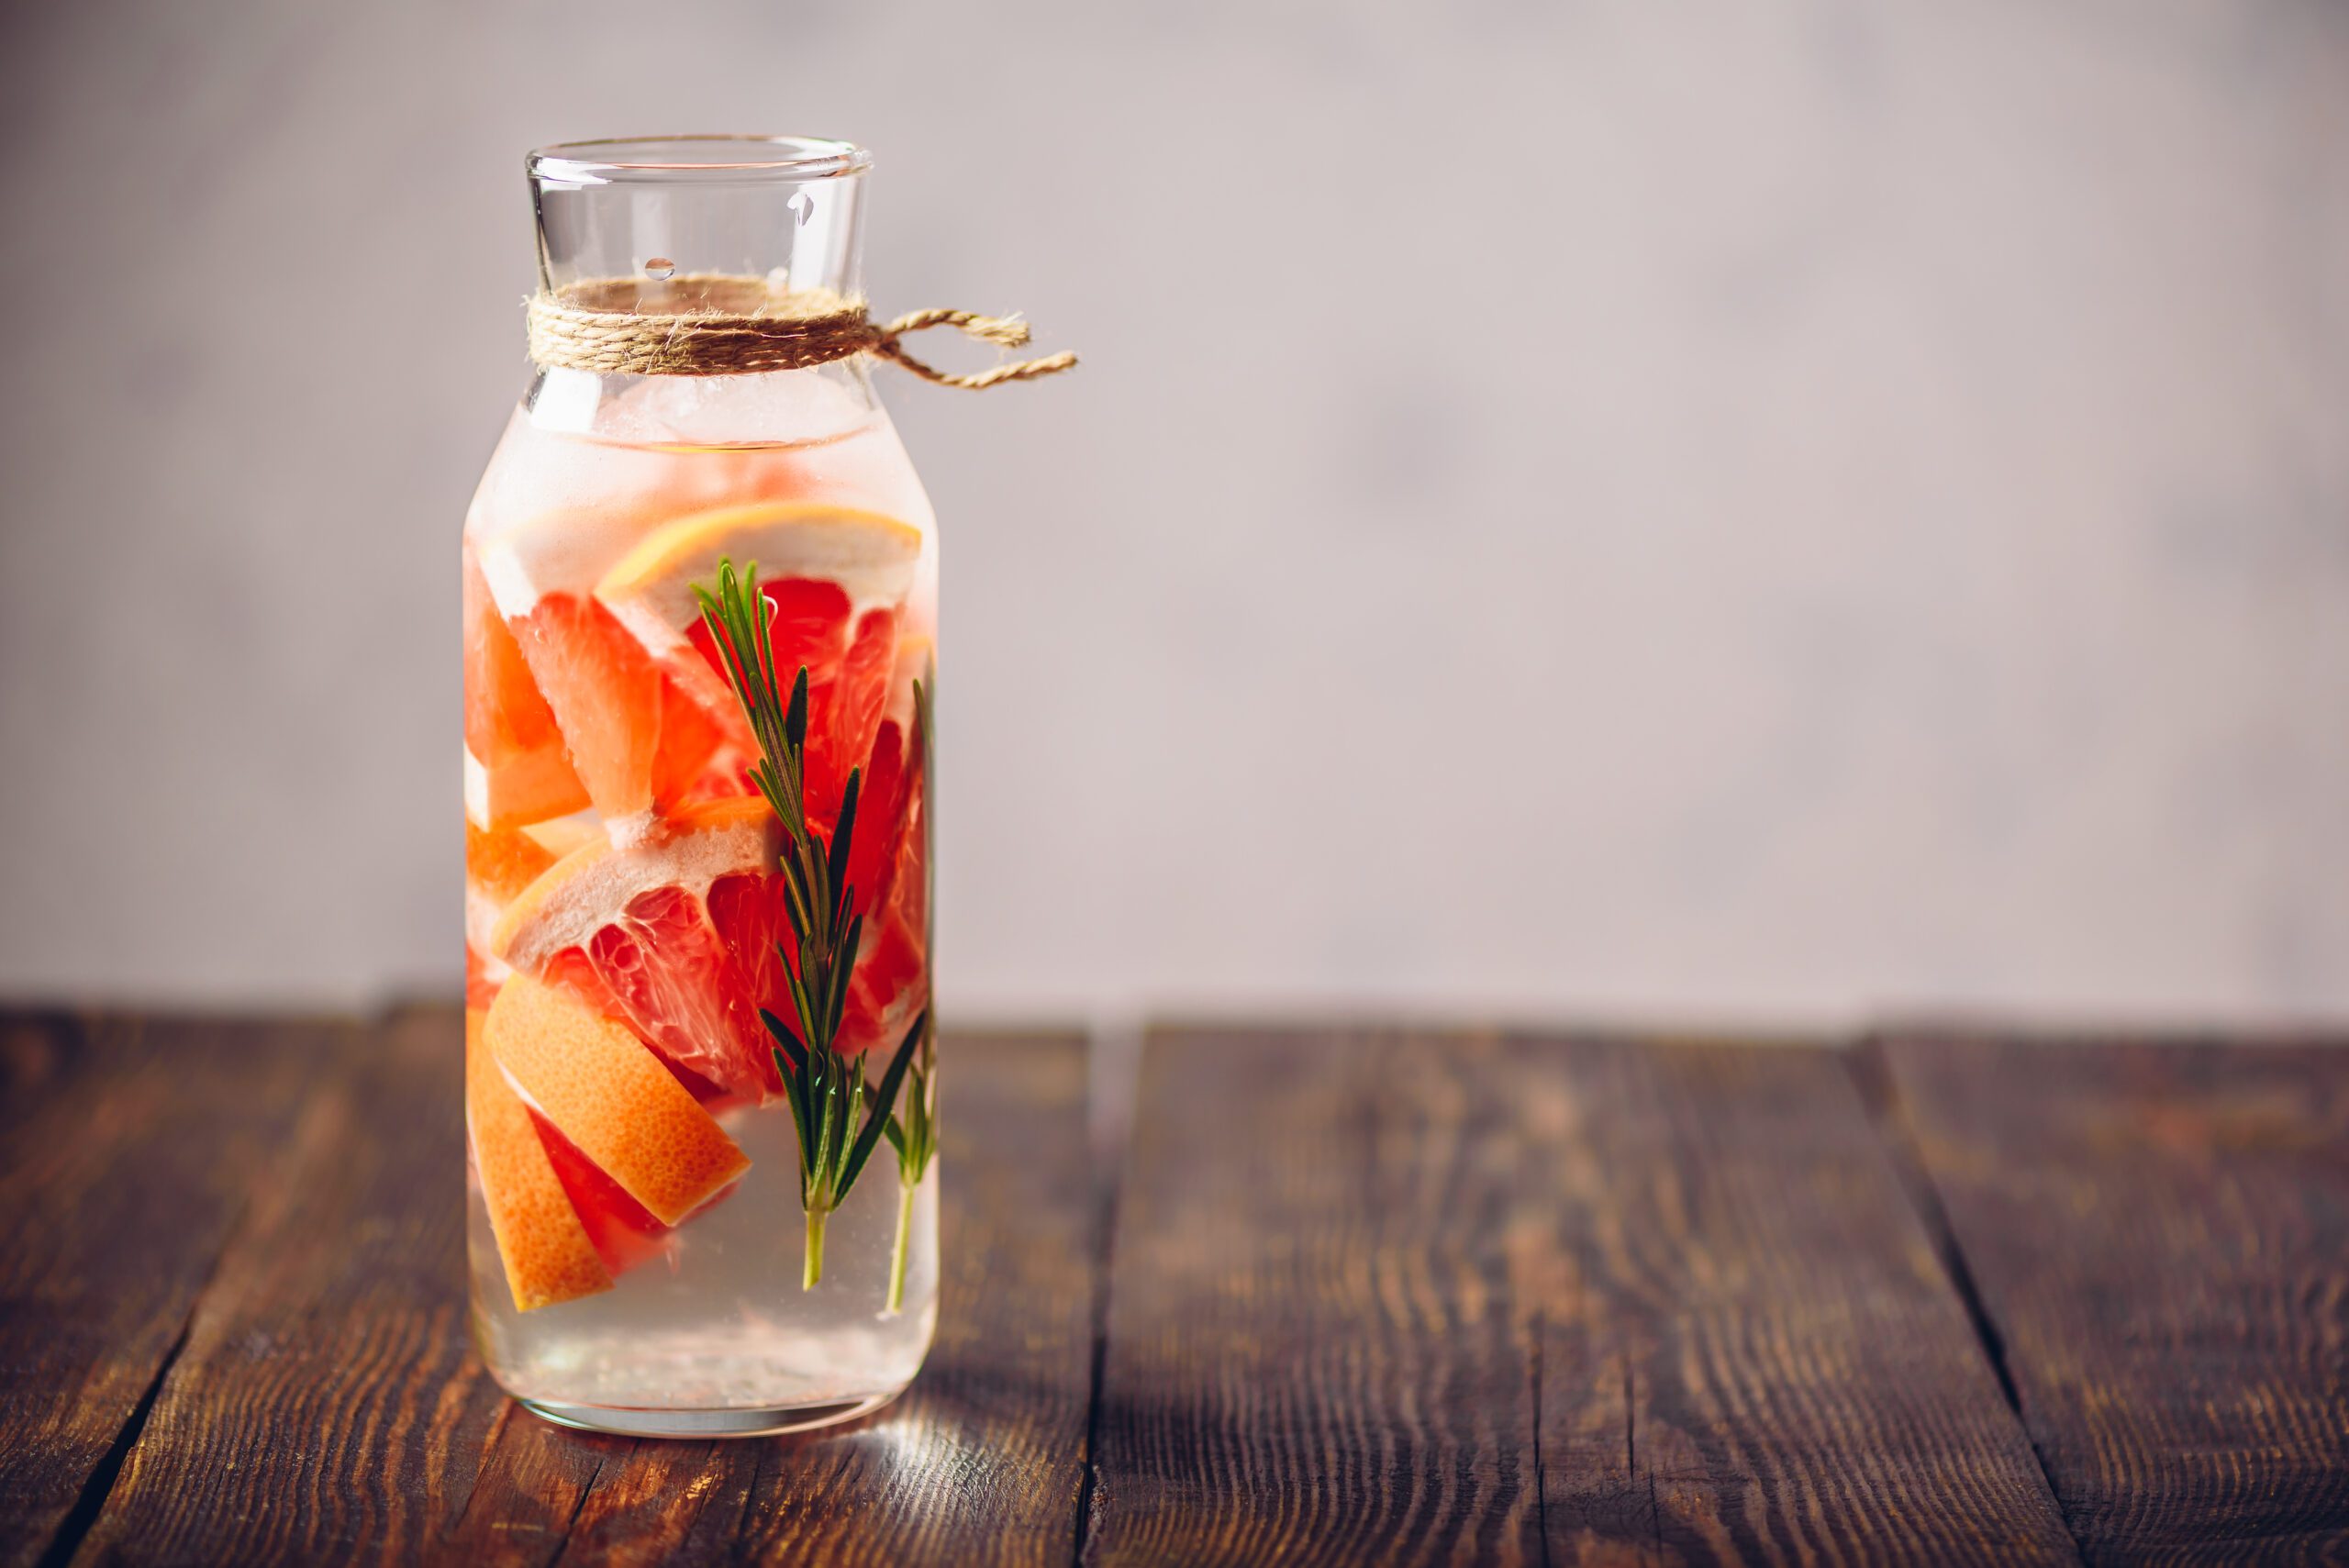
Fruit-Infused Hiking Water: A Refreshing Trail Recipe
Staying hydrated on the trail doesn’t have to mean boring, flavorless water. Fruit‑infused hiking water is a simple, lightweight way to add natural flavor, gentle electrolytes, and a little extra motivation to keep sipping mile after mile. This recipe is easy to prep at home or assemble at camp—and it tastes as good as it looks.
Why Fruit‑Infused Water Is Perfect for Hiking
- Encourages hydration: Better flavor means you’ll drink more.
- Lightweight & packable: No powders or sugary sports drinks needed.
- Naturally refreshing: Fresh fruit and herbs provide subtle flavor without added sugar.
- Customizable: Mix and match based on what’s in season or what you have on hand.
Basic Fruit‑Infused Hiking Water Recipe
Ingredients
- 1 reusable water bottle (20–32 oz recommended)
- 4–6 slices fresh fruit (see combinations below)
- Fresh herbs (optional)
- Cold water
- Ice (optional, if hiking short distances or camping)
Directions
- Wash and slice fruit into thin pieces.
- Add fruit and herbs directly to your water bottle.
- Fill with cold water.
- Let infuse for at least 30 minutes (overnight for stronger flavor).
- Refill with water 1–2 times before replacing fruit.
Best Fruit Combinations for the Trail
🍓 Strawberry + Lemon
Bright, refreshing, and great for warm-weather hikes.
🍋 Lemon + Cucumber + Mint
Ultra‑hydrating and cooling—perfect for hot days.
🍊 Orange + Blueberry
Lightly sweet with antioxidants for longer treks.
🍍 Pineapple + Mango
Tropical flavor that feels like a mini vacation on the trail.
🍎 Apple + Cinnamon Stick
A fall-friendly option that pairs well with cooler hikes.
Hiking & Camping Tips
- Use sturdy bottles: Wide‑mouth bottles make adding fruit easier.
- Pre‑freeze fruit: Keeps water cold longer and prevents bruising.
- Strain if needed: A simple bottle infuser or strainer lid helps while walking.
- Mind wildlife: Always seal bottles tightly and avoid spills on trails.
Happy hiking and happy sipping at Kiefer Campgrounds! 💧🌿
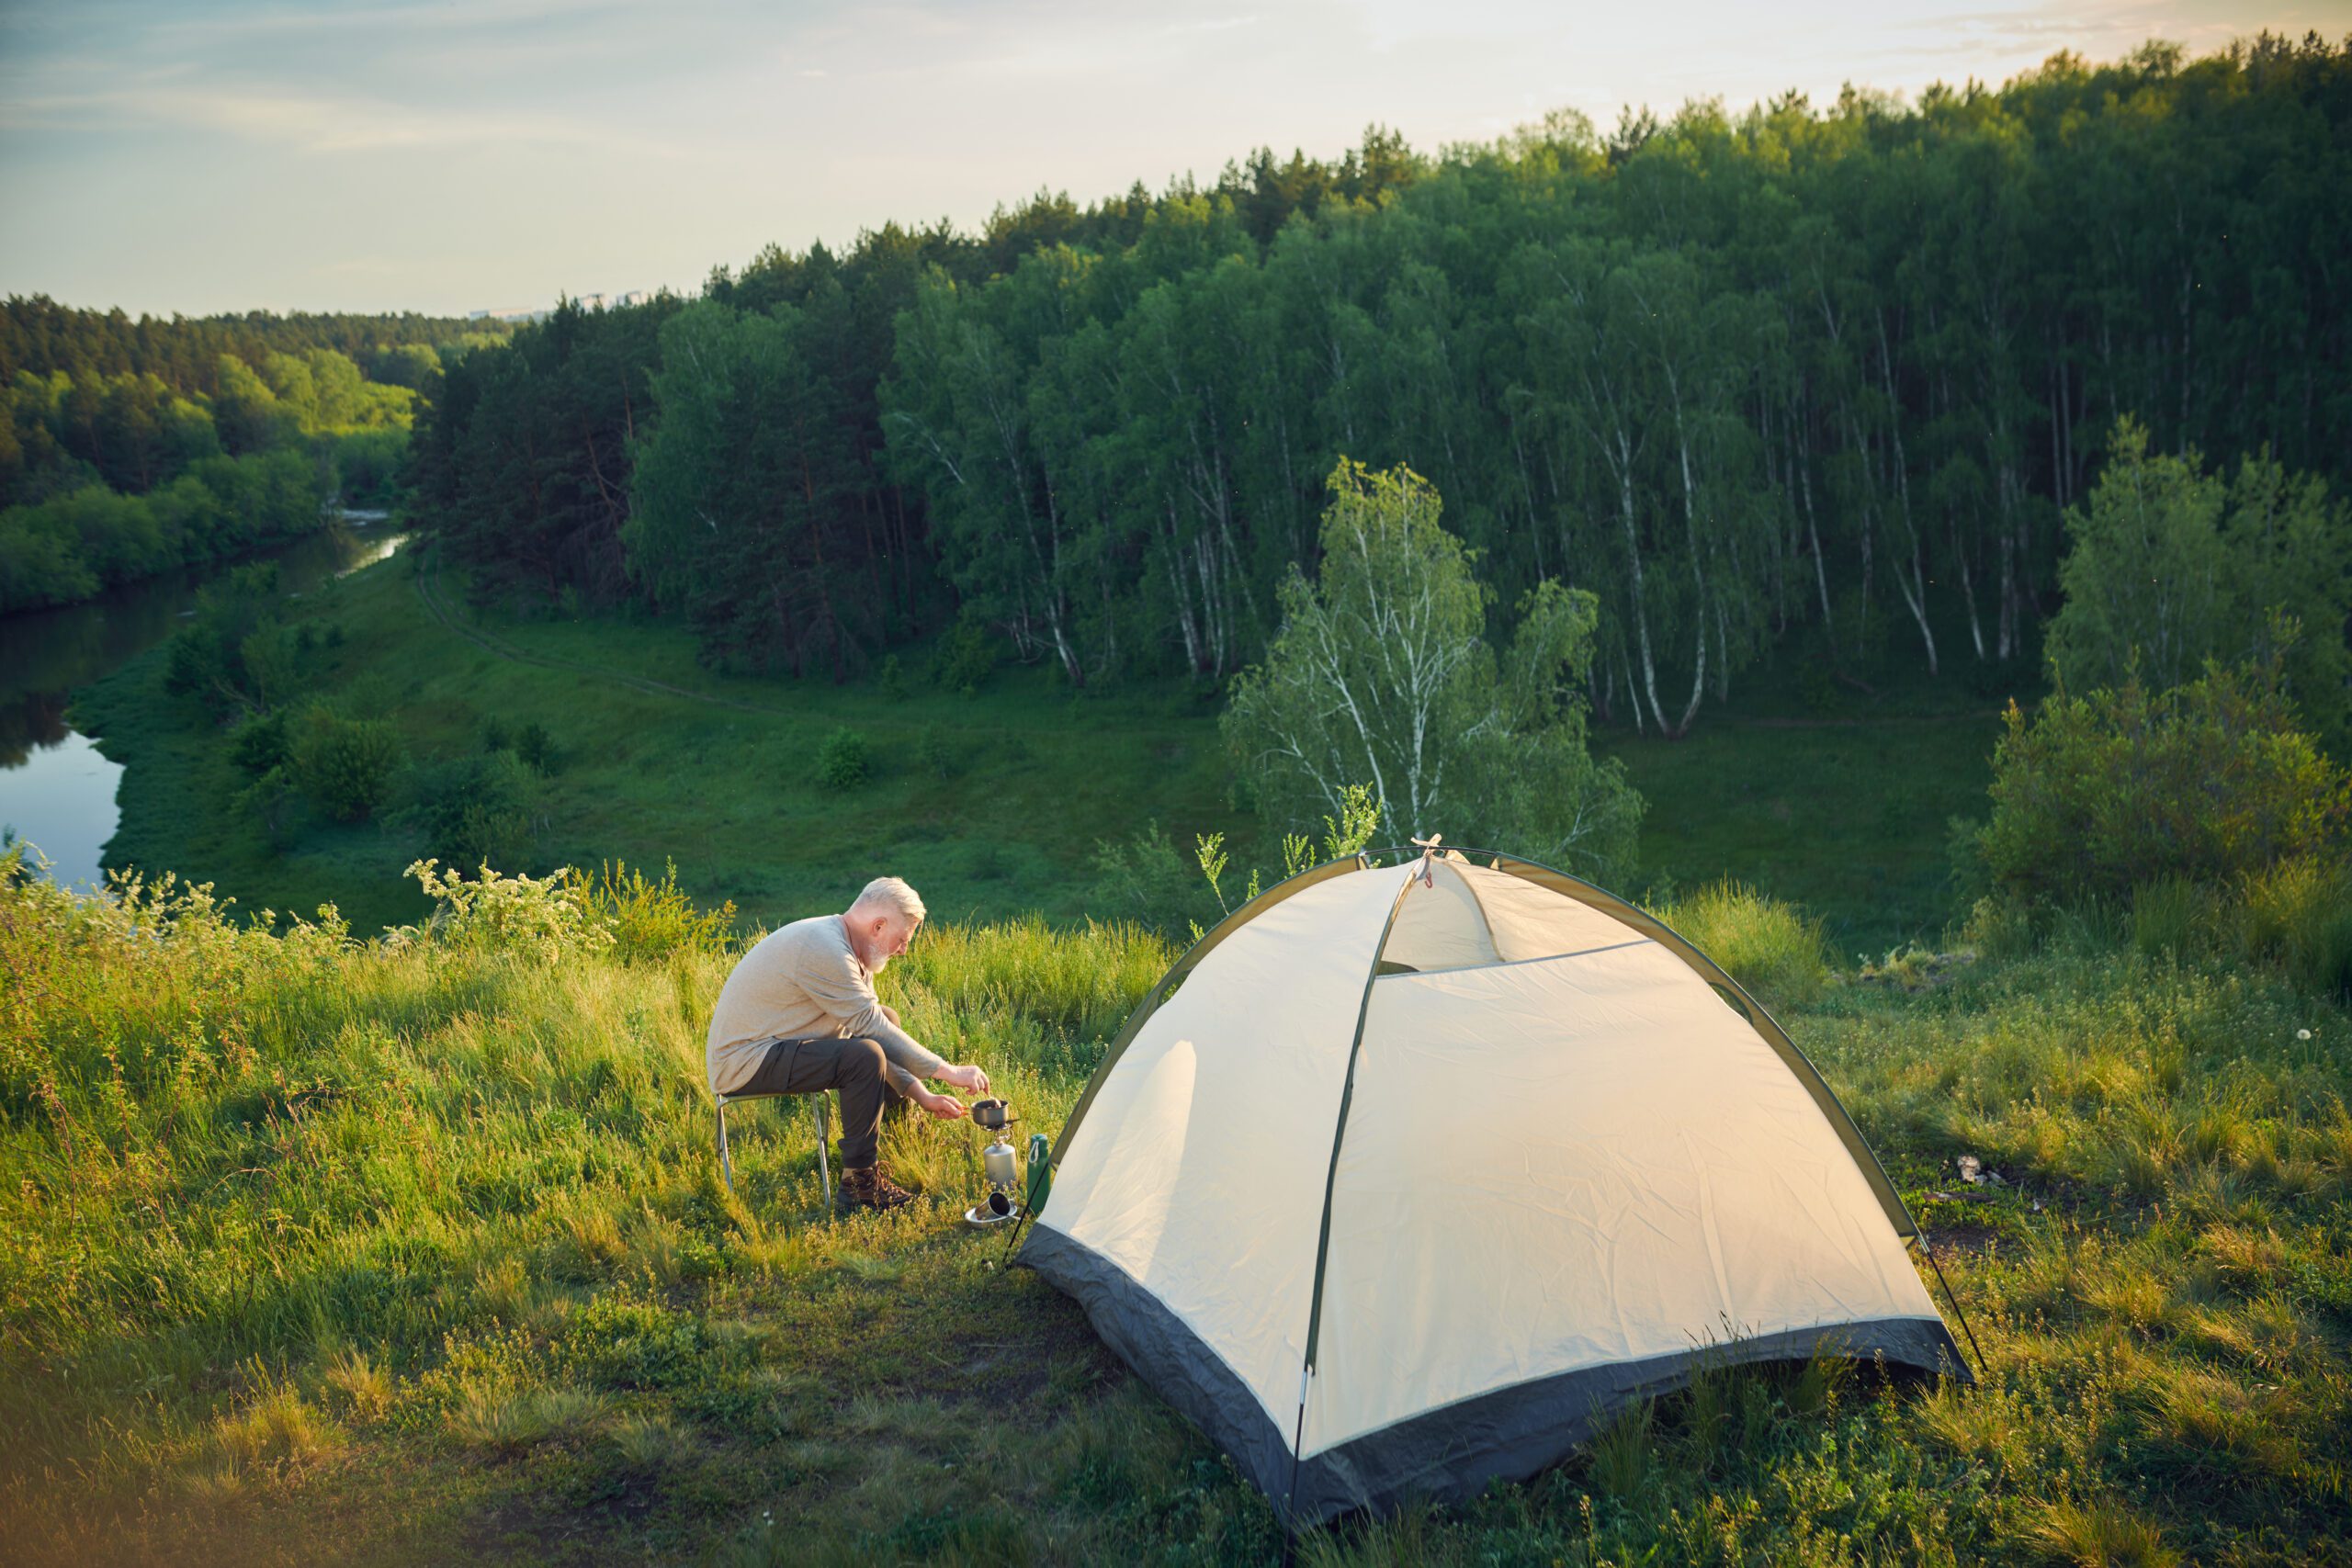
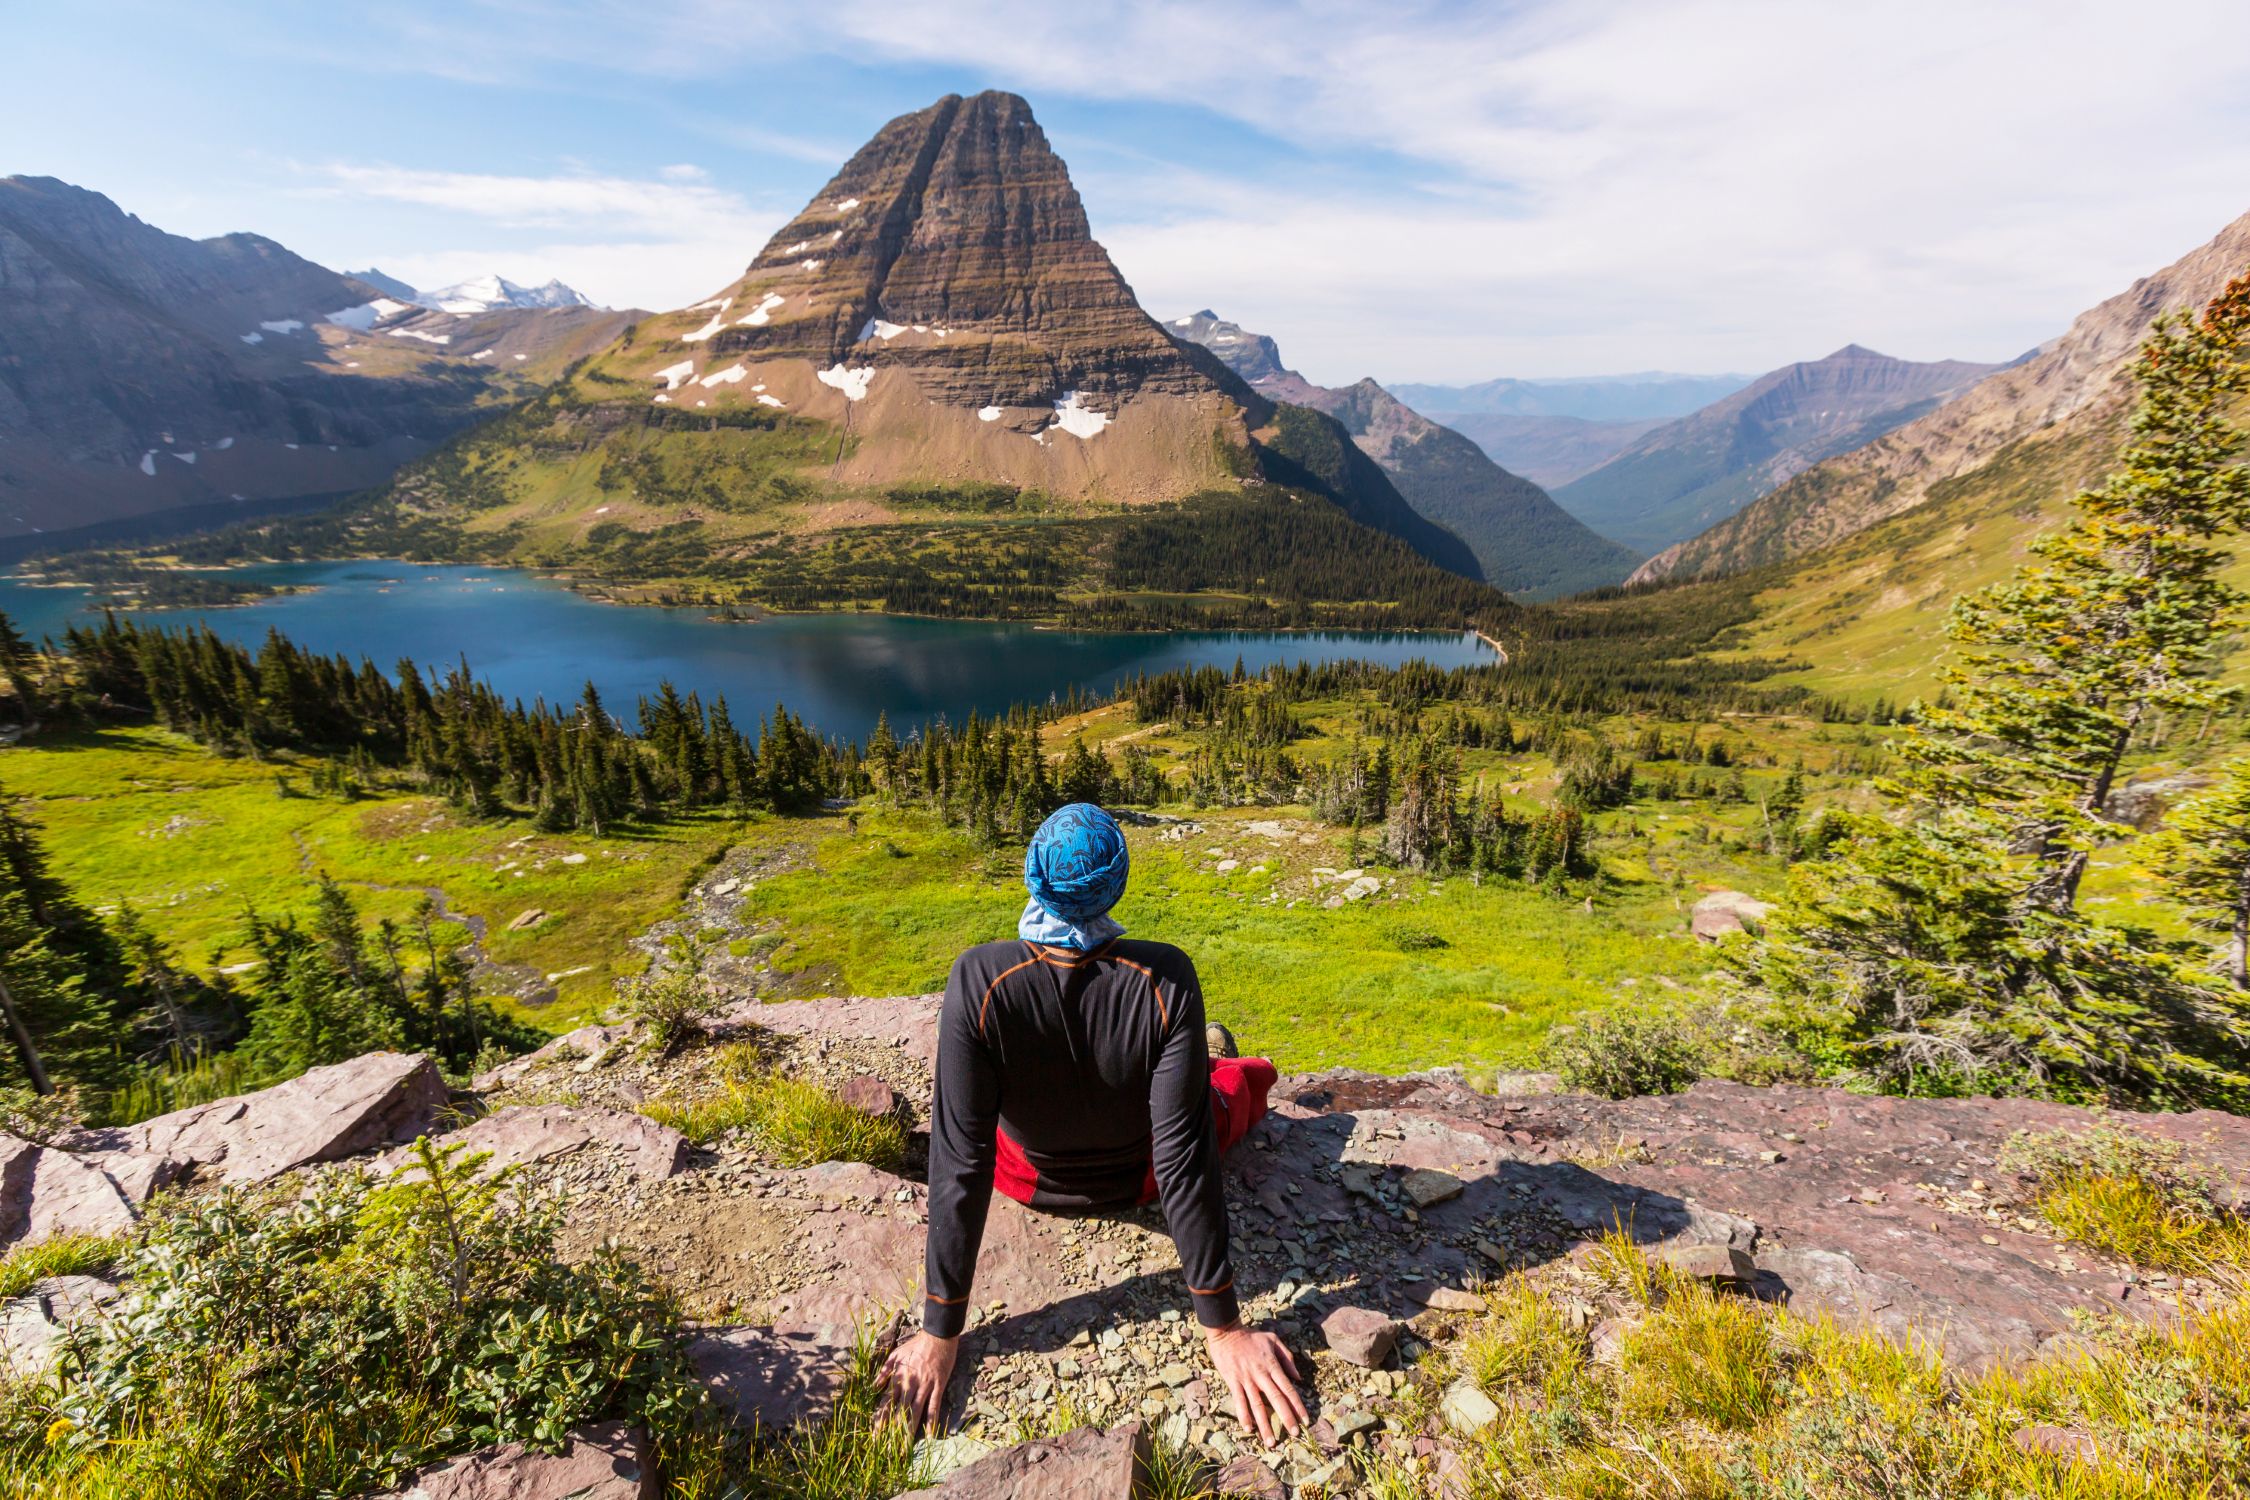
Why Camping in the Midwest Is the Best
There are so many good reasons to choose camping in the Midwest!
1. It’s Relaxing, Not Rushed
Midwest camping is about slowing down.
- No overcrowded trails or packed viewpoints.
- Plenty of space to unwind, breathe, and actually enjoy your campsite.
- Quiet mornings and peaceful evenings around the fire.
2. The Seasons Are Unmatched
The Midwest delivers four true camping seasons.
- Spring: Blooming wildflowers and fresh air.
- Summer: Lake days, swimming, and fireflies.
- Fall: Cooler temps and stunning fall colors.
- Winter: Snowy campsites and total serenity.
Each season brings a completely different experience—without needing to travel far.
3. Lakes, Rivers & Waterfront Campsites Everywhere
You don’t need mountains when you have water.
- Endless lakes, rivers, and reservoirs.
- Easy access to swimming, fishing, and kayaking.
- Sunrises and sunsets over calm water hit different.
4. Fewer Crowds, More Comfort
Midwest campgrounds tend to feel:
- Less hectic
- More family-friendly
- More spacious
That means easier check-ins, quieter nights, and less competition for the best spots.
5. Perfect for All Types of Campers
From first-timers to seasoned campers, the Midwest fits everyone.
- Great for tent camping, RVs, and cabins.
- Short hikes and accessible trails.
- Ideal for kids, pets, and group trips.
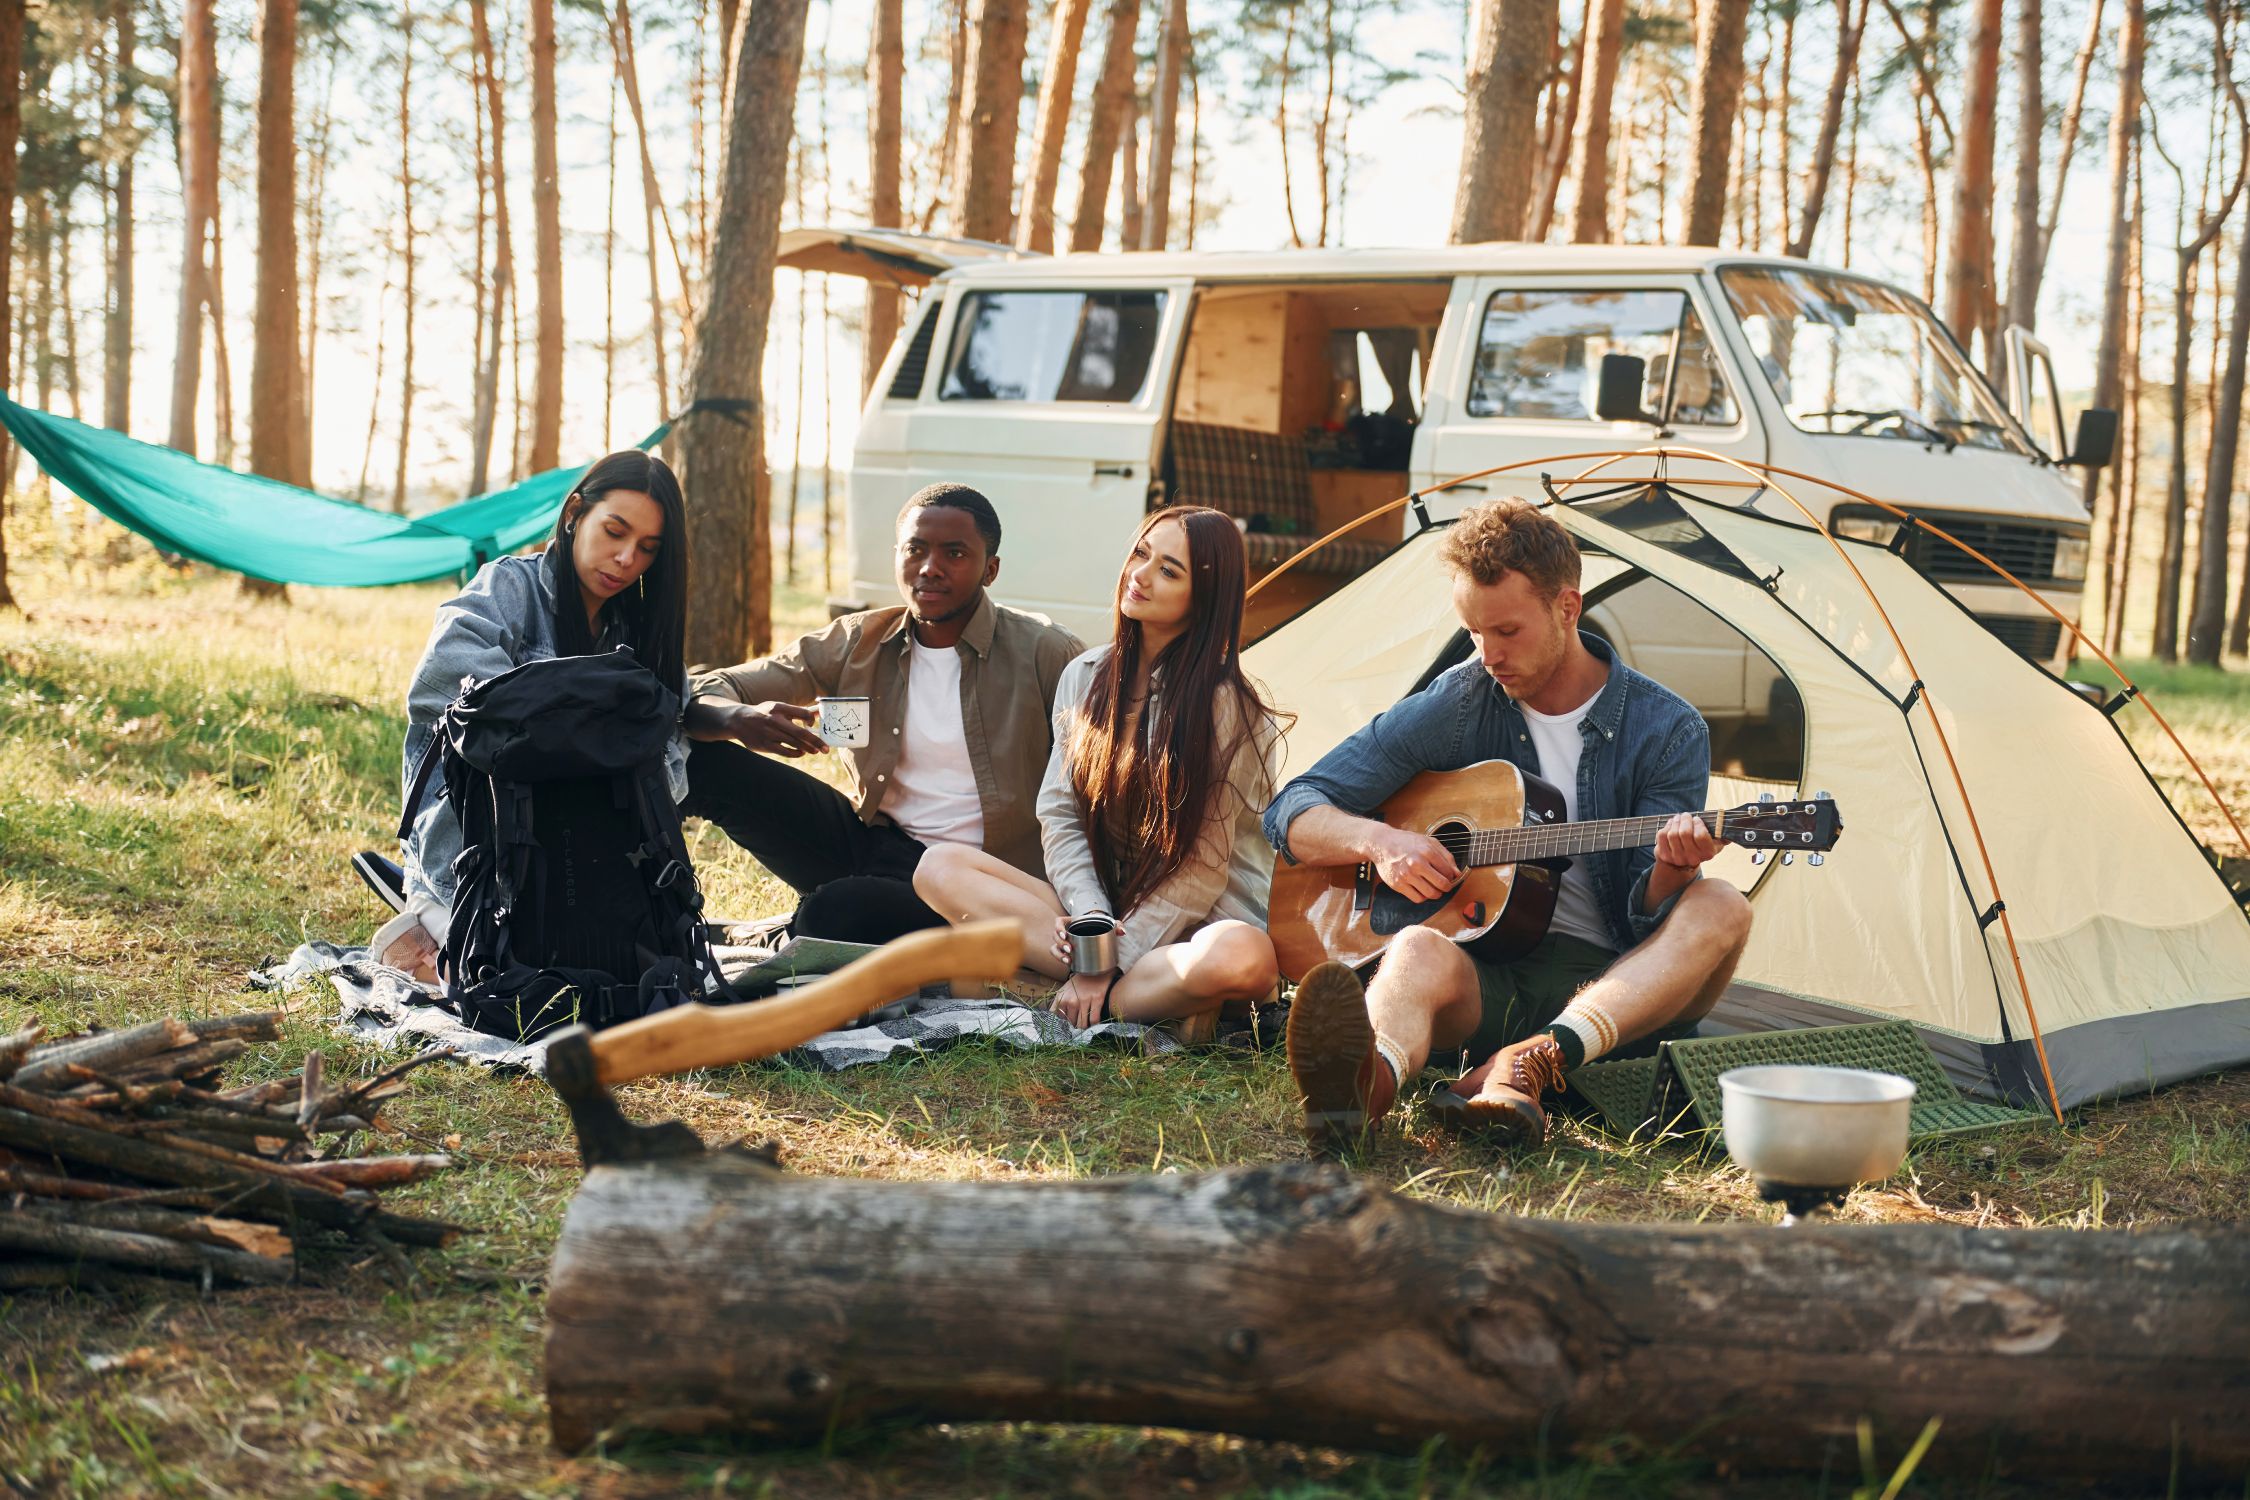
6. Campfires Are a Big Deal Here
Cooler nights make campfires essential—and better.
- Long evenings roasting marshmallows.
- Cozy blankets and camp chairs.
- Fireflies dancing while the fire crackles 🔥✨
7. Weather That Keeps Things Interesting
Sure, the weather changes—but that’s part of the charm.
- Warm days, cool nights.
- Storms that pass quickly and leave fresh air behind.
- Perfect excuse to cozy up under a canopy or in the camper.
8. It’s Close to Home (and Easy to Get To)
No flights. No long road trips.
- Most Midwest campgrounds are just a few hours away.
- Less travel stress = more vacation time.
- Easy weekend getaways that still feel like a reset.
Why Midwest Camping Just Feels Better
It’s not about checking off landmarks—it’s about:
🌾 Space to breathe
🔥 Time together
🌊 Simple fun
🌅 Big skies and calm moments
Almost all of our campgrounds are considered to be in the Midwest here at Kiefer Campgrounds! We hope to see you there!
New Year Camping Goals
Not sure what to make your goals or resolutions for the new year? Try this list!
- Camp at a brand-new campground
- Visit a new state or destination
- Try a new style of camping (RV, tent, or winter camping)
- Unplug more and enjoy screen-free campfire time 🔥
- Cook at least one new campfire recipe
- Catch a sunrise or sunset from your campsite 🌅
- Explore trails you’ve never hiked before
- Bring a first-time camper along
- Camp during the off-season for a quieter stay
- Make memories that beat any hotel stay ✨
New year, new camping goals! 🏕️✨ More campfires, more memories, more time outdoors spent at Kiefer Campgrounds. Let’s make this the best year yet!
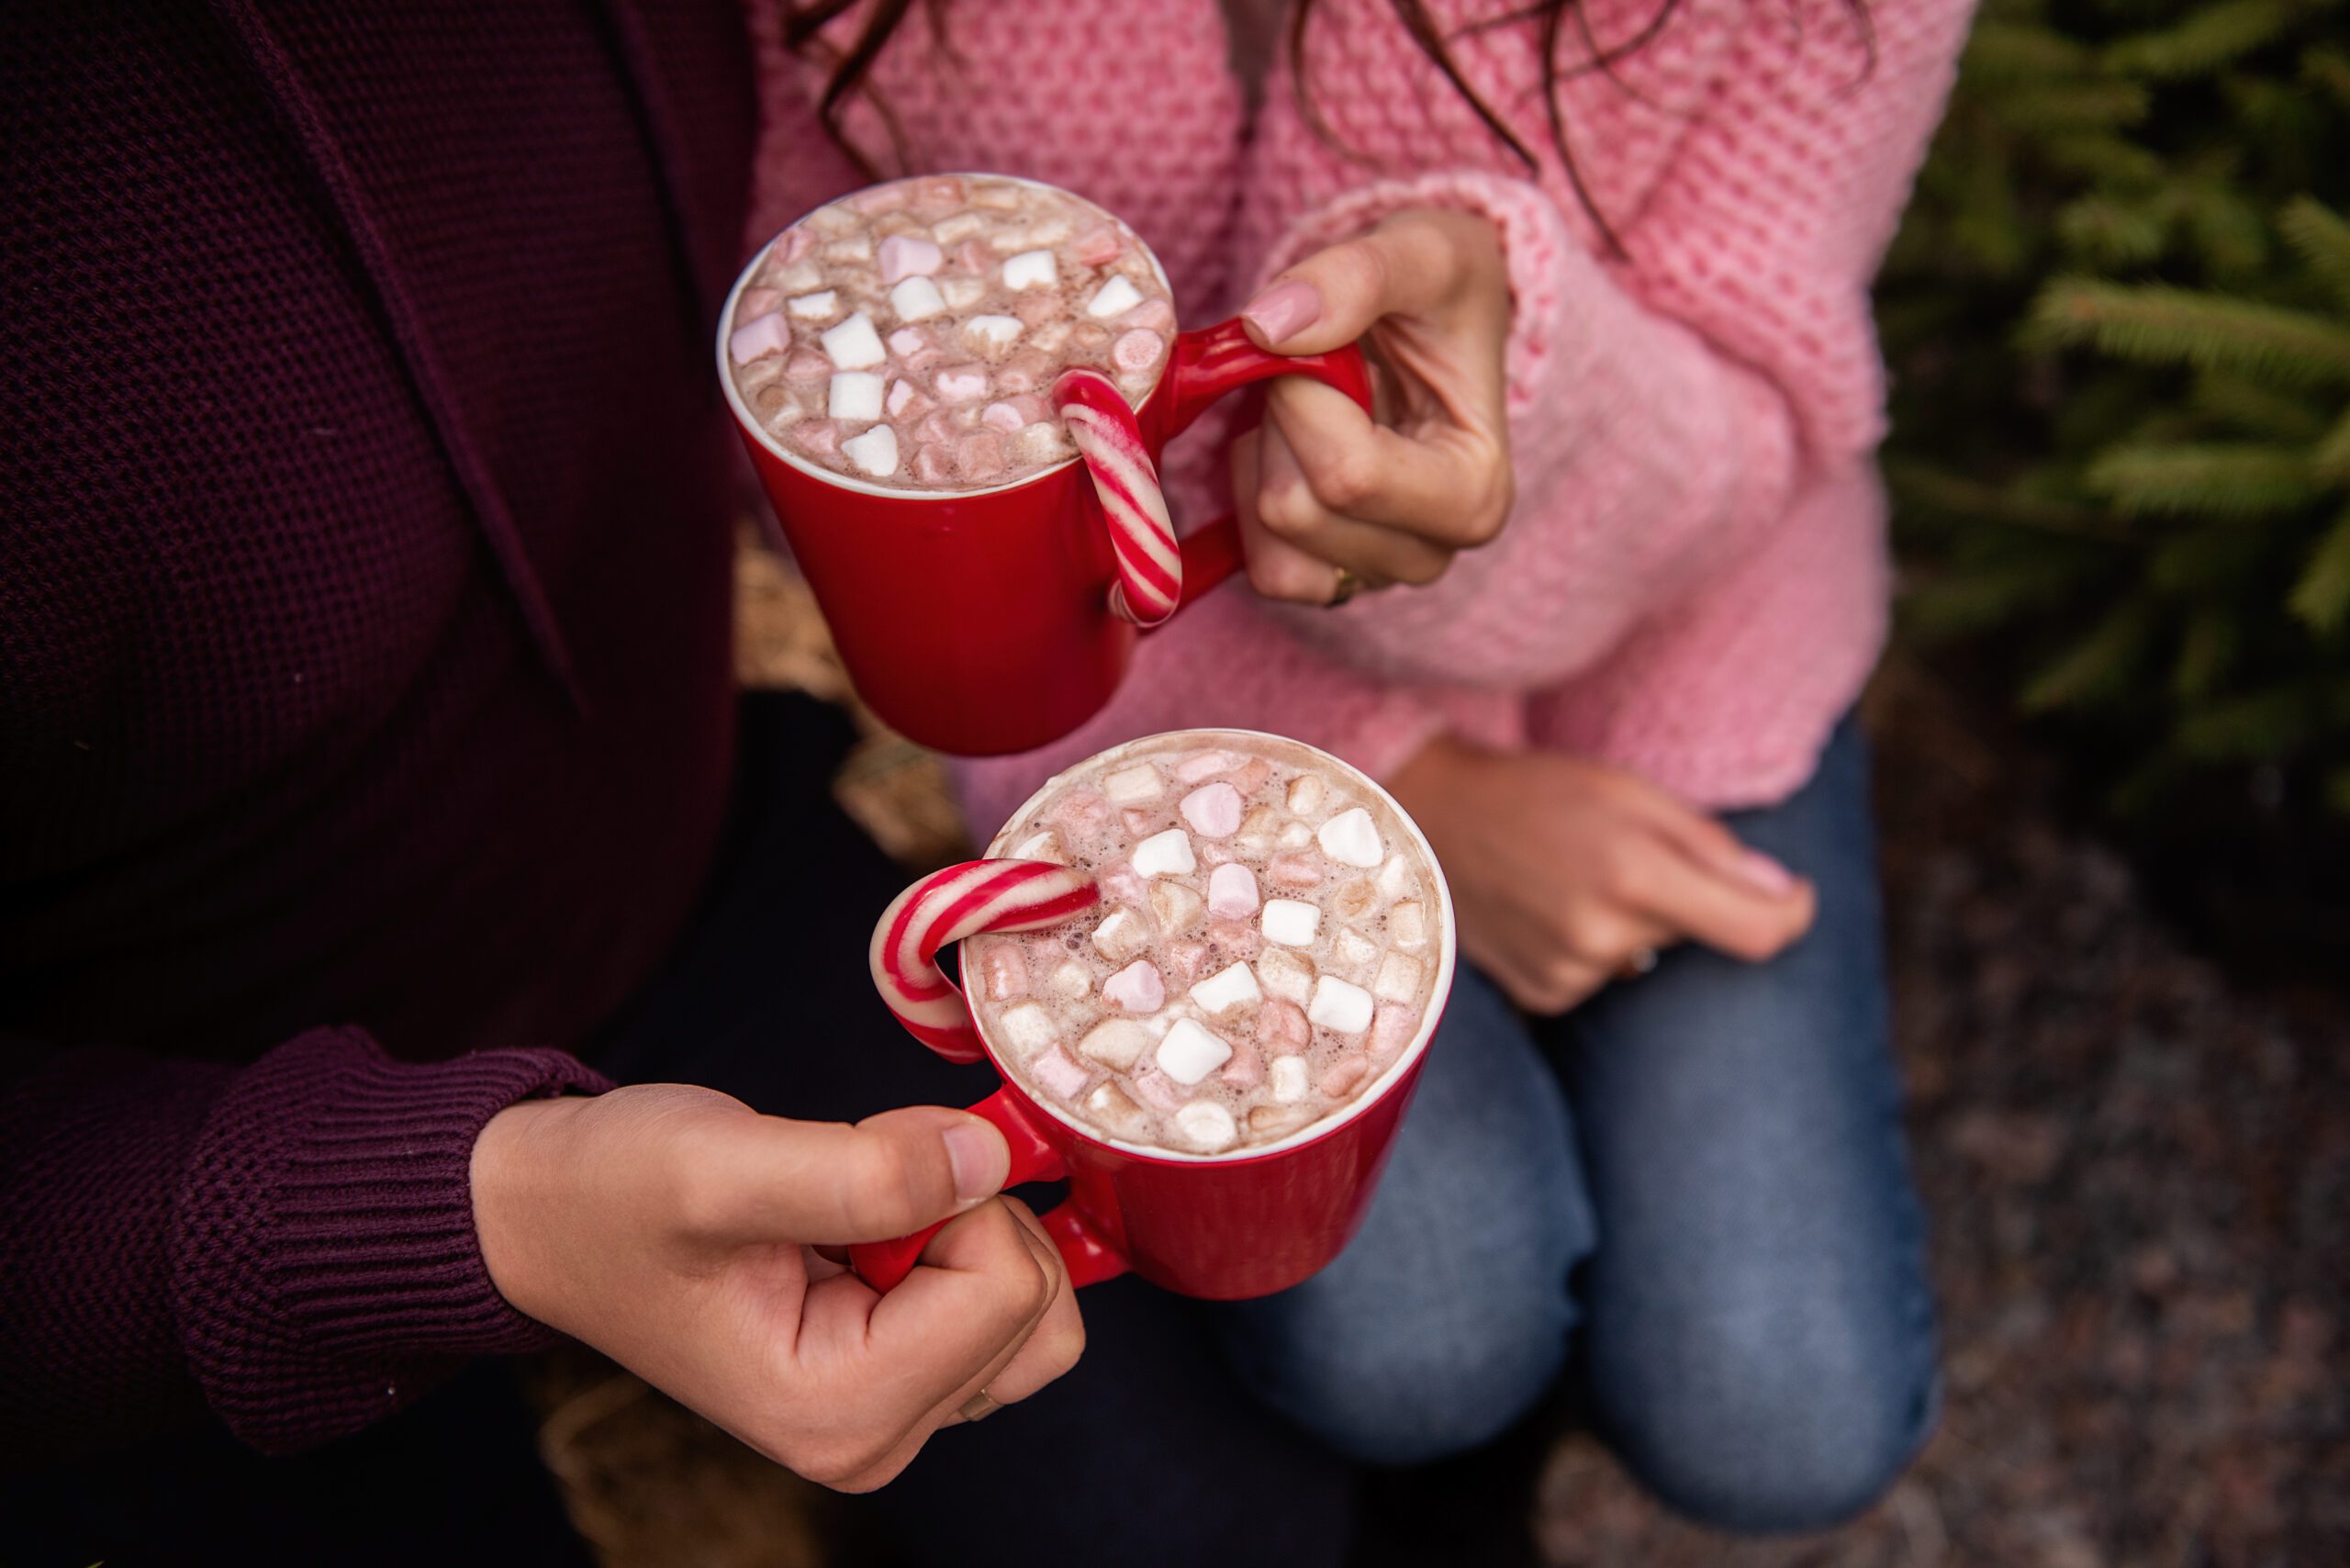
Campfire Peppermint Hot Chocolate
Here’s a cozy, camper-approved treat that’s perfect for chilly nights by the fire 🔥☕️
Ingredients (serves 2–3)
- 2 cups milk (or half milk, half water for camping)
- 2 tbsp cocoa powder
- 2 tbsp sugar (adjust to taste)
- ¼ tsp peppermint extract (a little goes a long way!)
- Pinch of salt
- Mini marshmallows or whipped cream (optional)
- Crushed candy canes or chocolate shavings (optional topping)
Instructions
- Heat the milk
Pour milk into a small pot or enamel mug and place it over the campfire grate or camp stove. Heat slowly, stirring often so it doesn’t scorch. - Mix the chocolate
Whisk in cocoa powder, sugar, and salt until fully dissolved and smooth. - Add peppermint
Remove from heat and stir in peppermint extract. - Serve & enjoy
Pour into mugs and top with marshmallows, whipped cream, or crushed candy canes.
Campfire Tip
🔥 Keep the pot just off direct flames for gentler heat. Too much flame can burn the milk quickly.
Try this recipe the next time you stay at Kiefer Campgrounds during the winter season!

Gifts for Campers: The Holiday Gift Guide for Outdoor Lovers
Still need a gift? Here’s the perfect holiday gift guide for campers and outdoor lovers — ranging from practical gear to cozy extras! 🎁
🏕️ Camping Essentials
Avalanche High Back Ultralight Camp Chair (a sturdy, portable chair that folds up easily — great for around the campfire or at the tent) – $39.99 from Sierra
Custom Insulated Stainless Steel Camping Travel Mug (an insulated mug for hot coffee or tea on chilly mornings or nights outdoors)
NEMO Switchback Ultralight Sleeping Pad (a lightweight sleeping pad that adds comfort and insulation when sleeping on the ground) – $49.95 from NEMO Equipment + others
🔥 Campfire Comfort & Cozy Extras
Micro Flannel Sherpa Blanket (a soft, warm blanket perfect for chilly evenings by the fire) – $47.99 from Kohl’s + others
Complete Ferro Rod Fire Starter Kit (handy for lighting campfires or stoves reliably, even when conditions are damp) – $23.95 from Coopers Bay Outdoors
Compact Firestarter Kit (Ceder + Matches) (a small, thoughtful gift to make starting fires or cooking easier on camping trips) – $11.15 from Etsy
🔦 Gadgets & Useful Gear
Ozark Trail 1000 Lumen Rechargeable Headlamp (a bright, hands-free light — essential for tent setup, nighttime walks, or cooking after dark) – $22.96 from Walmart + others
Anker Nano Power Bank With Built‑In USB‑C Cable (compact portable power to keep phones or small devices charged while off-grid)
Leatherman Wingman Multi‑Tool (a versatile all-in-one tool that’s useful for repairs, gear setup, cooking prep, and more) – $55.89 from REI + others
🍳 Camp Kitchen & Cooking Gear
Coleman 2‑Burner Propane Camping Stove (a reliable stove for cooking meals outdoors — great for breakfasts, dinners, or warming water) – $59.00 from Walmart Supercenter + others
Ozark Trail Space‑Saving 5‑Piece Cookware Kit (lightweight cookware set that helps when pots/pans are needed for meals or boiling water) – $12.46 from Walmart + others
Thermos 10 oz Vacuum Insulated Food Jar ( handy for packing hot meals or soups to eat later, or keeping food warm/cold on the trail) – $12.72 from Walmart + others
🧭 Adventure & Survival Extras
Ozark Trail Flint and Steel Fire Starter (a basic fire-starter tool that’s useful for emergency fire starting or campfires) – $5.27 from Walmart + others
Leatherman Wingman Multi‑Tool (a multi-purpose tool that’s excellent for unexpected fixes, repairs, cutting wood or rope, etc.) – $55.89 from REI + others
Try one of these gifts when doing your Christmas shopping this year! Happy Holidays from Kiefer Campgrounds!

🍎 Cranberry-Apple Campfire Stuffing
Here’s a tasty Cranberry-Apple Stuffing recipe that works great for campfire cooking or the kitchen!
Ingredients
- 1 box of stuffing mix (or 4 cups cubed bread)
- 1 apple, diced
- ½ cup dried cranberries
- ½ small onion, diced
- 2 tbsp butter
- 1 cup chicken broth (or water)
- ½ tsp garlic powder
- ½ tsp poultry seasoning
- Salt & pepper to taste
Campfire Instructions
- Heat your skillet over the fire and melt the butter.
- Add diced onions and apples. Cook until softened and lightly golden.
- Mix in dried cranberries and seasonings.
- Stir in the stuffing mix (or bread cubes).
- Pour broth over the mixture and stir until combined.
- Cover with foil and let it cook for 5–10 minutes, stirring once, until fluffy and warm.
Tip for Extra Flavor
Add chopped pecans, a splash of apple cider, or sausage bits for more richness!
Try this recipe during your stay at Kiefer Campgrounds this Thanksgiving!
🌲 The History of the U.S. National Parks Camping System
There’s nothing like camping under the stars in one of America’s National Parks. From mountain lakes to forest clearings, camping has been part of the park experience for over a century!
🏞️ The Early Days
When Yellowstone became the first national park in 1872, there were no official campgrounds or rangers — visitors simply set up tents wherever they pleased. By 1916, the creation of the National Park Service (NPS) brought organization, protection, and designated camping areas.
🚗 The Auto Camping Boom
The 1920s ushered in auto camping, as families packed their cars and hit the road. To meet demand, the NPS began building formal campgrounds with picnic tables and restrooms. The Civilian Conservation Corps (CCC) expanded this work in the 1930s, laying the foundation for many park facilities still used today.
🏕️ The Golden Age of Camping
After World War II, Americans had more time — and more wheels. The 1950s and 1960s became the Golden Age of Camping, with families exploring parks in RVs and trailers. Campgrounds grew, reservation systems were introduced, and ranger-led programs made visits both educational and fun.
🌐 Modern Camping
By the 1980s, attention turned toward environmental sustainability. The NPS promoted “Leave No Trace” ethics and added features like bear-proof lockers, solar lighting, and online reservations. Today’s campgrounds balance modern comfort with nature-friendly design.
🌄 Camping Today
The National Park System now includes over 1,400 campgrounds and 27,000+ campsites, ranging from frontcountry and backcountry to RV and glamping options. Whether it’s stargazing in Arches or pitching a tent in the Smokies, camping remains one of the best ways to connect with America’s wild spaces.
❤️ A Legacy That Lives On
National park camping is more than a getaway — it’s a proud American tradition rooted in adventure, conservation, and the simple joy of sleeping under the stars.
Be sure to stay at one of Kiefer Campgrounds‘ locations on your next adventure to the National Parks!

🎃 Eyeball Truffles Recipe
Here’s a detailed, step-by-step recipe for Eyeball Truffles — fun to make and creepy-cute enough for any Halloween party or campground gathering!
👁️ What You’ll Need:
Ingredients:
- 1 box (about 15 oz) vanilla or red velvet cake (store-bought or homemade)
- 1/2 cup cream cheese frosting (store-bought or homemade)
- 12 oz white chocolate or white candy melts
- Gel or liquid food coloring (blue, green, or red for the iris)
- Black edible gel, or mini chocolate chips (for pupils)
- Optional: Red decorating gel (for bloodshot veins)
- Lollipop sticks (if making them as cake pops)
🍰 Step 1: Make the Truffle Base
- Bake your cake according to the box directions (or use leftover cake). Let it cool completely.
- Crumble the cooled cake into fine crumbs in a large bowl.
- Add cream cheese frosting, a little at a time, and mix until it forms a dough-like consistency that holds together when pressed.
- (You might not need the full 1/2 cup depending on the cake’s moisture.)
- (You might not need the full 1/2 cup depending on the cake’s moisture.)
🍡 Step 2: Form the “Eyeballs”
- Roll the mixture into small balls — about 1 inch in diameter (eyeball size!).
- Place the balls on a parchment-lined tray.
- Chill in the freezer for 20–30 minutes, or until firm.
🍫 Step 3: Coat with “Eyeball Whites”
- Melt the white chocolate or candy melts in a microwave-safe bowl (in 20-second intervals, stirring each time, until smooth).
- Using a fork or dipping tool, coat each truffle completely in white chocolate.
- Tap off excess and place them back on the parchment paper.
- Let them set until hardened (refrigerate for about 10–15 minutes).
🎨 Step 4: Add the Iris & Pupil
- Using colored gel icing or melted candy melts, draw a circle on top of each truffle to make the iris.
- Blue, green, or red are great spooky colors.
- Blue, green, or red are great spooky colors.
- Add a black dot of edible gel in the center for the pupil (or press in a mini chocolate chip).
💉 Step 5: Make Them Bloodshot (Optional)
- Use red decorating gel or a toothpick dipped in red food coloring to draw thin “veins” radiating from the iris for a creepy touch!
❄️ Step 6: Chill & Serve
- Refrigerate the truffles for at least 30 minutes before serving to keep them firm.
- Store leftovers in an airtight container in the fridge for up to 5 days.
🧁 Optional Variations:
- Use red velvet cake inside for a “bloody” surprise when bitten!
- Add a splash of almond or vanilla extract to the cake mixture for extra flavor.
- Stick them on lollipop sticks and display them upright in a foam block for a fun Halloween centerpiece.
Try this easy, spooky dessert the next time you stay at Kiefer Campgrounds!

Family owned and operated, Kiefer Campgrounds strive to offer you the best rates for a comfortable location with outstanding service, and spotless facilities. When you stay in one of our parks, you are no longer just a happy camper, but a part of our family! We are most certain you will enjoy your stay with us. Pick your favorite location and book your spot now before it’s too late! You’ll be happy you did!