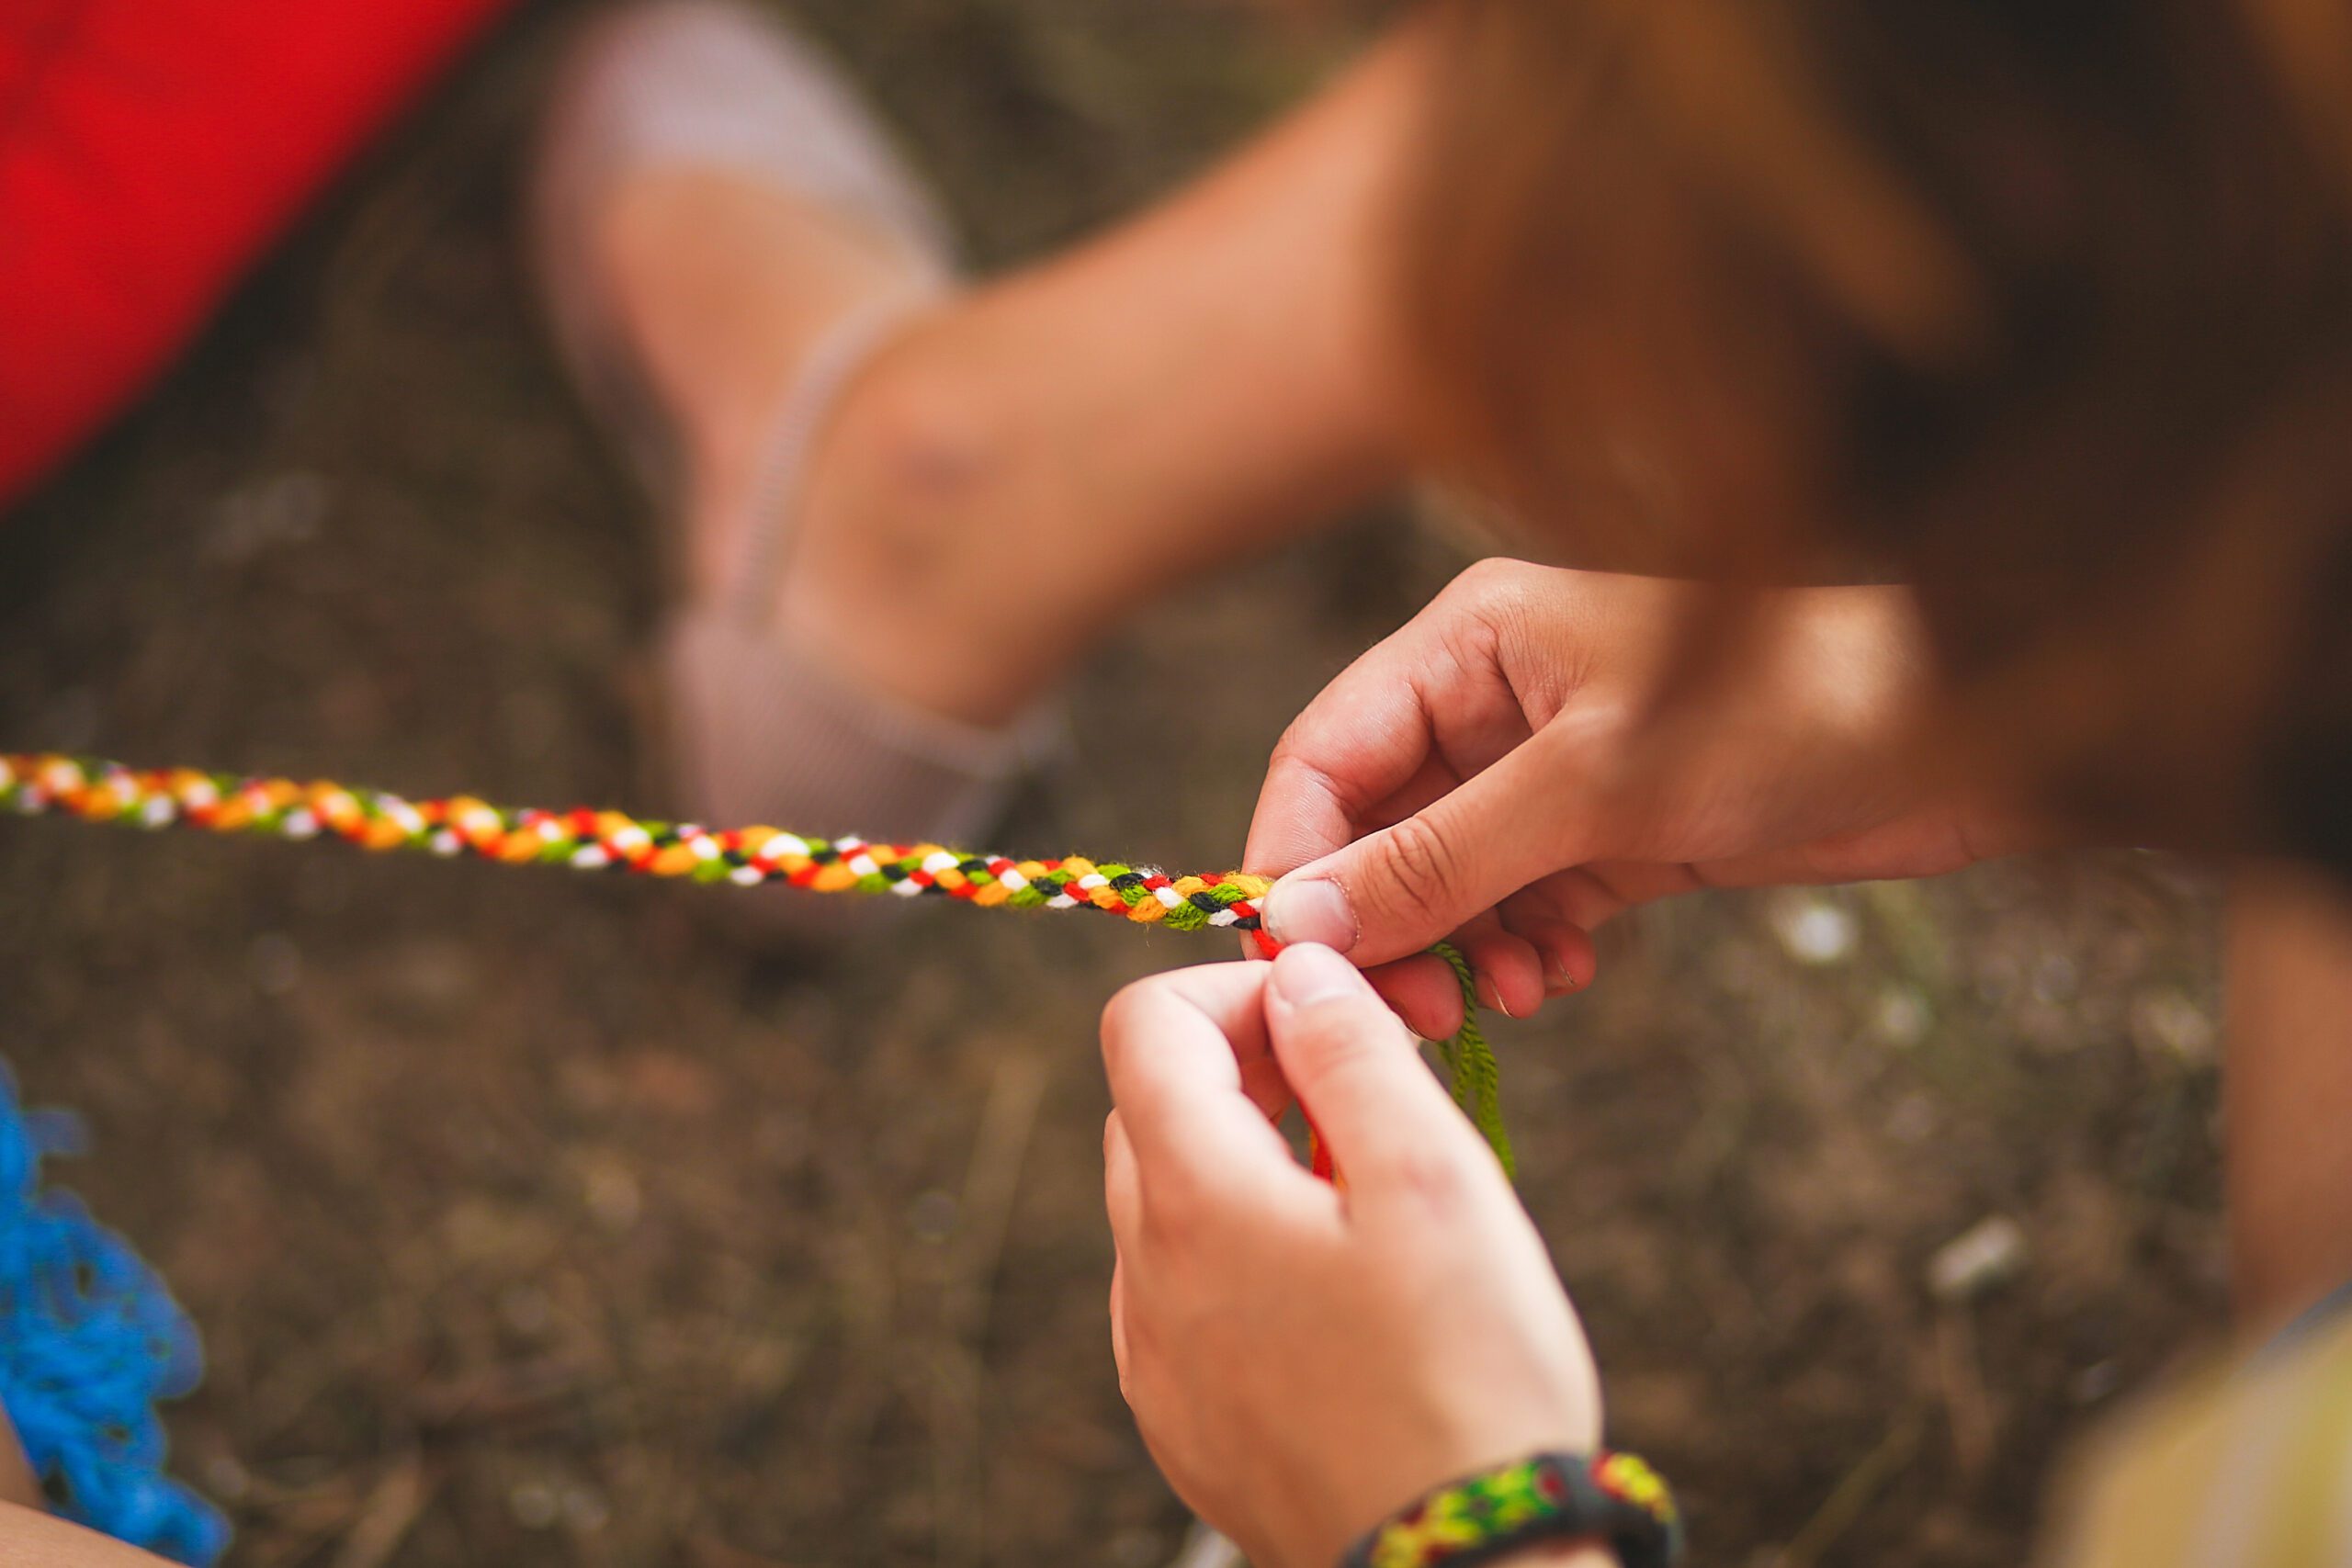
How to Make Paracord Survival Bracelets

Making a paracord survival bracelet is a fun and practical project that can come in handy in various outdoor situations. Here’s a step-by-step guide to making your own paracord bracelet:
Materials Needed:
- Paracord (7-10 feet, depending on wrist size and bracelet pattern)
- Buckle or shackle (optional, but recommended for ease of wear)
- Scissors
- Lighter (to melt and seal the ends of the paracord)
- Tape measure or ruler
Instructions:
- Measure Your Wrist:
- Use a tape measure to measure your wrist. Add about 1-2 inches to this measurement to ensure the bracelet isn’t too tight.
- Prepare the Paracord:
- Cut the paracord to the desired length (7-10 feet is typically sufficient for most bracelets).
- Use the lighter to carefully melt the ends of the paracord to prevent fraying. Be cautious not to burn yourself.
- Attach the Buckle:
- If using a buckle, fold the paracord in half and push the folded end through one side of the buckle.
- Pull the loose ends of the paracord through the loop created by the folded end and tighten to secure the buckle.
- Thread the loose ends of the paracord through the other side of the buckle. Adjust the length so it fits around your wrist with the added extra length for comfort.
- Set Up the Bracelet:
- With the buckle attached and the paracord threaded through both ends, you should have two working strands of paracord.
- Arrange the paracord so that you have an equal amount of length on each side of the center loop.
- Begin Weaving (Cobra Knot):
- Left Strand Over: Take the left strand and place it over the center strands.
- Right Strand Over and Through: Take the right strand, place it over the left strand, then under the center strands, and through the loop created by the left strand.
- Tighten: Pull both strands to tighten the knot up to the buckle.
- Continue Weaving:
- Repeat the knot, alternating sides each time. For example, after the left strand goes over first, the next knot will start with the right strand going over.
- Continue this pattern until you reach the end of the bracelet near the buckle or desired length.
- Finish the Bracelet:
- Once you’ve reached the end, trim the excess paracord, leaving about 1/4 inch.
- Use the lighter to melt the trimmed ends and press them down (using the lighter’s metal or another tool) to secure them and prevent fraying.
- Test the Fit:
- Close the buckle and test the bracelet on your wrist to ensure it fits comfortably. Adjust as needed before finishing the ends.
Tips:
- Experiment with Patterns: Once you’re comfortable with the basic cobra knot, try other patterns like the king cobra, fishtail, or dragon’s tongue for a different look.
- Add a Keychain or Carabiner: For additional functionality, you can attach a small keychain or carabiner to the bracelet.
- Use Multiple Colors: Combine different colors of paracord for a more vibrant and personalized bracelet.
By following these steps, you’ll create a practical and stylish survival bracelet that can be unraveled and used in emergency situations, making it a great addition to your camping supplies while staying at Kiefer Campgrounds!
Family owned and operated, Kiefer Campgrounds strive to offer you the best rates for a comfortable location with outstanding service, and spotless facilities. When you stay in one of our parks, you are no longer just a happy camper, but a part of our family! We are most certain you will enjoy your stay with us. Pick your favorite location and book your spot now before it’s too late! You’ll be happy you did!


